
While macOS is highly optimized for most tasks, there are times when it just cannot do what you want it to. In fact, there are some applications or games that don't support Apple's desktop operating system. This means you need to install an instance of Windows 10 on your Mac.
Thanks to Boot Camp Assistant, running Windows 10 on a Mac has become much easier and straightforward. One of the best things when it comes to Boot Camp is that it's built directly into macOS, eliminating the need for a third-party app to be installed.
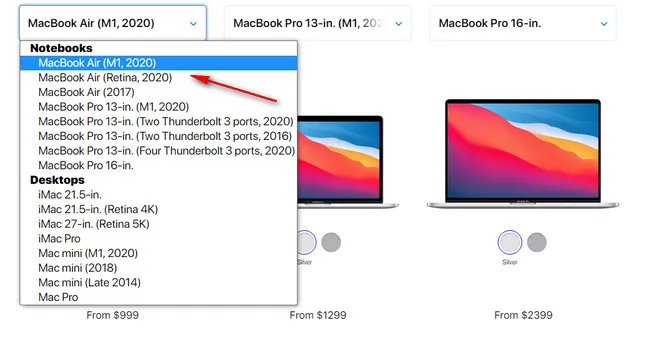
However, Boot Camp is only working on Macs with Intel chip. And there are two different version of MacBook Air 2020. One is powered by Intel chip [Code Name: MacBook Air (Retina, 2020)] and the other is powered by latest Apple M1 chip [Code Name: MacBook Air (M1, 2020)]. For later, we need a different approach to install Windows 10 on a M1 Mac.
Part 1: How to Install Windows 10 on MacBook Air 2020 (Intel Chip)
This part is dedicated to users who want to install Windows 10 on MacBook Air 2020 shipped with Intel chip. Before we begin, make sure you now have enough space (at lest 50GB) on Mac's internal drive for holding Windows 10 OS. The process involves re-partitioning your Mac's hard drive to make space for Windows 10. This is safe and won't damage your data. More importantly, you can dualboot macOS and Windows 10. Here are the steps:
Step 1: Download Windows 10 ISO image onto your Mac. You can get the ISO file from Microsoft. Once you are in, select the 64-bit version of Windows and select the location where you want to save Windows 10 ISO file.
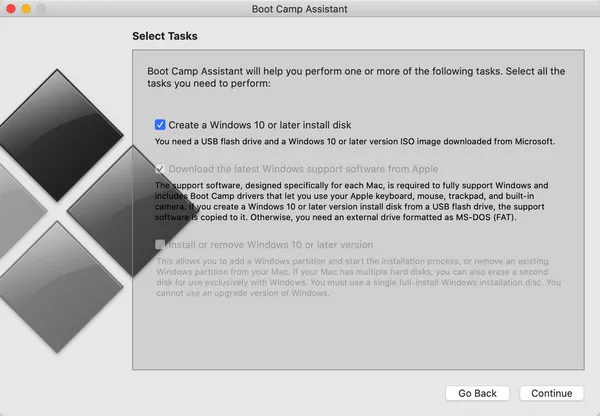
Step 2: Launch Boot Camp Assistant on your Mac. From the introduction screen, click Continue and tick Install or remove Windows 10 or later version to proceed.
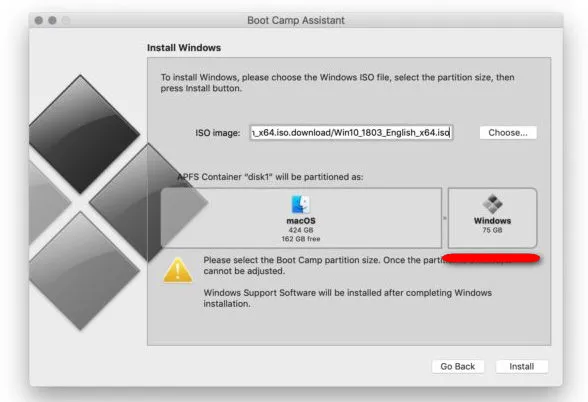
Step 3: Now, import Windows 10 ISO image file you downloaded earlier. Once you are done, click Continue and hit Continue again. After that, click Install to confirm the partition size for each operating system. You can adjust the space volume for Windows and Mac. However, we recommend you keep the default settings.
Step 4: Now, follow the on-screen prompts to install Windows 10 on your Mac. Your machine will reboot to complete the process and will automatically boot into Windows 10 after it is done.

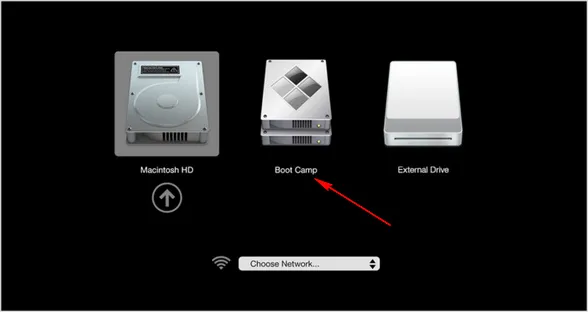
If you want to boot into macOS by default, restart your Mac while holding the Option Key until you see the Startup Manager screen. From here, you can select which OS you wish your Mac to boot into.
Alternative Way to Install Windows 10 on MacBook Air 2020 without Boot Camp
You might run into several issues when using Boot Camp such as no enough disk space, copying files failed, disk can not be partitioned, etc... If this was your case, then you can use UUByte ISO Editor to replace Boot Camp.
UUByte ISO Editor is a famous app on Mac for creating Windows 10 bootable USB. It is error free and support latest macOS Big Sur. Most importantly, it only takes several times to get it done. You would wait at least half an hour if you were using Boot Camp app.


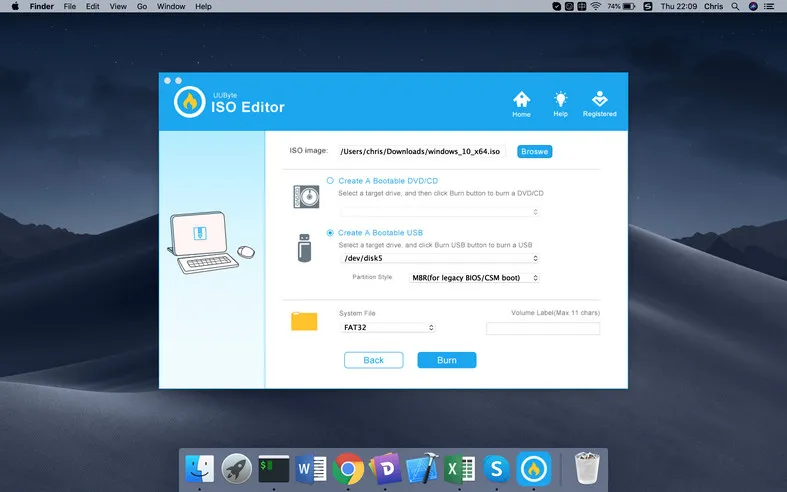
Launch ISO Editor app on your Mac after download. There are five tabs displayed on the main window. For creating Windows 10 bootable USB, please click the Burn tab. Now, you will be lead to a new window. Just insert a USB drive and load Windows 10 ISO from local folder. And click Burn button to start the process. That's all! All complex settings are done automatically, which is based on the ISO image and USB drive.
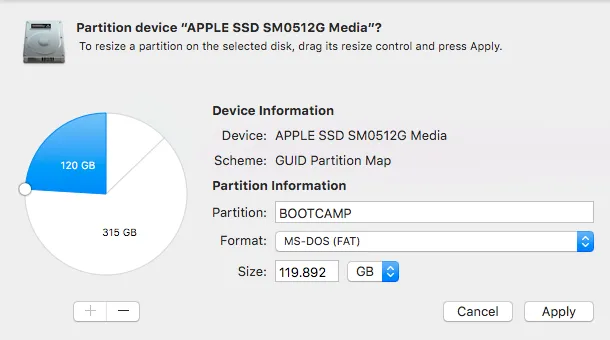
Next, open Disk Utility app on your Mac and create a new partition for Windows 10 OS. The partition should be formatted to MS-DOS FAT. Recommend size for Windows partition is 70GB if you are going to use Windows 10 extensively on your Mac. Click Apply to save the changes.
Warning: Please backup your important data on your Mac before partition.
Restart your Mac and press Option. Click the USB drive to start Windows 10 setup. Just follow the screen prompt to install Windows 10 on new partition.
Part 2: How to Install Windows 10 on MacBook Air 2020 (Apple M1 Chip)
Apple M1 Chip is built on ARM architecture, which is totally different from Intel chip. Intel-driven MacBook Air includes support for Boot Camp Assistant that allows you to install Windows 10 directly on your Mac. You can also switch between macOS and Windows by rebooting your machine and selecting which OS you wish to boot into.
However, M1 powered Macs do not support Boot Camp Assistant, which means you cannot use Boot Camp or UUByte ISO Editor to install Windows as you always do on Intel Macs. ARM version of Windows 10 is only available for Microsoft OEMs, which makes tablets, laptops or desktops purely on Windows OS. Unfortunately, Apple is not on support list, which ships macOS indefault on its Macs.
Luckily, popular Windows virtualization software like Parallels now support the new M1 chipset, allowing you to run Windows 10 from Mac as a virtual machine. You don't need to partition the hard drive. However, this is a technical preview of Parallels, meaning that it may come with bugs and glitches. Here are the steps:
Step 1: Download and install Parallels Desktop 16 for M1 Mac and you should see an activation key below the download link.
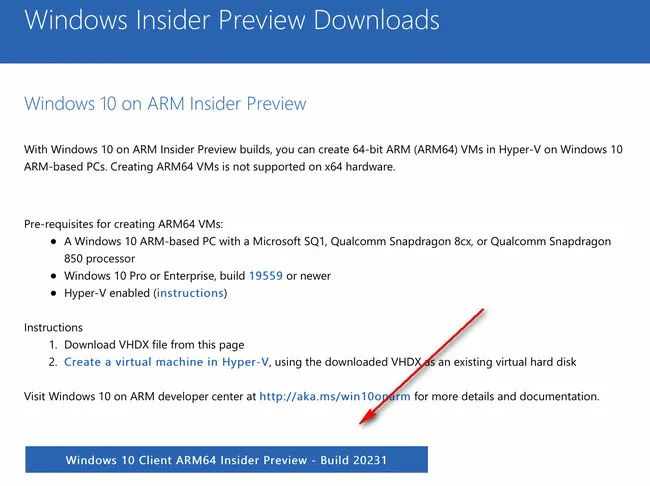
Step 2: Next up, you need to sign up for Windows Insider Program, and then download Windows 10 Client ARM64 Insider Preview on your Mac
Step 3: Launch Parallels on your machine and drag the Windows10_InsiderPreview_client_ARM64_en-us file you downloaded earlier to Installation Assistant and hit Create to proceed.

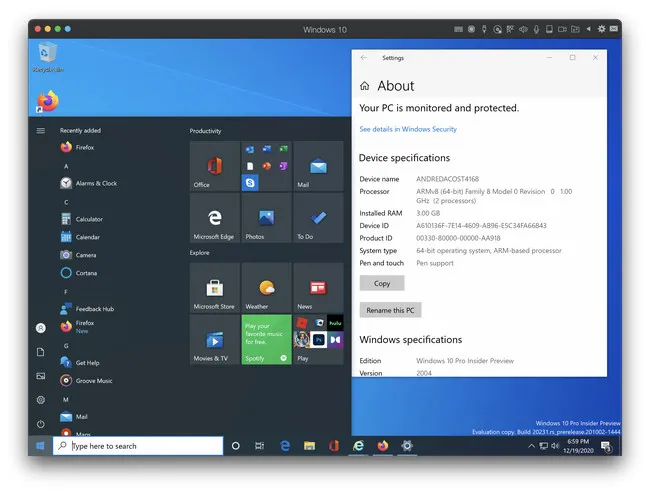
Step 4: Parallels will then create a new Windows 10 in ARM virtual machine instance. From here, log into your Parallels using your credentials and enter the activation key you obtained from the step 1.
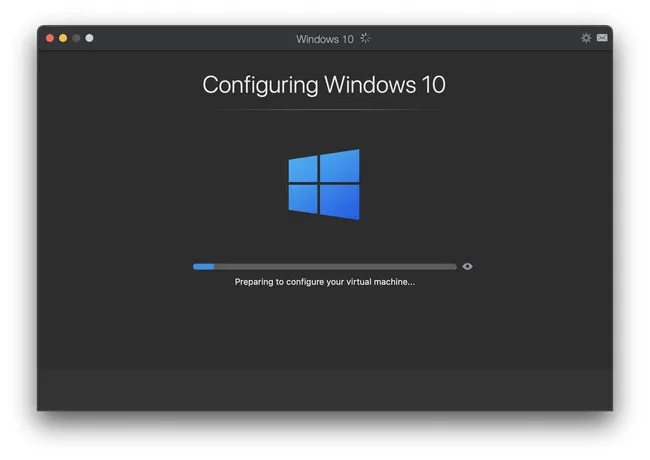
Step 5: Once you are logged in and Parallels is activated, the program will configure the Windows 10 virtual machine, then install Parallels tools, and complete ARM installation.
Step 5: Once you are logged in and Parallels is activated, the program will configure the Windows 10 virtual machine, then install Parallels tools, and complete ARM installation.
Step 6: Now go to Actions in Parallels menu > Config > Option > More > Disable Time Sync. This step aims to stop Windows from being unresponsive in virtual machine.
Enable X64 emulation support
To make sure Windows 10 apps are compatible on your M1 Macs, you need to enable X64 emulation support. Here are the steps:
Step 1: Open Windows Search bar, search for Insider and click on Windows Insider Program Settings.
Step 2: Hit Go To Diagnostic & Feedback settings link and enable optional diagnostic data. After that, click Link a Windows insider account and sign in with your Microsoft account details.
Step 3: Once you are in, select Beta Channel (Recommended) and then select Dev Channel to see a list of new updates. From here, go back to the main Windows Settings page and select Updates & Security.
Step 4: Once all updates are installed on your machine, reboot it.
Note: To exit Windows 10 virtual machine, you need to shut down Windows 10 and power it back on to boot back into macOS.
Conclusion
The new M1-driven MacBook Air 2020 offers a huge performance boost when compared to its Intel counterpart. However, things come at a cost. Apple officially drops support for Boot Camp on its M1 chip models. There is still no idea behind Apple's decision to ditch Boot Camp, but if you just bought a M1 Mac, then at least you still can run some of Windows apps in a virtual machine. However, this approach is pretty complicated for newcomers and expensive as apps like Parallels and VirtualBox charge you some cash.
The biggest benefits of going for the virtualization route is that you don't need to partition your Mac's hard drive as Windows runs virtually on your machine. Plus, installation is much faster and won't require you to download and install drivers. But, as mentioned above, this method is not for everyone, so we are going for the Boot Camp Assistant method.

Petty is editor in chief at UUByte and writes various topics about Windows and Mac to help people make the most of current technology.