
Installing Windows 10 on Mac is usually done with Boot Camp Assistant, but you can also do it without the help of Boot Camp. For today's tutorial, we'll use two alternatives to install Windows 10 on macOS Big Sur beta as well as the public release when it comes out. These powerful tools will help you boot Windows 10 on Mac for dual boot where you can switch between Windows 10 and macOS on startup.
Why Not Using Boot Camp Assistant
You will see a lot of people recommending Boot Camp Assistant (short for Boot Camp) when it comes to install Windows 10 on macOS Big Sur. It is the official solution developed by Apple. However, it is really a big challenge to reach a successful end with this so-called app.
Potential Issues with Boot Camp Assistant:
- The startup disk does not have enough space to be partitioned.
- An error occurred while partitioning the disk.
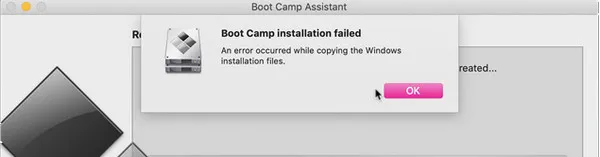
- An error occurred while copying the Windows installation file.
- There is not enough space available on the disk.
Boot Camp is your first choice when trying to install Windows 10 on macOS Big Sur. However, if you could not complete the task with Boot Camp app, then you have to use alternative tools to install Windows 10 on macOS Big Sur. We will suggest two useful methods in here.
Method 1: UUByte ISO Editor with VMWare Fusion
UUByte ISO Editor is a high-performance disk image management utility that lets you burn ISO files to USB, DVD, or CD. It also offers rich functions for ISO content extraction, editing ISOs, copying to disk, etc. The software is available for both Mac and Windows, so you can use the Mac version to create the bootable Windows 10 media for the installation.
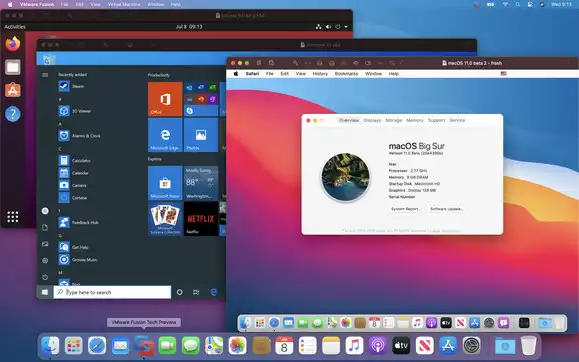
For the installation part, VMWare Fusion is being used. Fusion allows you to install Windows 10 on a virtual machine on your computer running macOS Big Sur or any older version.
Together, UUByte ISO Editor and Fusion make a compelling alternative to either Boot Camp Editor or Parallels, which is showcased as Method 2 below. For now, let's look at how to create a USB installer in UUbyte ISO Editor and use it with Fusion to install Windows 10 on Big Sur.


Step 1: Download Windows 10 ISO file (64-bit recommended) Windows 10. You can get it directly from Microsoft's website. If you have trouble in doing this, please take a look at this page for more details.
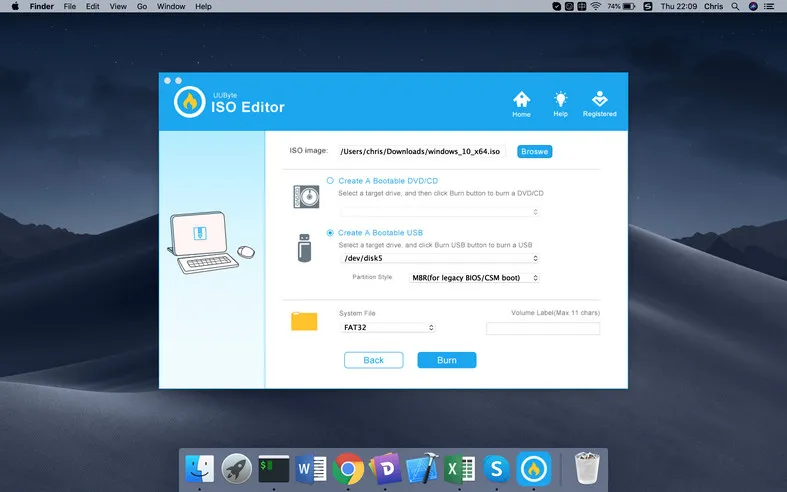
Step 2: Install UUByte ISO Editor on your Mac and insert a USB drive. Run the program, select the USB on the list, choose UEFI as the boot scheme, and hit the Burn button. A Windows 10 bootable USB installer will be created in a few moments.
Step 3: Next, install and launch VMWare Fusion on the Mac. Select "Create New Custom Virtual Machine" from the File → New options.
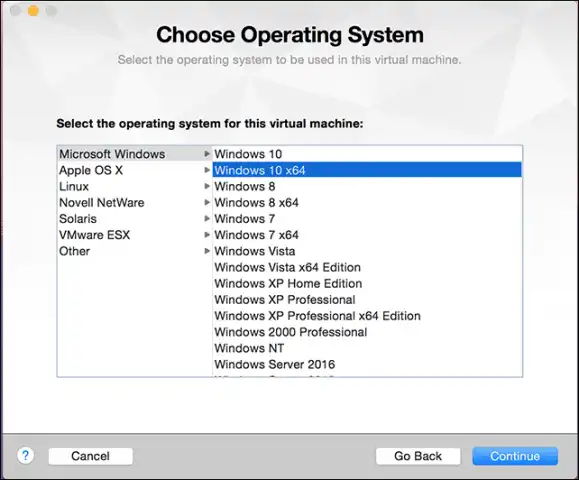
Step 4: From the options given, select the 64-bit version of Windows 10 and hit Continue. Choose the option "Create a New Virtual Disk" and once again click on Continue.
Step 5: When you see the message "No Operating System Found" on your screen, that means the VM has powered up and is now looking for an OS to install. You can now shut down the VM.
Step 6: In Fusion, go to Virtual Machine Library and right-click the VM you just created and select the option "Show in Finder" and look for the .bundle file.
Step 7: Once you find the file, select Show Package Contents in the contextual menu after right-clicking the file.
Step 8: Look for the file with the .vmx extension and edit it. Add this to the file: firmware = "efi"
Step 9: Relaunch Fusion after quitting the application. When you see the "No Operating System Found" alert again, insert the USB you created with UUByte ISO Editor.
Step 10: Since the VM has already powered up, you'll see a couple of options; choose Connect to Windows instead of Connect to Mac. This will trigger the installation of Windows 10 from the UUByte USB installer.
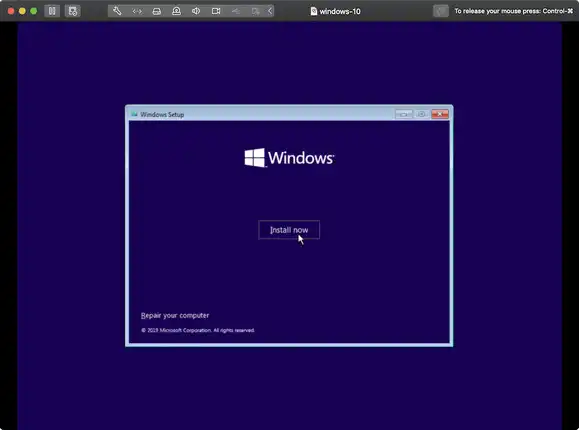
Step 11: Select "Send Ctrl+Alt+Del" in the Fusion menu under Virtual Machine. This triggers the Boot Manager for Windows, and you can proceed as normal with the Windows 10 installation. Once you set it up, you can run Windows through Fusion without having to restart your Mac, which is the way it is done when you use Boot Camp Assistant.
This method allows you to avoid having to restart your Mac each time you switch to Windows 10 operating systems. The second method, as we mentioned, uses Parallels Desktop to directly run Windows on macOS Big Sur.
Method 2: Install Windows 10 on Mac Big Sur Using Parallels Desktop
Parallels Desktop is easier to use because it does most of the work for you, especially if you're just installing Parallels on your Mac for the first time. You can also install Windows 10 as a VM that you've already set up on your Mac, or move your copy of Windows 10 from a PC to a VM. Assuming you're new to this, let's look at the first scenario.
Step 1: Install and launch Parallels Desktop on your macOS Big Sur computer.
Step 2: Since you haven't set up any VMs yet, it will prompt you to install Windows 10. At this point, click the Install Windows option.
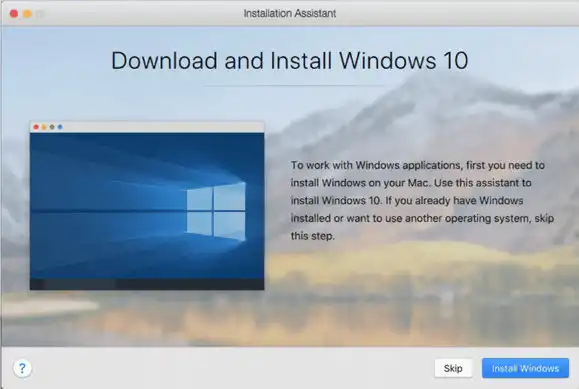
Step 3: Once the ISO is downloaded from Microsoft's servers, Parallels will begin the process of creating a VM for the new Windows 10 installation.
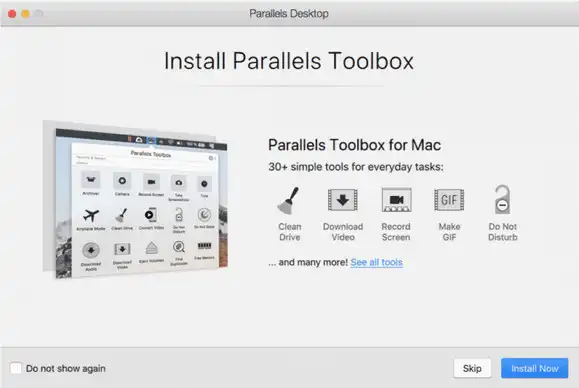
Step 4: From this point onward, there's very little for you to do except choose whether you want to install the Toolbox from Parallels. It's a different application that the company has bundled along with the main VM tool, so it's not necessary. But it is recommended because it comes with a lot of great tools.
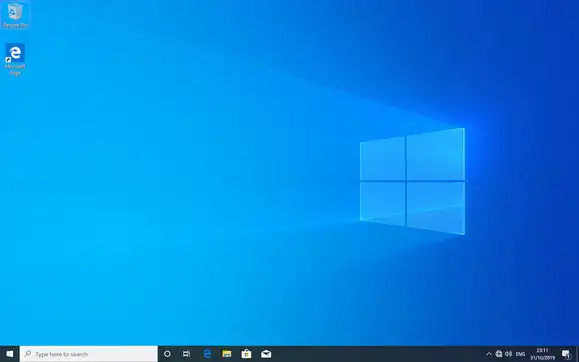
Step 5: Once Windows 10 has been installed, it will obviously be a non-activated version. If you continue without activating the product, a few of the capabilities won't work, but you will still be able to use the OS.
Step 6: Similar to the method using UUByte ISO Editor and VMWare Fusion, the Parallels Desktop method allows you to switch between the two operating systems without having to restart your machine each time.
Conclusion
Both methods are highly reliable and will get you up and running in a short amount of time. There are some key differences between the two virtual machine platforms that might influence your choice, so make sure you know what you're getting with each of the two products.
For example, the latest VMware Fusion 11.5 only costs $79.99 as a one-time license fee, while the latest Parallels Desktop 16 for Mac costs $99.99 for a year, after which you'll have to renew your license. However, Parallels comes with a lot of additional tools in Toolbox, while Fusion doesn't offer those extras. If you're choosing Fusion, then make sure you also get UUByte ISO Editor as the best disk authoring software to create a bootable Windows 10 USB to install on a PC or on a VM in a Mac running Big Sur 11.0.

Petty is editor in chief at UUByte and writes various topics about Windows and Mac to help people make the most of current technology.