
Windows 11 is the next generation of Windows OS, the most popular desktop operating systems on earth. We are excited to see Windows 11 has been super awesome and brought up many new features, such as running Android apps from PC.
In this post, we will share four different approaches to help you run a Windows 11 instance on a Mac computer, which is more difficult than doing the same thing on a PC. Before getting started, please make you the hardware meets the minimal requirements for running Windows 11.
Windows 11 Hardware Requirement
No all Macs are eligible to run Windows 11 as it has more strict hardware requirements than Windows 10. Only the following requirements are full filled, then you are able to use Windows 11 on your Mac.
- 64-bit CPU with 2+ cores and 1GHZ clock speed
- 4 GB or more RAM
- 64 GB or above disk space
- UEFI and Secure Boot Compatible
- TPM (Trusted Platform Module) version 2.0
- DirectX 12 or above graphics card
- Active internet connection
Notice: Windows 11 can be only installed on a Mac with Intel Chip.
Preparation:
To get Windows 11 installed on your Mac, there are a couple of things you should prepare for:
- Windows 11 ISO Image
- USB flash drive (USB 3.0 preferred)
- Mac Backup Software (Time Machine)
- A working Mac computer
Please go ahead when the above items are ready.
Method 1: Run Windows 11 on Mac with Boot Camp (Dual boot)
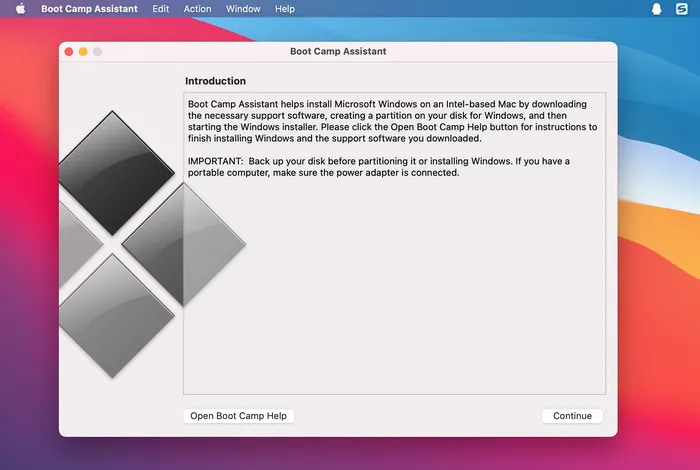
Boot Camp is Apple's own app to let you create a Windows boot along with macOS on a single hard drive. This is the recommended way to run Windows 11 on a Mac as this app comes with macOS by default. This means, there is no need to download or install other software to complete this task. Besides, no additional settings are required during this process. All technical details are taken care by Boot Camp app.
To install Windows 10 on Mac, please open Launchpad and search 'boot camp'. Now run Boot Camp Assistant app from search result. After that, Boot Camp app will show up on the screen. On macOS Big Sur, you are required to remove external storage device currently connected to the computer. This means you have to copy Windows 11 ISO on your Mac first.
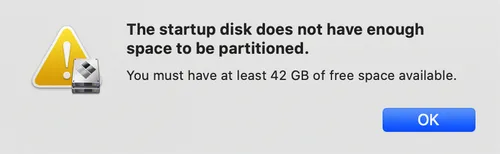
Click the Continue button to proceed. At this time, Boot Camp checks the system information to see if this Mac is fully compatible to install Windows 11. Make sure there is at least 42GB free space on this Mac. If not, you will receive this error.
When everything goes fine, it will lead to Install Windows screen. Now, select Windows 11 ISO file and load it into Boot Camp app. Next, you will see the current disk is split into two partitions. One is for macOS and the other is for Windows 11. Please make more room for Windows partition if you would use Windows extensively on this Mac. Once the partition size is created, there is no way to adjust it.
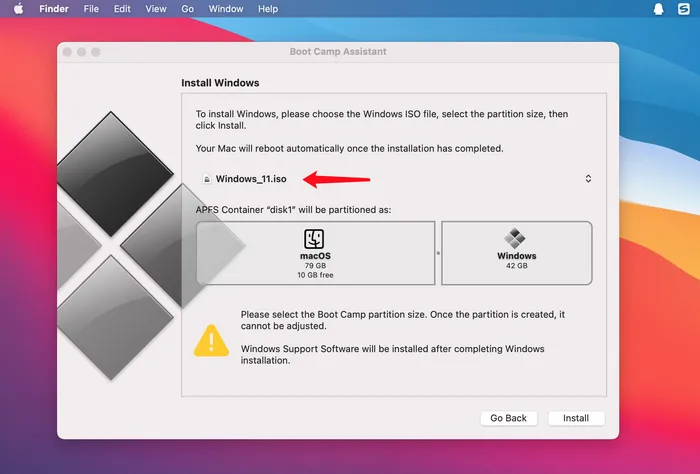
Finally, click Install button at the bottom to start installing Windows 11 on your Mac. You have to wait some time for this task to be completed. Once Windows 11 is installed, Boot Camp will install Windows Support Software to make sure all hardware are functioning well when using Windows 11 on this Mac.
Method 2: Install Windows 11 on Mac and Run without Boot Camp
Boot Camp is great but it does have many restrictions in using this app. If Boot Camp does not working as expected, then we can still install Windows 11 on Mac without Boot Camp. However, we need to create a Windows 11 bootable USB first.
To get started, please first back up important files on your Mac. This is extremely important!
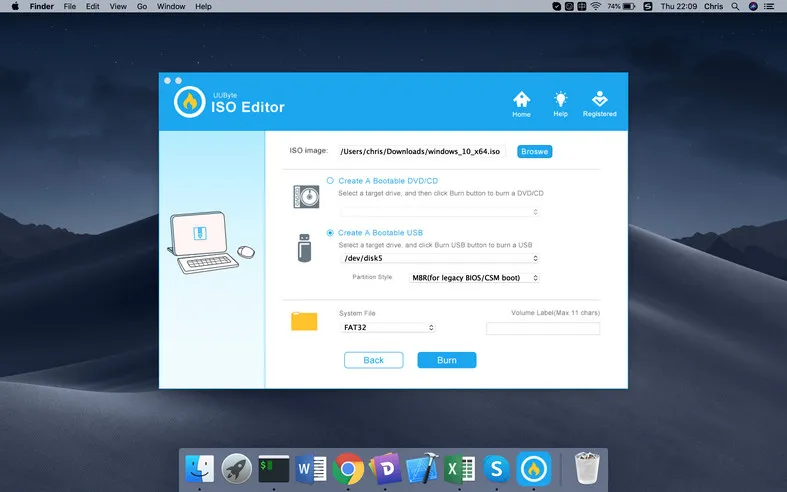
Then insert a USB flash drive and install UUByte ISO Editor on your Mac. Open UUByte app and click Burn tab on welcome screen.
In next window, please import Windows 11 ISO and select the USB drive name. After that, click Burn button to start creating a Windows 11 bootable USB on Mac. You will see a message at the end once the burning is done successfully.
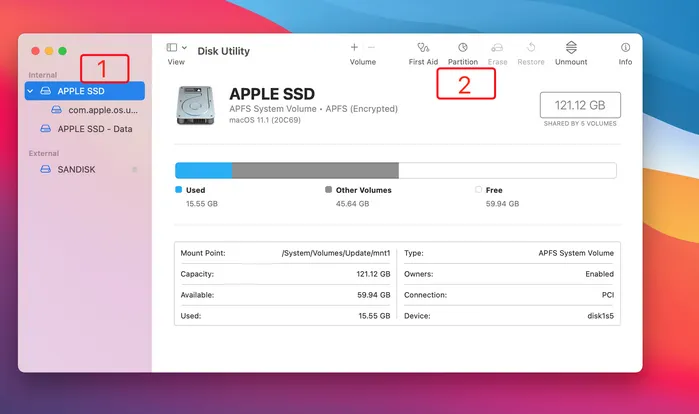
Now, open Disk Utility app and select Apple SSD. You need to create a new partition to install Windows 11. Please click Partition menu at the right menu bar and choose Partition from pop-up window.
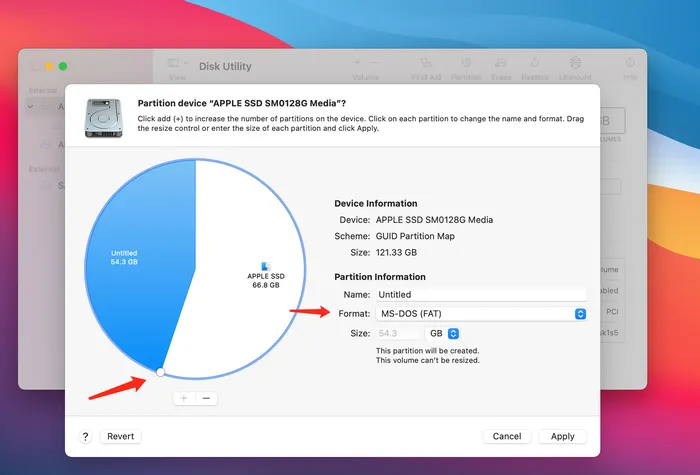
Next, move to the blank space of Apple SSD and click '+' icon to add a new partition. Please give a name to new partition and set the partition format to MS-DOS (FAT). You will notice that the Size field is grayed out, which is assigned to a number by default and is not editable. If you want to change the size of Windows partition, please drag the little circle to adjust the size. Click Apply to create a new Windows partition based on the parameters you have set.
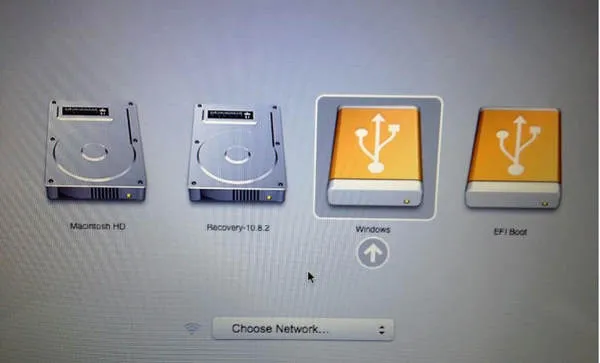
Once the above two steps are done correctly, it is time to install Windows 11 on your Mac. Insert the bootable USB into Mac and reboot the Mac. Keep pressing Option key when Mac restarts. Click the USB drive name and Windows 11 installation screen appears.
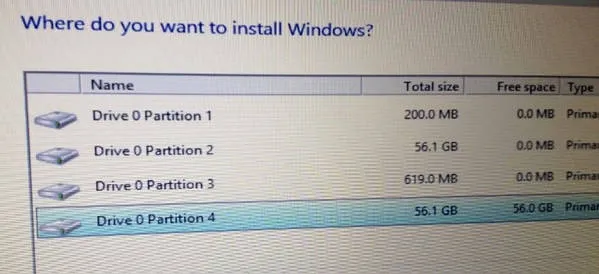
At this time, just follow the screen prompt to install Windows 11 on your Mac. The only thing you should be careful is the step to select a partition to install Windows 11. You need to choose MS-DOS (FAT) partition you created previously. APFS partition is for macOS.
[Tips]: If you receive "This PC can't run Windows 11" error, please follow the tricks in this post to bypass Windows 11 hardware check. You need to modifiy the registry in such a case.
When the installation process is finished, you can run Windows 11 directly on a Mac. However, if some of the hardware is not acting properly during installation, you have to download and install Windows Support Software on a USB drive by using Boot Camp Assistant app. Once the download is completed, you will see a WindowSupport folder in USB drive.

After that, switch to Windows 11 and double click setup.exe in WindowsSupport \BootCamp folder to install missing drivers for Windows 11 OS.
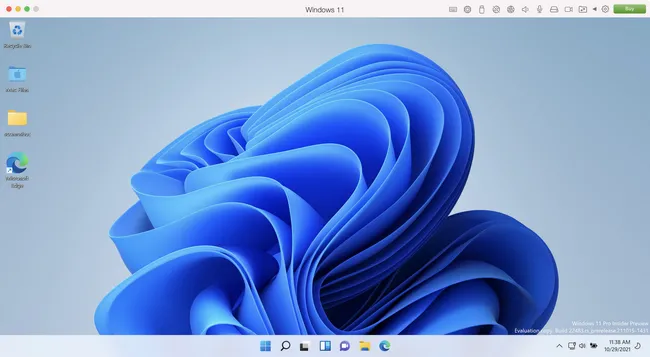
Method 3: Run Windows 11 Virtual Machine on Mac
Well, the above are the two hard way to run Windows 11 from Mac. It will maximize the power of Mac hardware. This means running Windows 11 in this way is much faster. However, it is too complicated to set it up and much more risky! If you want to only use Windows 11 occasionally, then we recommend creating a Windows 11 virtual machine instead. This is much easier and no risky at all. The only drawback is the performance! Some of the big apps or games might not run smoothly.
To create a Windows 11 virtual machine on Mac, you can go with Parallels Desktop or VMware Fusion. These two are one of the best virtual machine software for Mac. And the setup process is quite simple.
First, install the virtual machine software and import Windows 11 ISO. After that, set CPU core, memory and hard disk for this virtual machine. Then follow the default option to complete the process. Once the Windows 11 virtual machine is created, you can now run Windows 11 along with macOS without rebooting.
Method 4: Run Windows 11 on Mac from External SSD
On a budget Mac that only has 128 GB internal storage, none of the above methods are welcomed because Windows needs at least 70GB to run smoothly. So for those users, the alternative choice is to install Windows 11 on an external USB, connect it to Mac and run from it.
To do this, we need UUByte WintoUSB Pro software, the ideal tool for installing Windows to an external drive. However, you need a Windows PC or Windows virtual machine as WintoUSB Pro is a Windows-only app.
First, connect external SSD to PC and format the drive to FAT32 (Not NTFS).
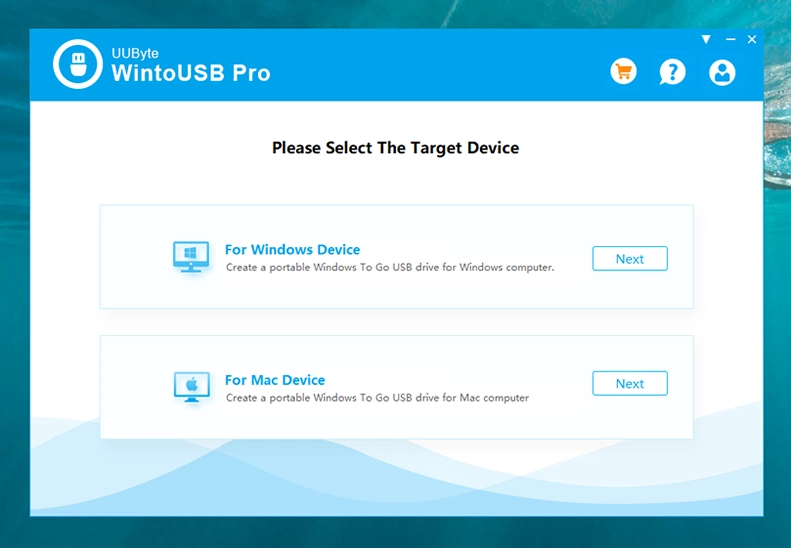
Next, download and install UUByte WintoUSB Pro and click second option (For Mac Device) on the main screen.
At this step, please add Windows 11 ISO image into the program and select a Windows version.
Then you will be asked to select the drive to get Windows 11 installed. Please choose the attached SSD drive on this PC.

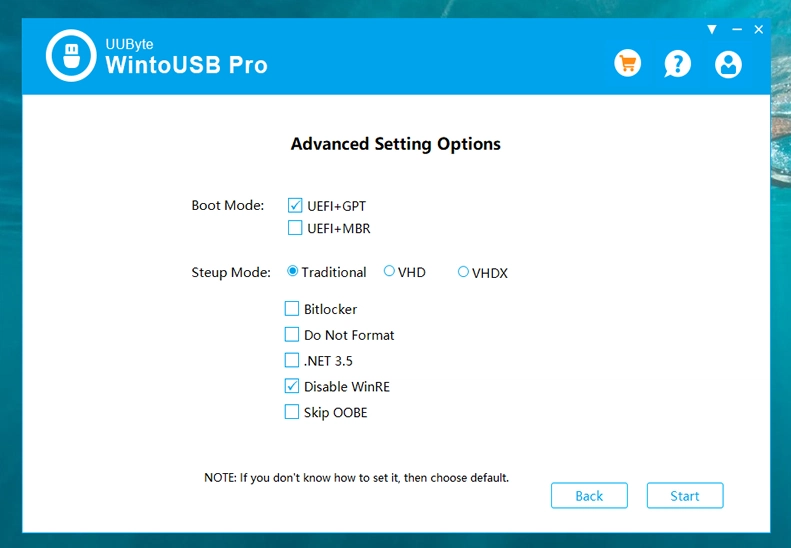
Finally, you have to choose a boot and setup mode. Just leave the settings by default and click Start button to install Windows OS on external SSD.
When the above task is done, connect the drive to Mac and hold Option key during restart. Pick up the SSD from Mac Startup Manager and you will see Windows 11 to be loading on your Mac.
The Bottom Line
The above are four popular ways to run Windows 11 on a Mac. If Boot Camp app is working fine on your Mac, then it should be the first choice. UUByte ISO Editor can be the best alternative to Boot Camp when it is loaded with errors.
Virtual machine could be a great help for non-extensive usage of Windows 11 on your Mac. And for budget Mac with less storage volume, it is more recommended to install Windows 11 on an external SSD and boot it from Mac after installation.

Petty is editor in chief at UUByte and writes various topics about Windows and Mac to help people make the most of current technology.