
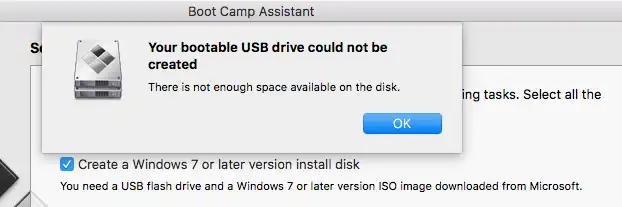
Are you constantly getting error messages like "There is not enough space available on disk" whenever using Boot Camp Assistant to create a bootable Windows 10 USB on your Mac? If you are a Mac user, you know that installing Windows 10 isn't as straightforward as many people may think and Boot Camp Assistant can be a challenge especially when creating a bootable Windows USB installation USB.
Fortunately, I got some tips for you. In this article, I will show the common fix this issue and recommend a good alternative to Boot Camp Assistant if it fails again.
Why Making a Bootable Windows 10 USB on Mac ?
When you have a bootable Windows USB, you can easily conduct repairs or make installations on Windows-based computers. It will give you a portable installation drive, and you can access it wherever you are, simply by saving it to a USB flash drive with enough space for the right Windows ISO file.
When you create a bootable USB like this, you will benefit from its portability, convenience, and speed. This is why it is a great option for IT administrators who work daily in a Windows environment. It will come into handy whenever a user faces a repair-related or installation problem.
How to Create Windows 10 Install USB via Boot Camp Assistant
You can actually create bootable USB installer on your own and ditch the FAT32 altogether. If you can pull this off (I will show you how), you can easily let macOS do the partitioning for you while you sit back and relax.
Step 1: Download everything that you need including a legitimate copy of Windows and Apple's drivers.
Step 2: Launch the Disk Utility and insert the USB drive.
Step 3: Mount the downloaded Windows ISO by double-clicking. Click and then drag to select the files you installed and copy them. Again, copy WindowsSupport folder to the root directory in the USB installer. Now your Windows 10 USB installation is ready.
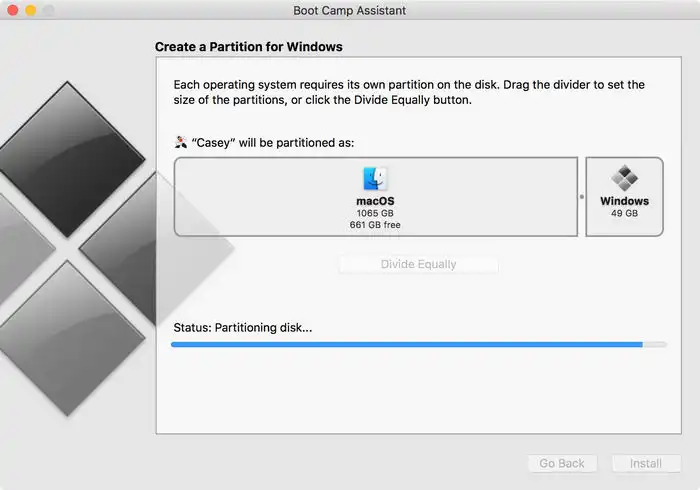
Step 4: Once again launch the Boot Camp Assistant and click on Continue. On the next screen, assign the space to Windows partition. Click on Divide Equally and then click continue for the process to start. Input administrator password and then it will restart to begin Windows installer.
Your Mac will restart a few times before it installs all the drivers. Once you've successfully rebooted Windows, everything will work as expected.
How to Fix 'There is not enough space available on this disk' Error
You might come across this error when creating a bootable Windows 10 USB on Mac. It never appears on previous Windows version because the installation ISO is smaller than 4G. Mostly, this error pops up when using the Windows 10 ISO with October Update. Here are the common fix to get it solved.
Fix 1: Download Windows 10 original ISO instead of ISO files with updates.
Fix 2: Format the USB to FAT 32 or exFAT (Mojave).
Best Boot Camp Assistant Alternative to Create Windows 10 Install USB
Most users opt for UUByte ISO Editor to create bootable media and burning ISO files if Boot Camp Assistant failed. It gives them the flexibility to be able to change their burn settings and choose their storage medium. It can be used in both UEFI boot and legacy BIOS schemes as well as with multiple file systems.
The most important features are the high burn success rate and the simple UI that allows even novice users to quickly burn bootable ISO file to an USB flash drive. These features have made UUByte ISO Editor extremely popular among both Windows and Mac users around the world. In a matter of a few steps, anyone can create a bootable USB drive for Windows 10/8/7. The process has been described in details below:


Step 1: Install UUByte ISO Editor on Mac
Download the UUByte ISO Editor into your Mac Computer. Once you have completed the task, type the password before you open the application in order to authorize the permission.
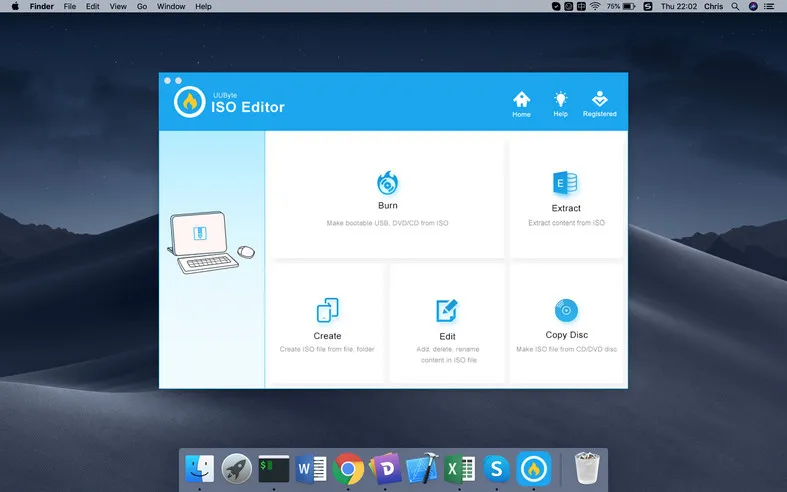
Step 2: Insert USB into Mac
Plug in the USB flash drive into the Mac. The application home page will show multiple options as you launch the software. By clicking on "Burn," you will be creating the bootable disk.
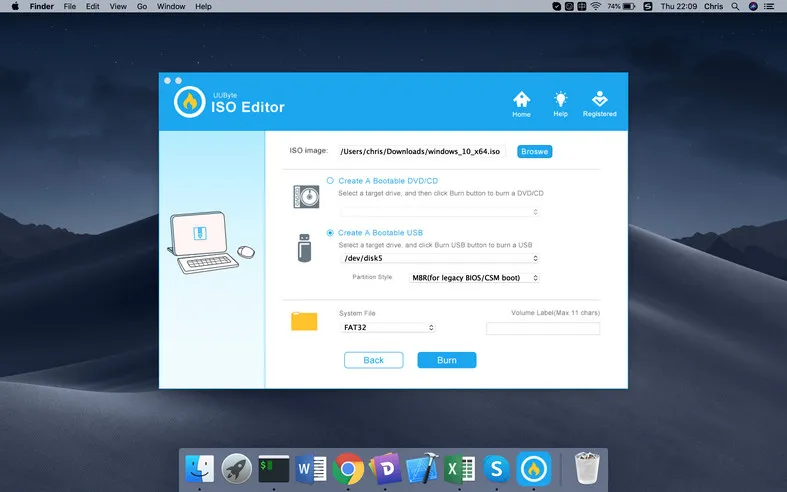
Step 3: Create Bootable Windows 10 USB on Mac
Now in the next Window, you need to add the Windows ISO to the program by clicking the Browse button at the top. Select the Windows 10 ISO file and then choose the appropriate storage medium. Click on the "Burn" button and wait for a few moments to create the bootable drive. You can start using it for installing Windows afterwards.

The good thing about this application is that there are no "Advanced" settings to confuse the user and no additional tools needed to complete the task. The software does the formatting on its own and does not require the users to complete complex and lengthy tasks.
Conclusion:
The best tools are those that help people to fix problems with minimal effort. UUByte ISO Editor is wildly popular among Mac users. It has a high rate of burn success, and the UI is simple, making it possible even for the novice users to make bootable ISO files quickly to a USB flash drive or a disc.

Petty is editor in chief at UUByte and writes various topics about Windows and Mac to help people make the most of current technology.