
If you are a developer, then having access to multiple platforms like Mac, Windows, Linux is a must. However, buying multiple PCs is not a viable option. For limited access of aparticular operating system, it is more recommended running a virtual machine instead, especially for running Windows 11 on Mac because Apple does not allow dual booting Windows on Mac through Boot Camp any more. You can not directly install Windows 11 on Apple Silicon Mac or Intel Macs with macOS Big Sur or later.
In this post, we will show you how to create a Windows 11 virtual machine on both Intel and M1 Mac. The virtualization software in our example is called Parallels Desktop, the best virtual machine software on Mac and performs better than Virtual Box and VMWare Fusion. This can be used to run Windows 11 on your Mac! Isn't that some good news?
As we all know, there are Macs with Intel chips, and there are Macs with Apple Silicon chips (M1). Unfortunately, the process of installing Windows 11 on either of these chips are quite different. Please don't get frustrated! We will explaine all the details for both chips here to ensure you don't feel left out.
Table of Content:
First, we will let you know how to create Windows 11 virtual machine on a Mac powered by Intel chip.
How to Create Windows 11 Virtual Machine on Mac (for Intel Chips)
This is a very long and time consuming process. Please read the steps carefully. In short, it can be summarized into three stages:
- Create Windows 10 virtual machine
- Add TPM Chip to Windows 10 virtual machine
- Upgrade Windows 10 to Windows 11
Part 1: Create Windows 10 Virtual Machine on Mac with Parallets Desktop
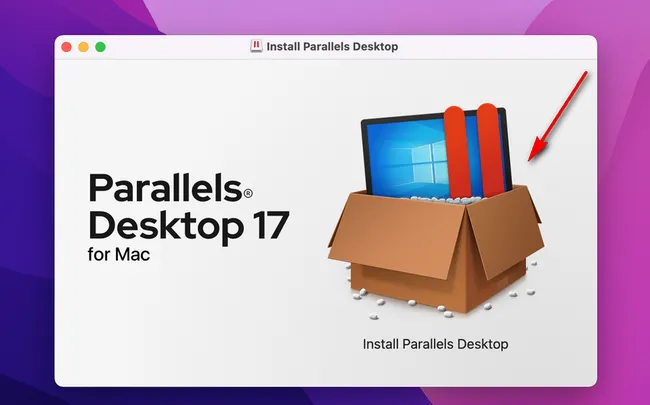
Step 1: Head over to Parallels Desktop web page, download the dmg file on your Mac from below link.
Step 2: Go to Downloads folder of your Mac and double click on the DMG installer to mount it. Go to Mounted drive and double click the box icon to download and install Parallels Desktop app on your Mac. It will show you a license agreement windows once installation is completed. Please click on Accept to proceed.
Step 3: A pop-up window shows up and asks you to download Windows 10. If you did not have Windows 10 ISO at hand, please click on the Install Windows button. Parallel Desktop starts downloading Windows 10. Don't worry, we will still be installing Windows 11 on your Mac, but this is the easier way to go.
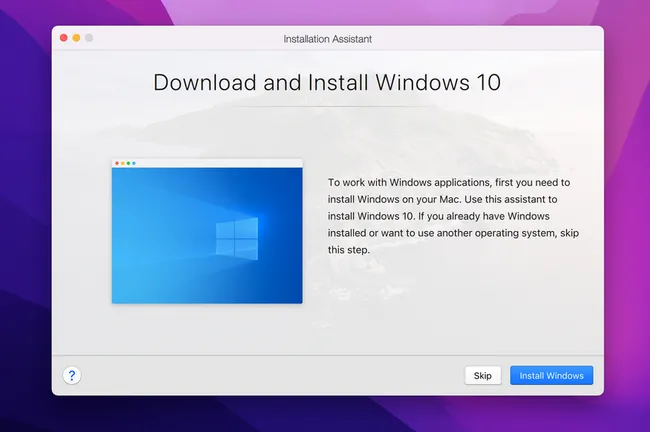
However, if you already downloaded Windows 10 ISO, please click the Skip button and select Install Windows or another OS from a DVD or image file to continue. Next, it will ask you to choose a Windows installation image. Please pick up a Windows 10 ISO instead. Windows 11 ISO does not work!

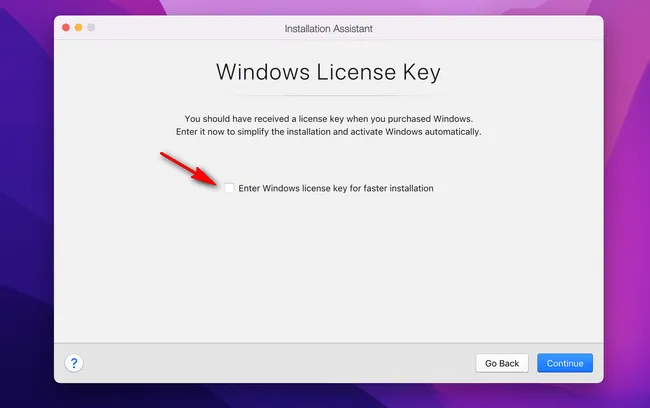
Step 4: The next window asks you to inputer a valid license key for Windows 10 install. If you have, please enter it correctly. If not, uncheck Enter Windows license key for faster installation and click Continue. This should work fine, tool.
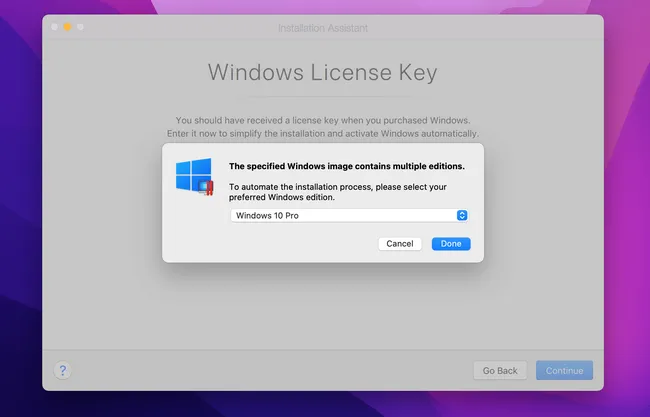
Step 5: Usually, an ISO image contains multiple Windows editions. Please choose a proper edition according to your needs. In my case, it is Windows 10 Pro.
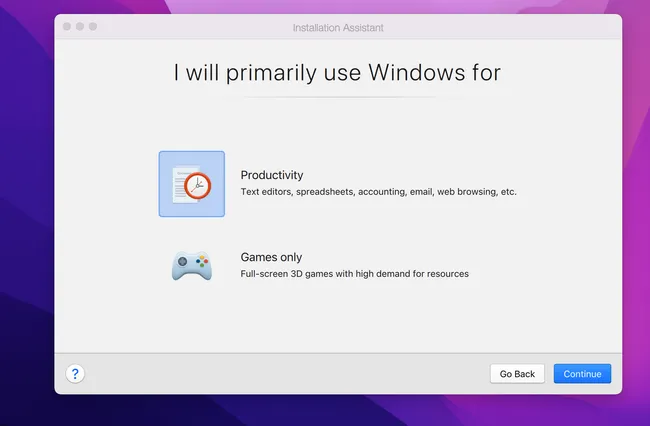
Step 6: When you selected a specific edition, the next move is to choose a purpose for using Windows. There are two options available. One is for productivity and one for games only. You have to choose one to proceed. For me, Productivity is my choice.
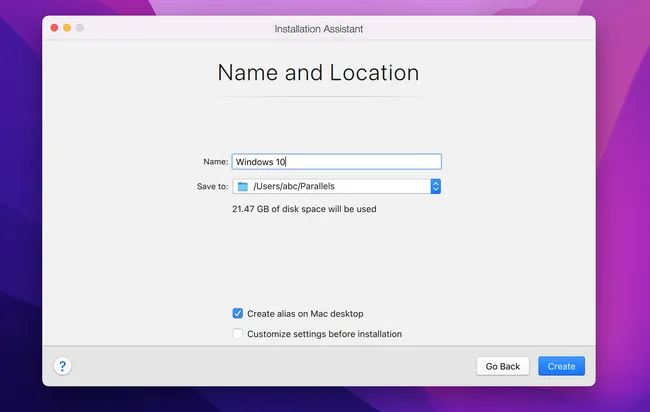
Step 6: The last setting you have to make a chocie is the place where Windows 10 will be installed on your Mac. Please go with the default option. Make sure there is enough free space on local drive.
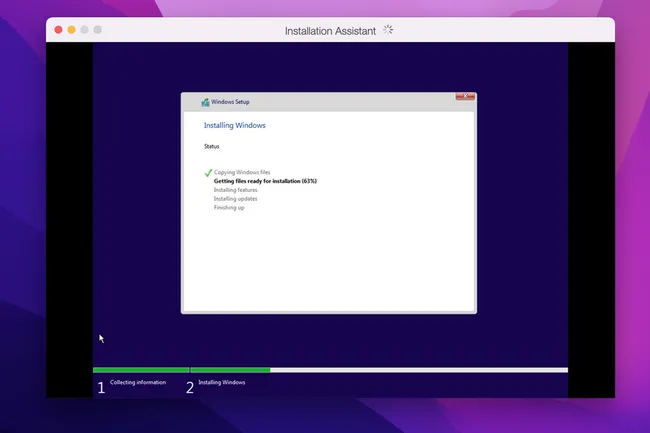
Step 7: Now, Windows 10 installation gets started. Parallets Desktop will decompress Windows 10 ISO file and copy them to virtual disk. You will see a process bar for that. From my case, it takes about five minutes.
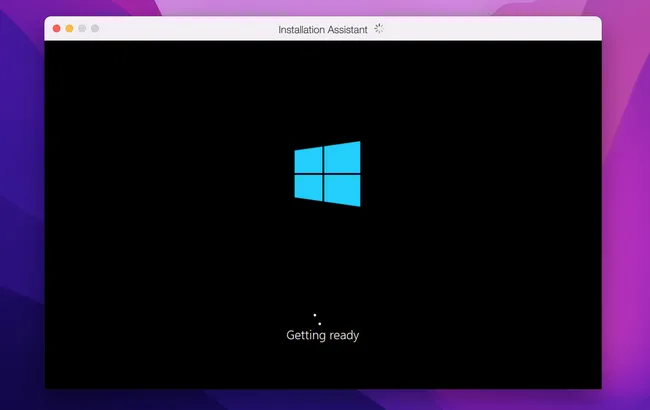
Step 8: Windows 10 virtual machine will restart once the above process is completed. It takes a while to get things ready!
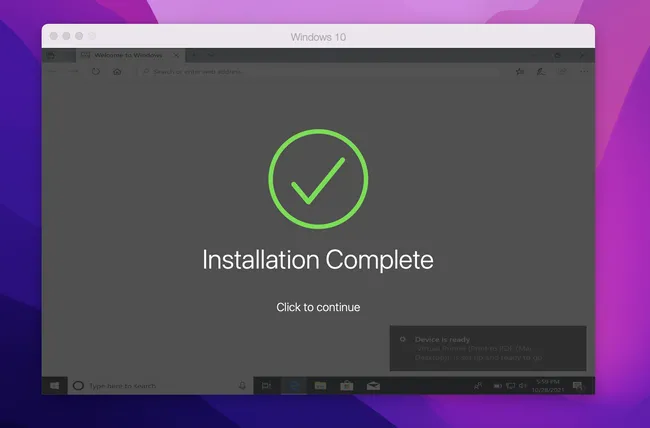
Step 9: Windows 10 will reboot again and asks you to grant a few permissions. Please do grant these permissions to Parallels Desktop app. Remember, installing Windows 10 on your Mac will take considerable amount of time, so have patience. You will see Installation Complete at the end of process.
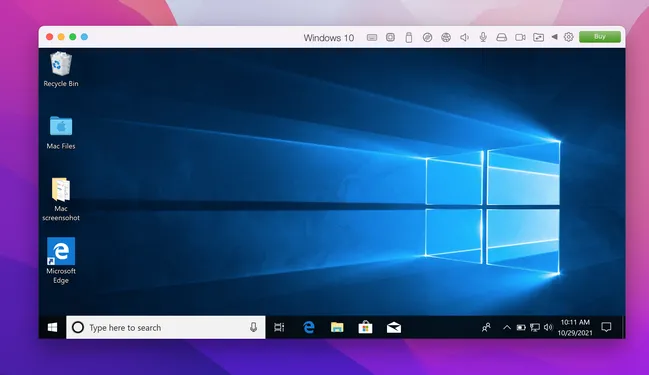
Step 10: Once done, you'll be able to see a Windows 10 desktop as a virtual machine on Parallel Desktop. You have to create a Parallets Desktop account and accept a few more license agreements from Parallel Desktop this time, to be able to start using Windows 10 virtual machine on Mac.
Part 2: Add TMP Chip to Windows 10 Virtual Machine
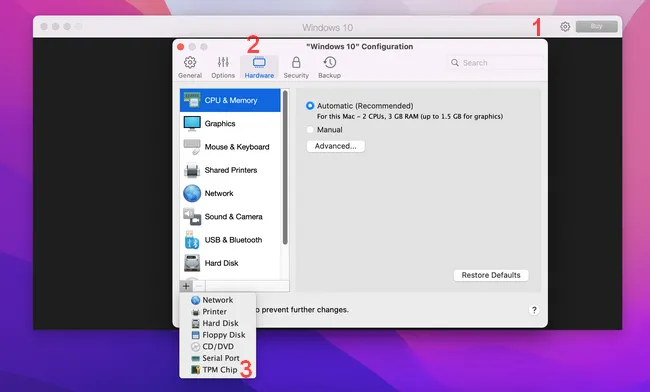
Now that we have installed Windows 10, we will be upgrading it to Windows 11. Before the upgrade starts, we have to add a TMP chip to this virtual machine which is a compulsory requirements for running Windows 11.
Go over to Parallels Desktop and shut down Windows 10 virtual machine. After that, open Configure panel from top menu bar, then go to Hardware tab and look for the + sign towards the bottom left. Click on that + sign, and then click on TPM Chip, and finally click on Add. This should add TPM support for Windows 11.
Part 3: Upgrade Windows 10 to Windows 11
We are at the final part of this tutorial. In this part, we will try to upgrade Windows 10 to Windows 11 with the assistance of Windows 11 ISO file, which contains a Windows 11 setup utility.
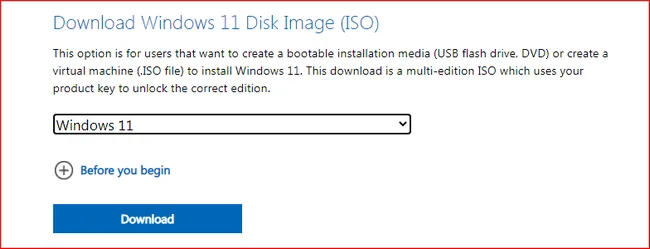
Step 1: Restart Windows 10 virtual machine, open the default Edge browser on desktop and go to Windows 11 download page from this link. You will find Windows 11 ISO download option at the end of this page.
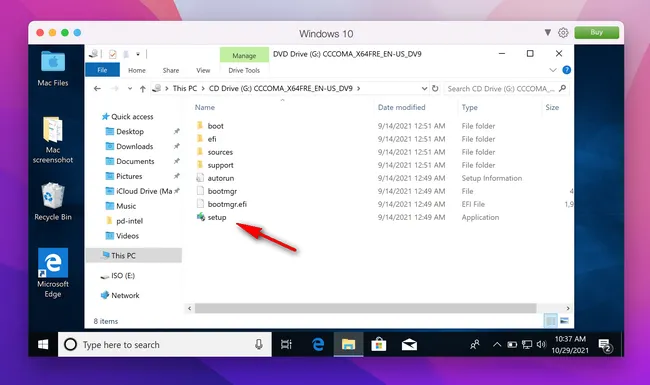
Step 2: Double click Windows 11 ISO and open setup.exe in it to start Windows 11 installation process.
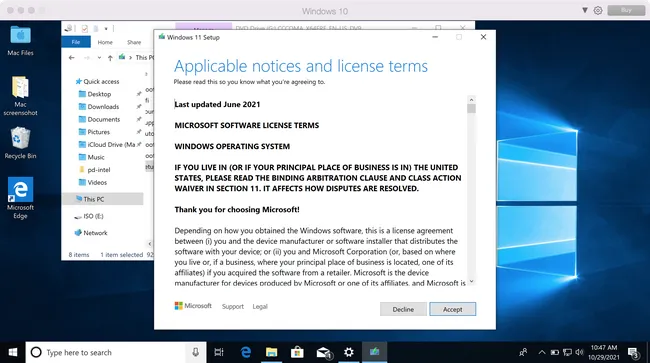
Step 3: You have to accept Microsoft license agreements and wait a few minutes to get things ready.
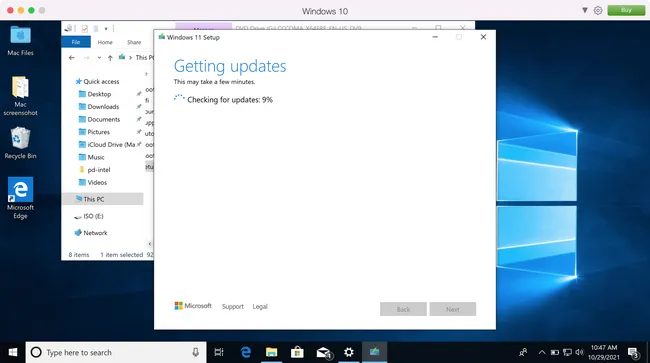
Step 4: Now, Windows 11 setup program begings to check latest Windows 11 updates and download it to local computer. This will take about 10 minutes. Fortunately, a progress bar is presented on computer screen for this time.
p.s If you see a warning message, saying this PC doesn't meet the minimal requirement of Windows 11, please click Accept button and move ahead. This may be due to unsupported CPU and won't affect the further installation.
Step 5: When the downloading is finished, it is ready to install Windows 11 on this virtual machine.
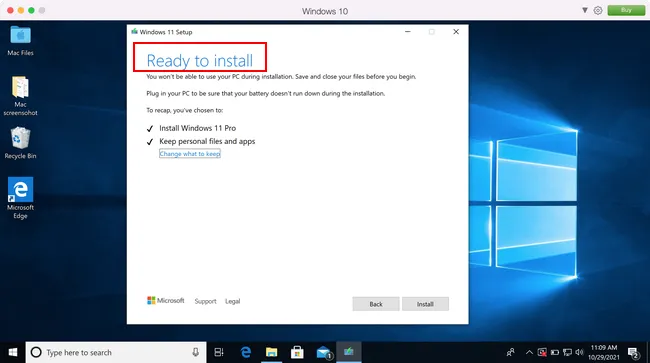
Step 6: From this time, Windows 11 installation process finally takes off with a large blue screen. There is also a progress bar indicating the whole task. Please wait and be patient!
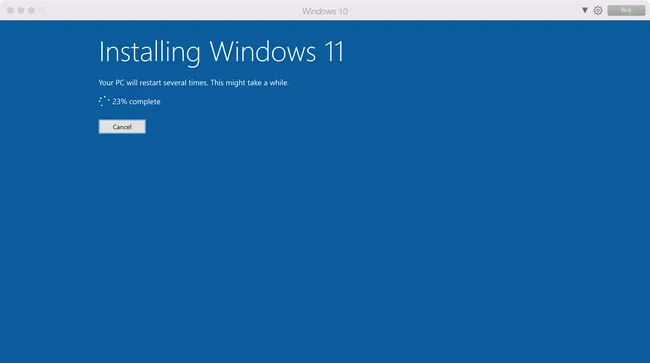
Step 7: In my case, Windows 11 installation takes about 20 minutes to complete. Once it is done, you will see Windows 11 is already installed on this Mac with Parallets Desktop.
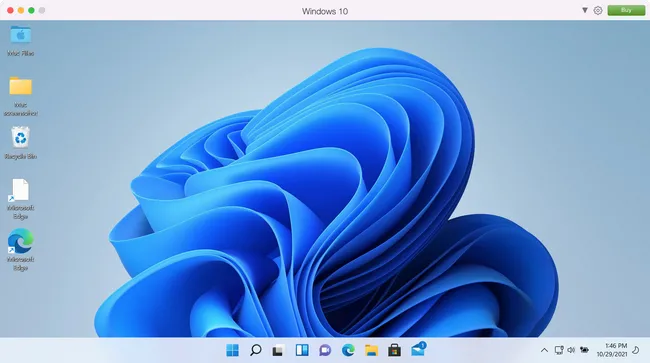
Although this Windows 10 virtual machine has been upgraded to Windows 11, the name is still labelled with the initial name Windows 10.
How to Create Windows 11 Virtual Machine on Mac (for M1 Chips)
In recent years, newly shipped Macs were powered by an Intel CPU. However, Apple started the transition process in late 2020, which used M1 SOC on certain models of Macs. And things are acting differently since then as Apple Silicon chip adopts a completely different architecture (ARM) when comparing to traditional Intel x86 chip. And ARM chips are widely seen on smartphones and tablets. It is the first time that an ARM chip is used on a laptop.
If your Mac is with Apple M1 chip, please follow the steps in below to create a Windows 11 virtual machine with Parallels Desktop.
Step 1: Follow steps 1 to 3 from the previous section to install Parallels Desktop on M1 Mac.
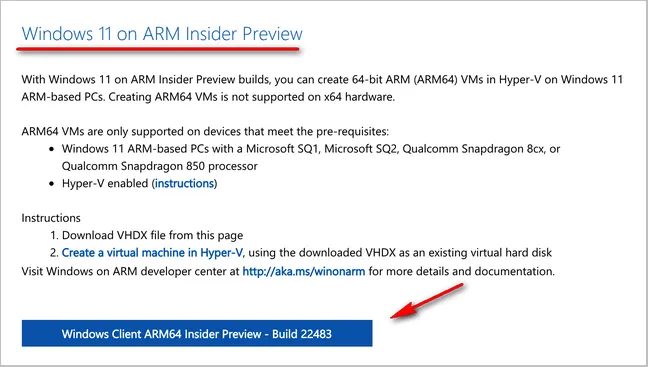
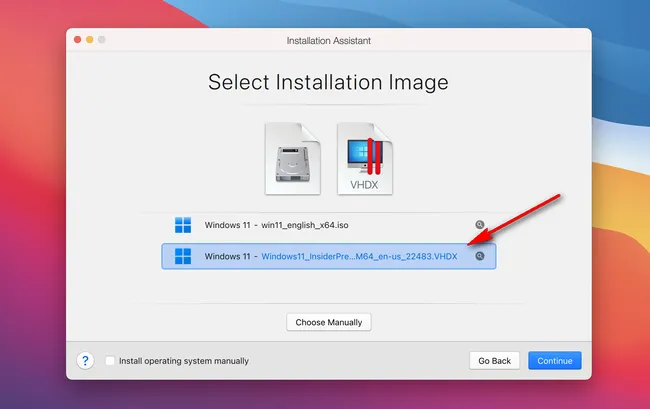
Step 2: Once you have installed Parallels Desktop app on your Mac, go over to Microsoft website to download Windows 11 ISO for ARM64 chips. However, you need a Microsoft account for sign in and register Windows Insider Program to see the download option. In fact, it is a VHDX file nearly 10 GB in size. So it really takes some time to fully download it.
Step 3: Once you have downloaded Windows 11 ARM64 file, open Parallels Desktop on your M1 Mac. The welcome screen shows a few tips about running Windows 11 virtual machine on Mac. Please on the Continue button to move to the next page, where you should import downloaded VHDX file.
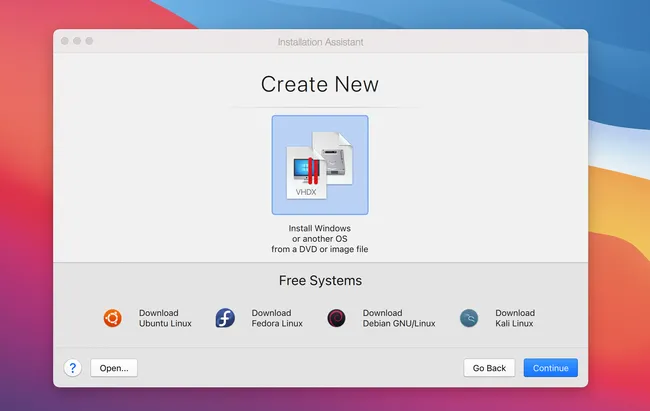
Step 4: You will see all ISO files and VHDX files are listed on the screen by default. Please scroll down the list and choose the VHDX file you downloaded earlier. And then follow the screen prompt to choose an user mode and a folder to get Windows 11 installed.
Step 5: Now, Parallets Desktop starts to create a new instance for this Windows 11 virtual machine with appropriate hardware configuration.
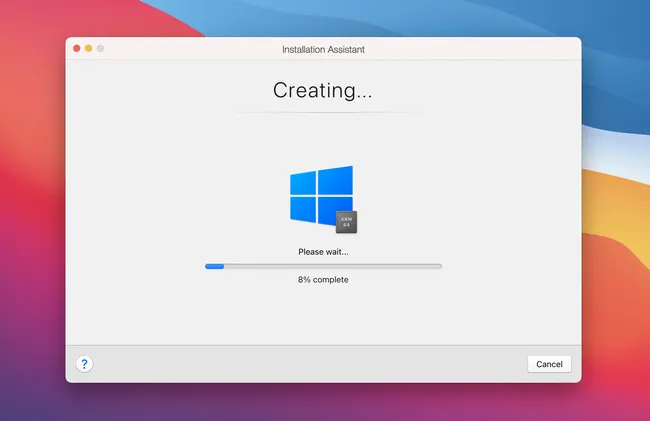
Step 6: Wait about 2 minutes and Windows 11 installation will get started automatically on your Mac. Just follow the instructions on the screen and you should be good to go.
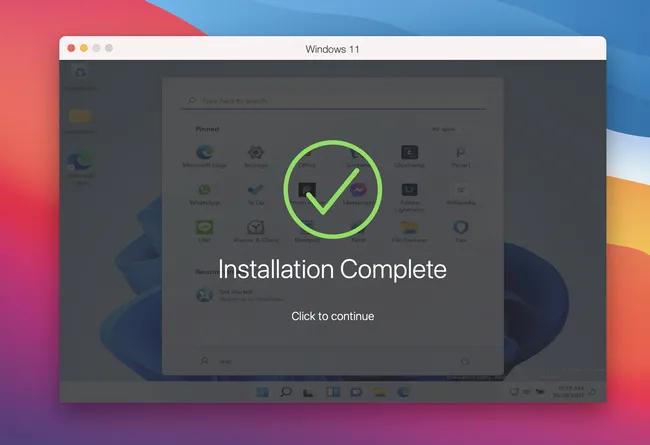
Step 7: Finally, hit Click to continue button and sing in or create a Parallets account to get into Windows 11 desktop.
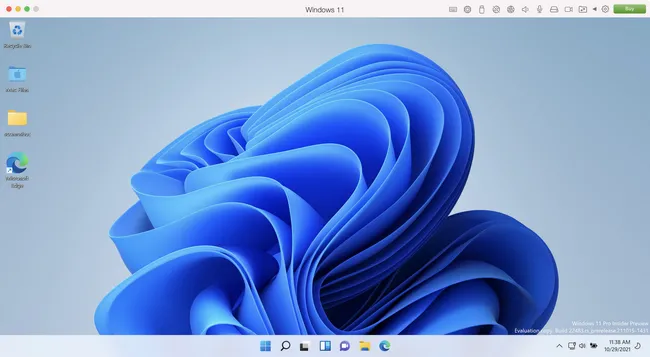
According to our latest test on two Macs (MacBook Pro Late 2015 and MacBook Air 2020 M1) , it is absolutely OK to create a Windows 11 virtual machine on both Intel and M1 Mac by using Parallels Desktop app. However, the steps are much more easier on a M1 Mac, which is straightforward and no complex setting.

Petty is editor in chief at UUByte and writes various topics about Windows and Mac to help people make the most of current technology.