
Pi OS (previously Raspbian OS) is a free operating system developed by the UK charity, Raspberry Pi Foundation. It is the primary OS for all models of Raspberry Pi single-board computer. Theoretically, it is derived from Debian Linux, and by default, it uses the LXDE desktop environment. This operating system comes with over 35,000 packages. In this article, we will discuss 3 methods through which you can install Pi OS to SD Card from Windows 10 PC.
Preparation before Getting Started
- Image file of Pi OS.
- Unzip tool like 7-Zip, WinZip.
- SD Card reader for PC.
- Format SD Card to FAT/FAT32.
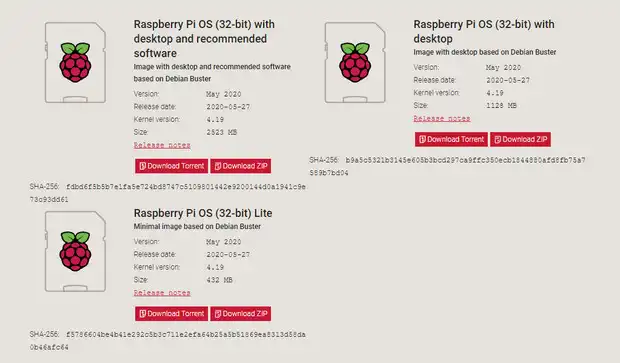
In case the image file of Pi OS not downloaded on your Windows 10 PC, you can obtain a copy of Pi OS from official website.
Method 1: Install Raspberry Pi OS to SD Card on Windows 10 via DMG Editor
UUByte DMG Editor is an all-round flashing toolkit for burning disk image file to SD card and USB drive. This tool is probably one of the best software to install Pi OS to SD Card on Windows 10. Currently, it supports .iso, .img, .dmg, .zip and a few more disk image files. Another amazing feature of this software is creating a bootable macOS USB on Windows PC. It is also loaded with addition useful features like opening and extracting content from .dmg file. With the help of DMG Editor, you can easily install Rasberry Pi OS to SD card without any hassle.


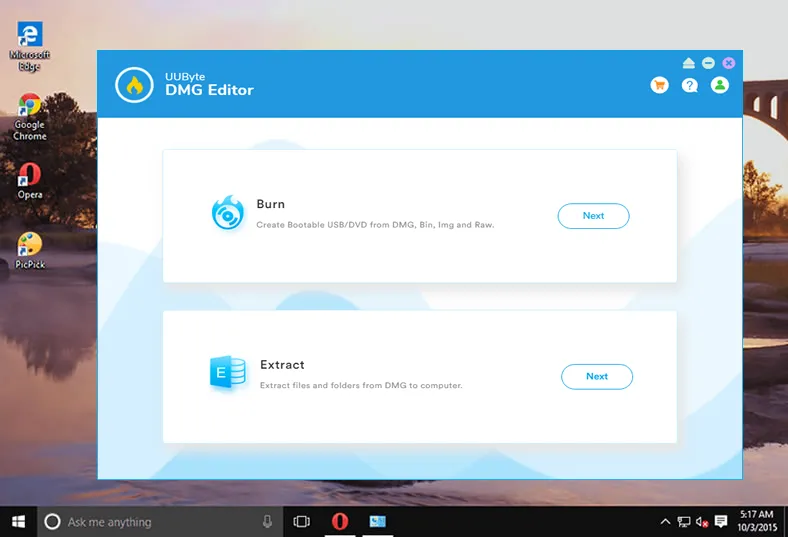
Step 1: Software Download and Installation
Download and install UUByte DMG Editor on your Windows 10 computer. Once the installation is finished, launch the program.
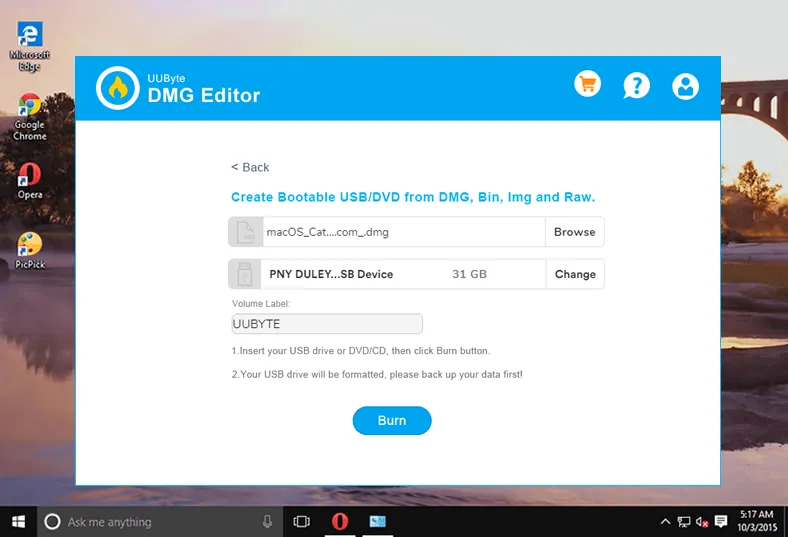
Step 2: Add .img File ( Raspberry Pi OS)
Now insert your SD card and click on the "Browse" button to import Pi OS image file that you have previously downloaded into the program. You will also see the drive name of SD card displayed on the screen.
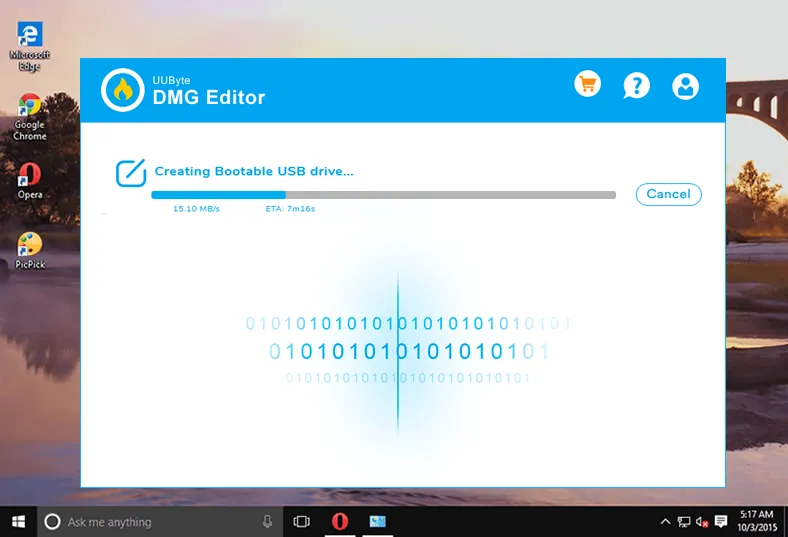
Step 3: Start Installing Raspberry Pi OS to SD Card
Click on the "Burn" button to write/burn the Pi OS image file that you have previously downloaded. That's it; wait for 10 minutes and the process will be completed. Now go ahead and eject your SD card which now has Pi OS installed on it.
This is a fast and secure process to install Raspberry Pi OS to SD card on a Windows 10 PC. And it takes only a few clicks of your mouse to complete the job. You don't have to install any other third-party software and you don't have to be tech-savvy to use this software. The user interface is smooth and the software takes very little place on your hard disk.
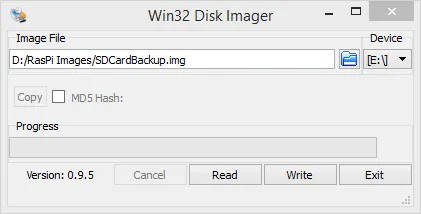
Method 2: Use Win32 Disk Imager to install Pi OS to SD Card from Windows 10
Win32 Disk Imager is an open source project hosted on SourceForge initially developed for embedded development. One of the core functions of Win32 Disk Image is to burn raw disk image file to removable device such as SD card or USB stick.
Step 1: Insert the SD card into Windows 10 computer and remember the drive letter for SD card. You can get it from File Explorer.
Step 2: Locate the path of Raspberry Pi OS (Raspbian) image file that you have downloaded previously.
Step 3: Now open the Win32DiskImager program and select the drive of your SD card from the drop-down menu.
Step 4: Click on the 'Write' to burn .img file to SD card and wait for the process to finish. After the process is completed simply eject your SD card. That's it you are done.
Though this method is good, it takes a lot of time to complete. If you have a tight schedule and want the task to be completed in a few minutes then this is not recommended for you. UUByte DMG Editor is much faster than Win32 Disk Imager. In addition, this software has not been updated for three years.
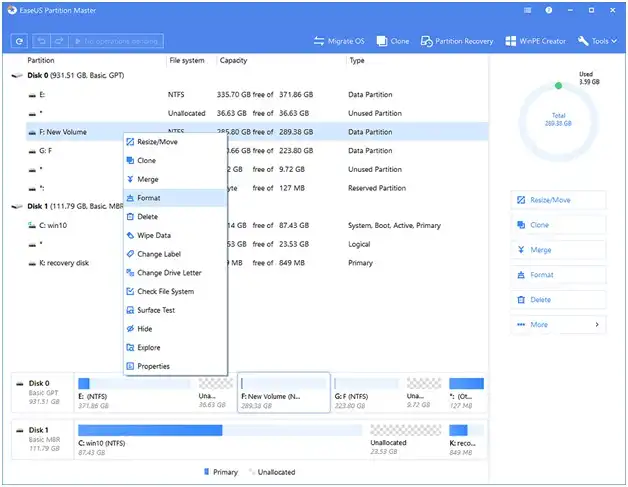
Method 2: Install Raspberry Pi OS to SD Card from Windows 10 Using Partition Master
Partition Master is a premium software released by EaseUS, a leading software company in disk management.
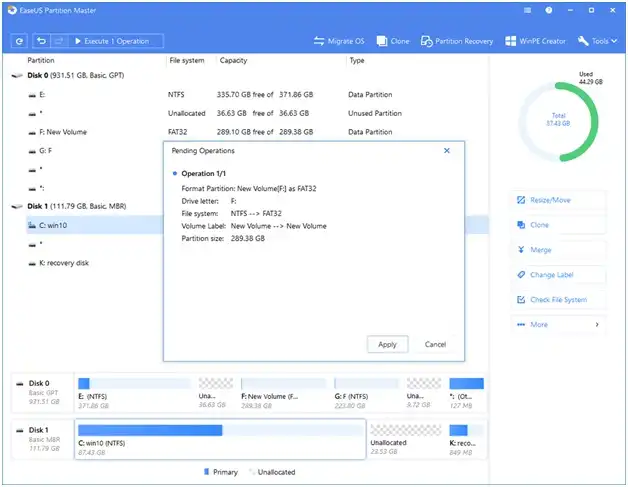
Step 1: After installing, open EaseUS Partition Master. Locate your SD card and then right-click the partition you want to format and select "Format".
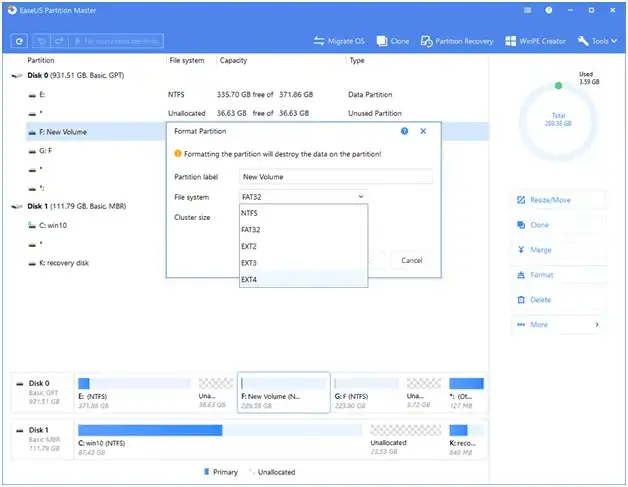
Step 2: Now you have to select a file system for SD card partition label (FAT32 preferred), and also cluster size of the partition that you have selected, click on "OK" to continue.
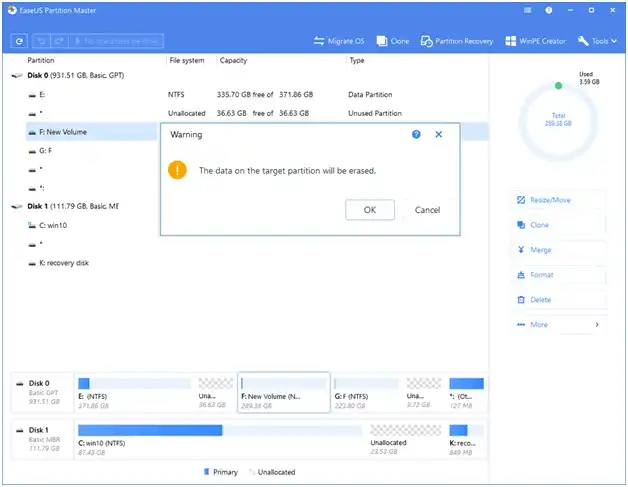
Step 3: You will see a pop-up window which will warn you that all data on the selected partition will be deleted. Click on "OK" to confirm that.
Step 4: Now click on the "Execute Operation" tab followed by the "Apply" button to start formatting your SD card. You have now successfully formatted your SD card.
Step 5: Now insert the SD card on your Windows computer. You can use a card reader or an adapter. Select the Raspberry Pi OS(Raspbian) image file that you have extracted earlier. Make sure to choose the correct drive letter of the SD card. Now go ahead and click on "Write" for the writing process to complete. That's it, you are done, once completed, eject the SD card.
This process is simple but sometimes may take a long time depending on the size of the SD card; and also, if you select the wrong partition, all your data will be wiped out permanently.
Comment
All the above mentioned are very effective when it comes to installing Pi OS to SD Card on Windows 10. However, if you want a smooth and trouble-free experience, go for UUByte DMG Editor as it will complete the process within 10 minutes and will give you a feel-good experience that you can cherish. It also comes with so many features that are quite effective.

Petty is editor in chief at UUByte and writes various topics about Windows and Mac to help people make the most of current technology.