
Why do you want to create a custom version of Windows 11 ISO image?
This might be the first question that comes into your mind.
To answer that. Microsoft has a habit of inserting a lot of useless application in their main operating system. Because of these apps is using computer resources heavily and causing performance problem. Not only for that but it is also going to reserve storage for those apps. We simply call that application bloatware.
Another major issue a large Windows 11 ISO brings up is that the install.wim file is too big to be fit on a FAT32 partition, making it extremely hard to make a Windows 11 bootable USB for installation. You have to split install.wim file into small ones to get it to work. This is also a time consuming process.
These are my reasons for creating a custom windows 11 ISO image. This will remove unnecessary apps and reduce the size of install.wim file. Before going ahead, you need to know what is WIM and ESD extentions.
Content Navigation:
What are WIM and ESD?
There are two types of file extensions you should be familiar with before creating a custom windows 11 ISO image. They are .wim and .esd. Apparently when you are downloading windows 11 from Microsoft website all the components are compressed into an install.wimfile. And in order to create a custom windows 11 ISO, we need convert install.wim to install.esd and rebuild a brand new Windows 11 ISO from install.esd.
What is WIM?
WIM stands for Windows Imaging Format. A WIM file was introduced with Windows Vista and this single image file includes OS core, device drivers, software updates and components. In addition, there are multiple OS editions inside a single .wim file that you can choose from during installation, such as Windows 11 Home, Windows 11 Pro and Windows Enterprise. If I have to put it in simple words, all the windows files are located inside this WIM file.
What is ESD?
ESD stands for Windows Electronic Software Download. In simple words ESD is a more compressed version of the WIM file. It means ESD also contains files such as windows components, drivers, updates and more. There are a lot more to ESD compared to WIM, that's why I recommend you to read this post from Lifewire.
To create a custom windows 11 ISO image, you have to follow all the below steps one after another or else you will be confused. All these steps are so long so that's why I have divided it into multiple parts to create a custom version of windows 11 ISO image and remove bloatware from it to reduce the file size.
Things You Should Prepare:
Extract Windows 11 ISO with MSMG Toolkit
MSMG Toolkit is a poweful utility for customizing Windows images. It has the ability to remove built-in Windows components, customize Windows looks and deploy Windows install image (support both .wim and .esd). To get started with this tool, please download it from official website and use it to extract and rebuild Windows 11 ISO image.
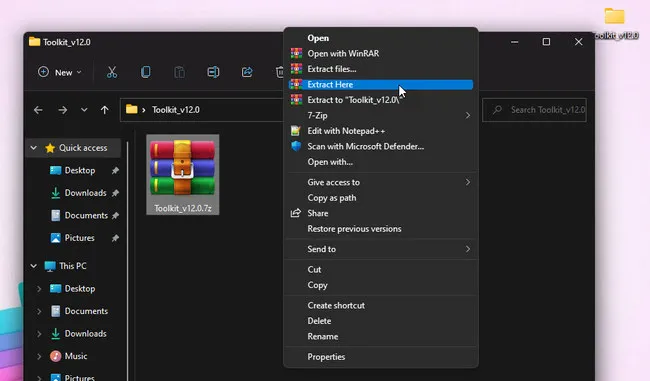
Step 1: Extract MSMG Toolkit
I am assuming that you have already downloaded one of zipping application. it does not matter whether it is 7-zip or WinRAR. For this tutorial I'm going to use WinRAR. To extract the MSMG toolkit right click on it and choose extract here.
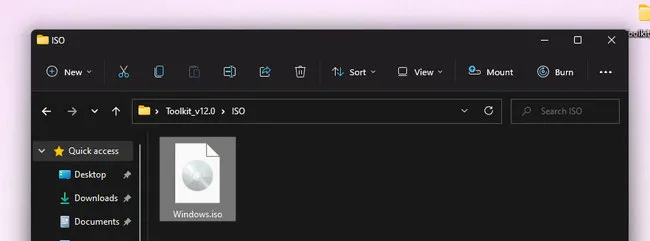
Step 2:Move the Windows 11 ISO
After extracting MSMG toolkit, you will see that there is a directory called ISO, so you have to move the windows 11 ISO inside that directory that I just mentioned.
Step 3:Run the MSMG Toolkit
It is time for us to run the MSMG toolkit and at the same time extract the windows 11 ISO. To start the MSM toolkit, double click on the start.cmd and then a prompt will appear simply click yes.
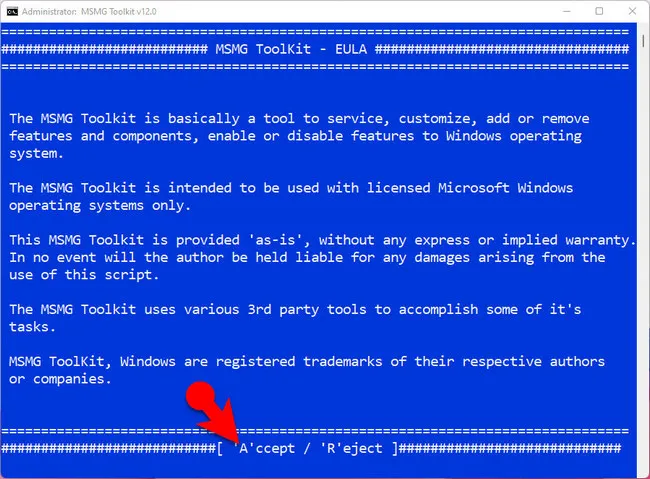
Once the MSMG toolkit is opened, it has explained a bunch of things about the MSMG toolkit about how it works and they are using a lot of third-party application. You have to agree to them by pressing A on the keyboard to move forward.
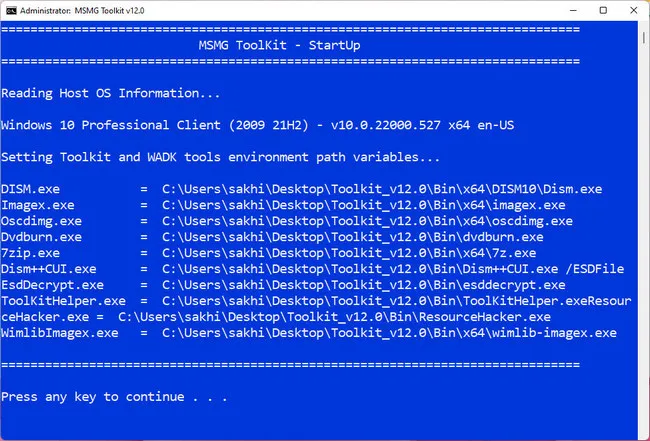
After that, simply press any key to continue.
Step 4:Extract Windows 11 ISO Image
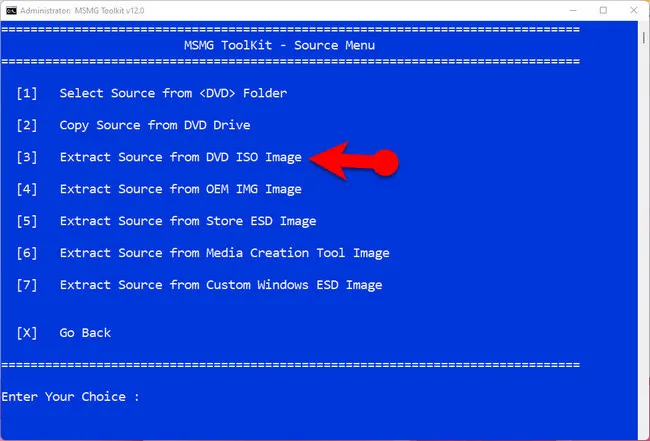
Enter '1' which will take you to Source menu and type '3' on the keyboard to let the program extract content from Windows 11 ISO.
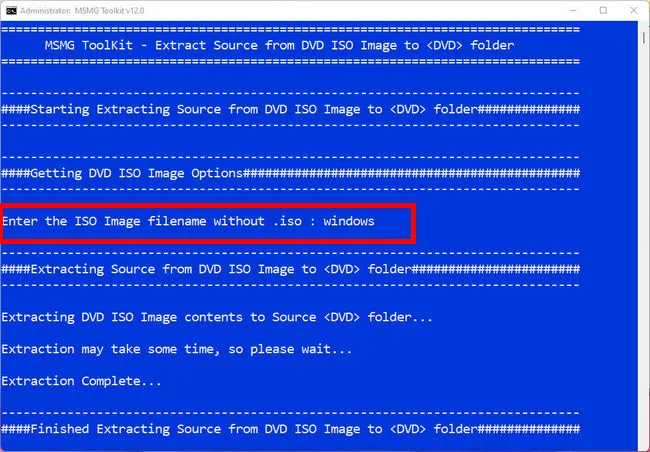
After that type the name of the ISO with file extension. Now you have to wait until the ISO is extracted. Then Press any key to go back.
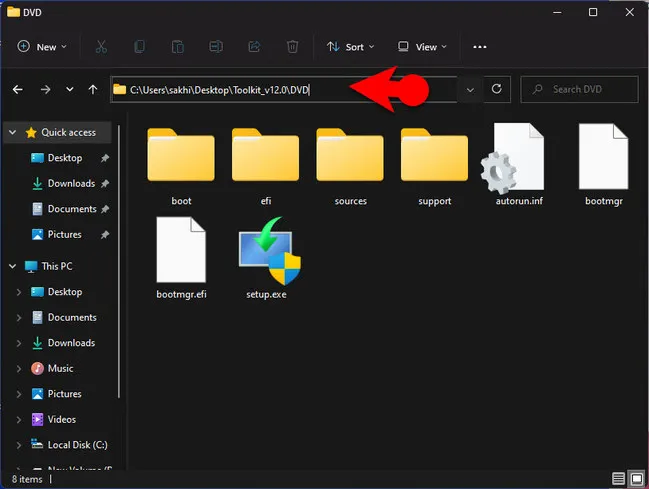
Now if you open the Toolkit directory in the DVD folder, Windows 11 is extracted.
Convert install.wim to install.esd with WIM Converter
MSMG Toolkit is unable to handle .wim file natively and it only supports .esd image. Hence, we need to convert install.wim into install.esd. You can do it using Command Prompt but I am going to use Wim Converter because of a certain feature. I am assuming that you have already downloaded the software and extracted it on the computer. Simply click on the exe file to run, then click 'No', after that follow the below instructions:
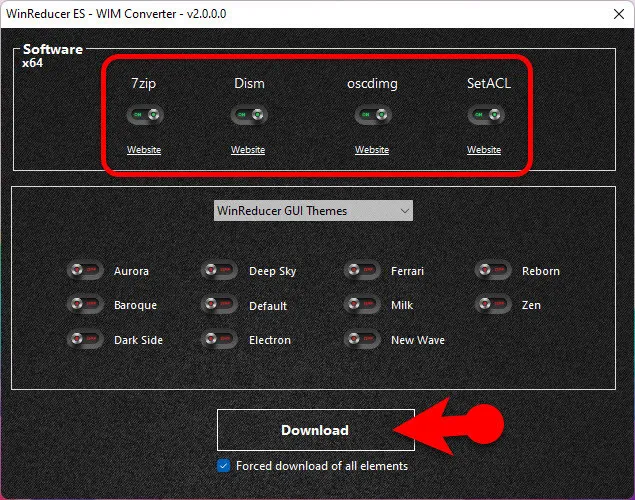
Step 1. Click on menu thay says Software installation, which is located at the bottom of the window.
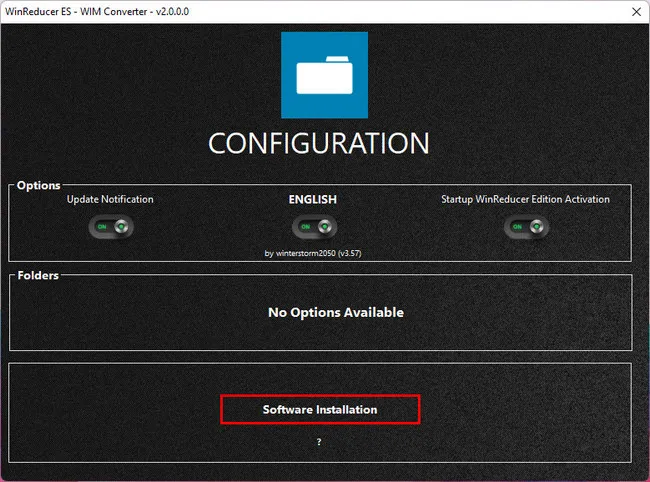
Step 2. Make sure to check all the software and uncheck all the WIM Converter GUI theme, after that click on Download.
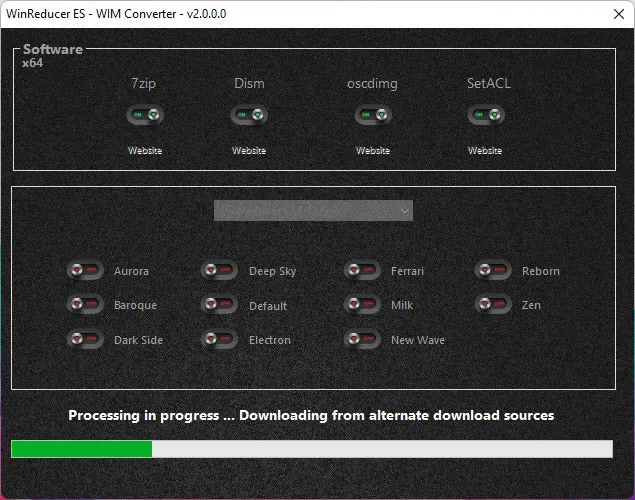
Step 3. Wait for them to be downloaded.
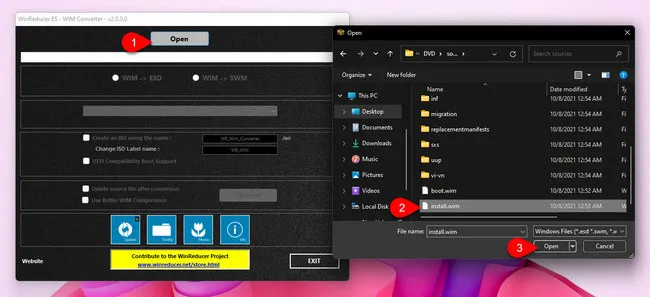
Step 4. Again Click 'No' to continue the trial. Now, at the top click Open button and go to the root directory of MSMG Toolkit > DVD> sources > and choose install.wim from there.
Step 5. Wait for it to scan the file, and choose WIM to ESD. After that select an edition of Windows 11 that you want to create a custom ISO for. You can choose all them if you want, but I am only choosing the Windows 11 Pro. This is the feature that I was talking about.
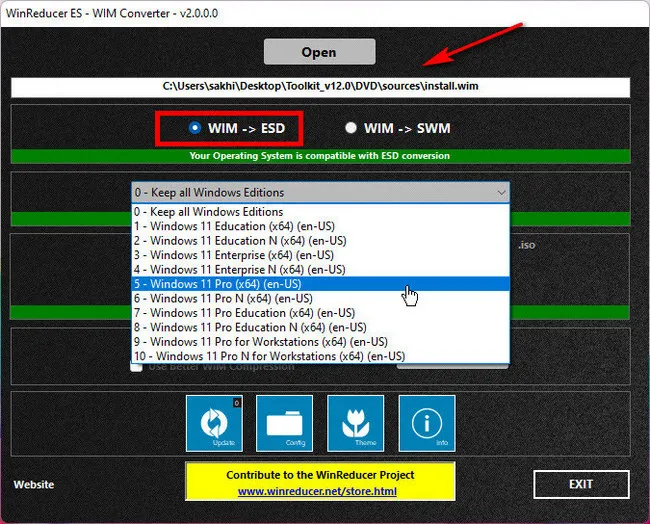
Step 6. Leave the rest of the settings empty and click convert. Usually, converting Install.wim to Install.esd will take at least 1 hour, so be patient.
Extract install.esd with MSMG Toolkit
This is the part where you have to extract the custom image from install.esd file.
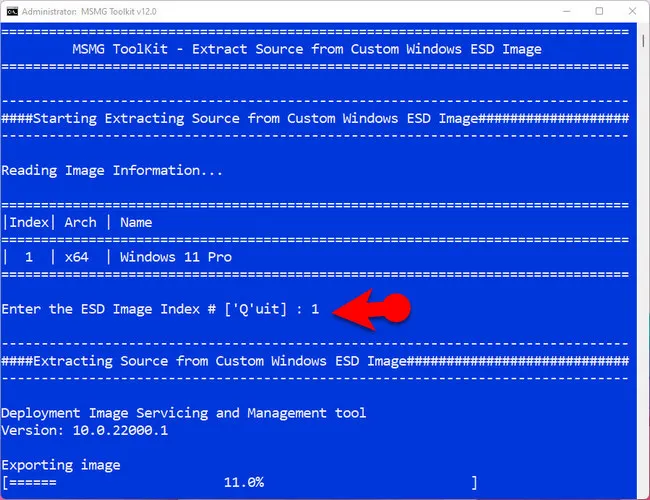
Step 1. Open MSMG Tookit again and choose Source from the main screen. Then simply type '7' to extract source from custom Windows ESD image.
Step 2. Once you are inside the extract source from the custom images, simply select the image and press enter. In my case, I have selected the Windows 11 Pro inside the Win Reducer. So only the Windows 11 Pro will show here. I am going to type '1' and press enter.
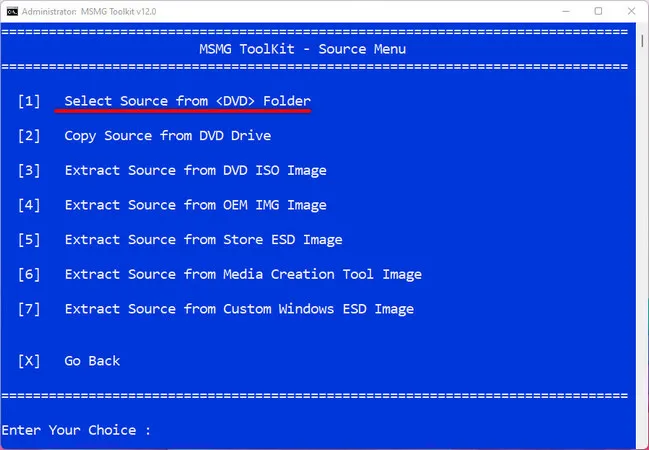
Step 3. Since now we have the install.esd. Go to the sources folder once again, and now select source from the DVD folder. So, type '1' and press enter.
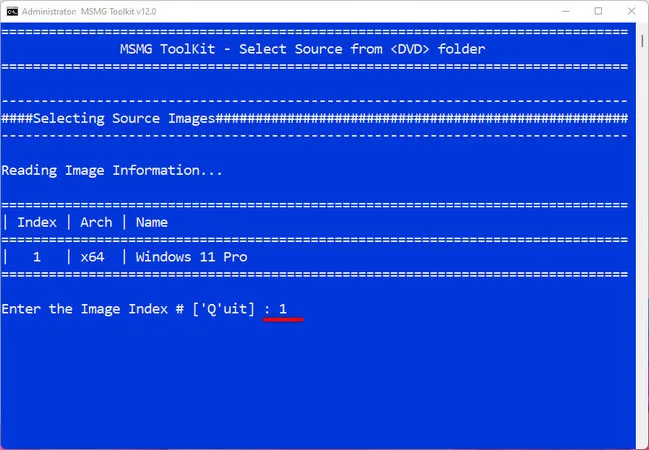
Step 4. It will ask which image you want import. Obviously, it is the image that we extracted using the Win Reducer. So type '1' and press again.
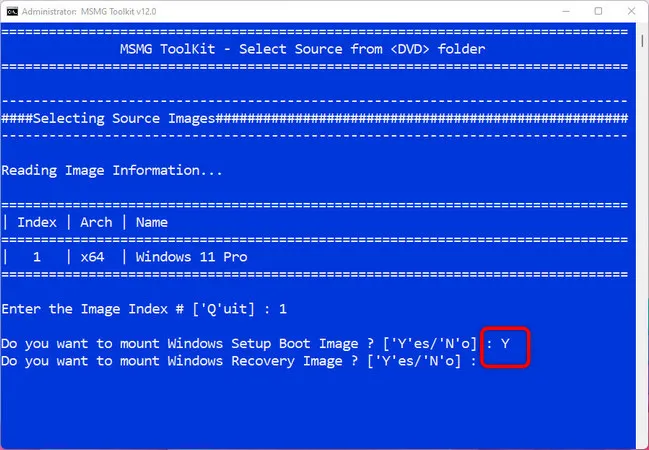
Step 5. Now simply type 'Y' and press enter for both options. This process will take around 10 minutes, so be patient.
Remove Unwanted Apps and Features from Windows 11 Image
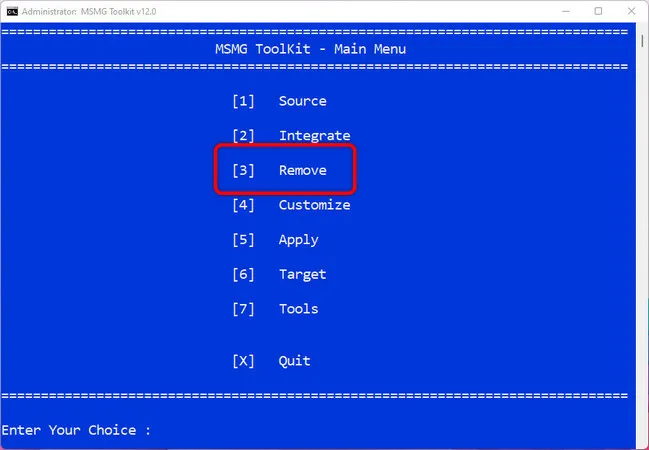
Step 1. To start removing apps and features from windows 11 install.esd image, we need to go to the main menu of MSMG Toolkit and type '3' to proceed.
Step 2. Enter '1' to choose the option that says Remove Windows Components. If you want to delete stock Windows app, please go ahead with Menu 2.
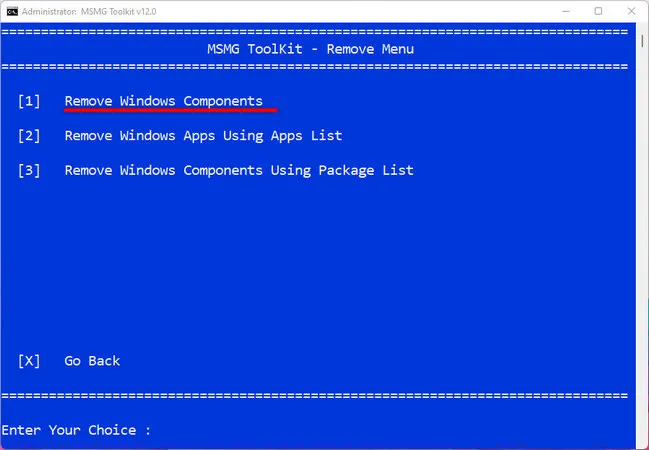
Step 3. Select the Windows Components on the next window by typing '1'.

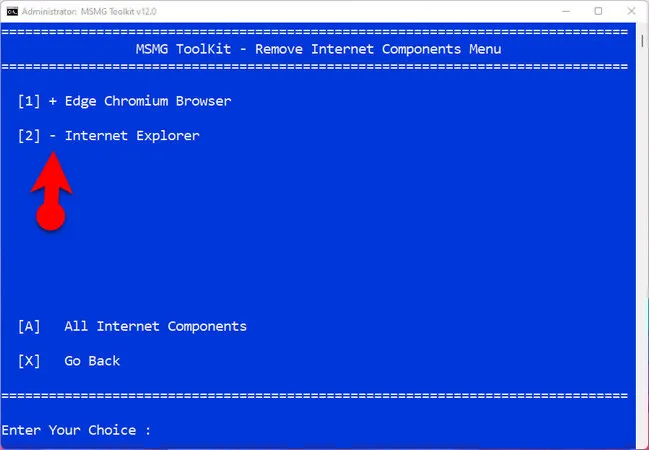
Step 4. Let's start removing windows components from Internet, press 1. After that you will see the apps for that will be pre-installed with windows 11. There are 2 internet components, edge chromium browser and Internet explorer.
I will remove the Internet explorer but I will not remove the Microsoft even though I don't like. But we need something to download browsers from. To remove the Internet explorer, press 2 on the keyboard and you will see a minus (-) sign Infront of it. Which means it will be removed from the OS. The + icon means it won't be removed from the OS.
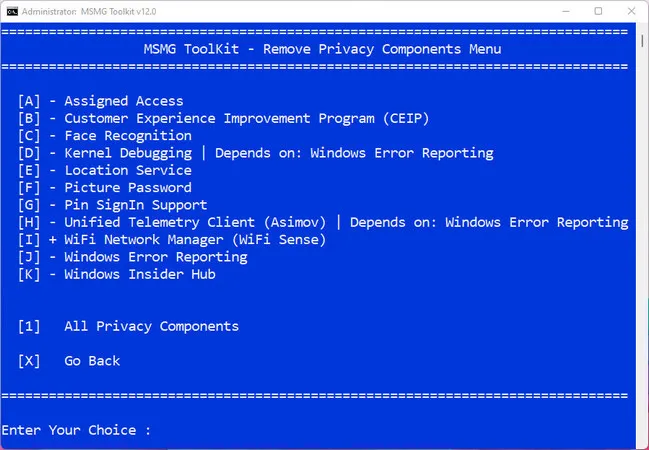
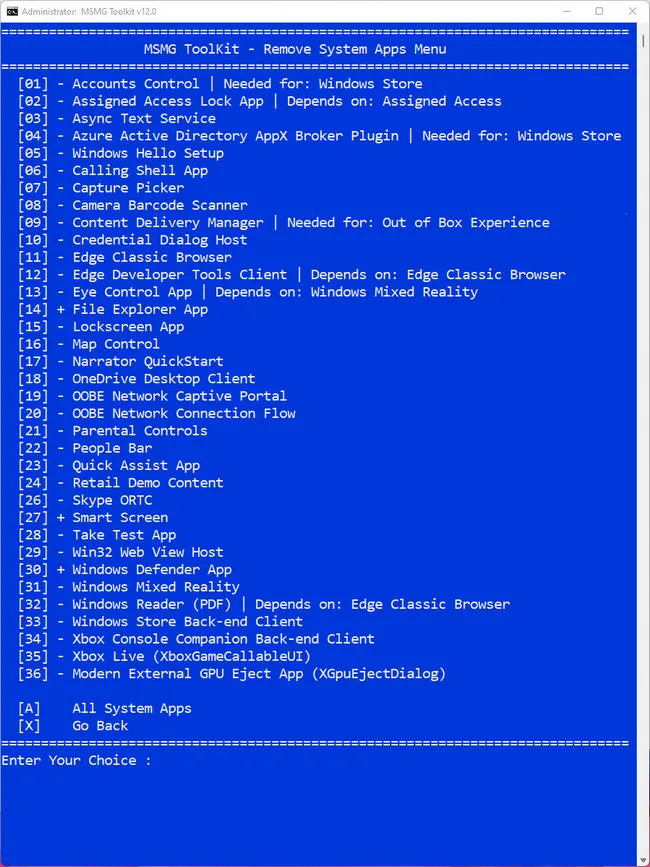
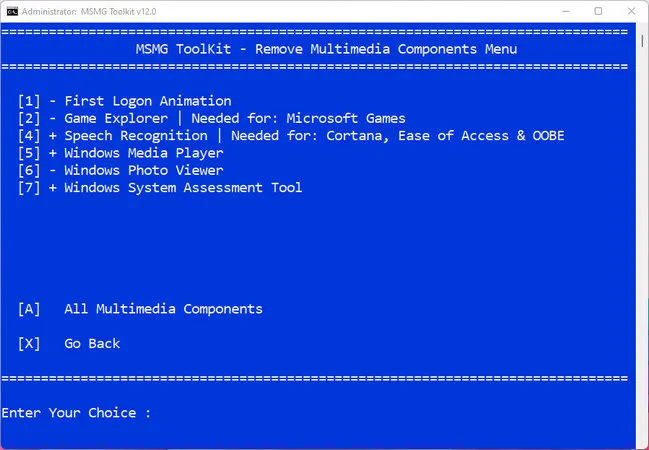
To go back to the main menu, click 'X'. And the same way that you marked the to remove Internet Explorer, do with Multimedia, Privacy and Windows Apps.
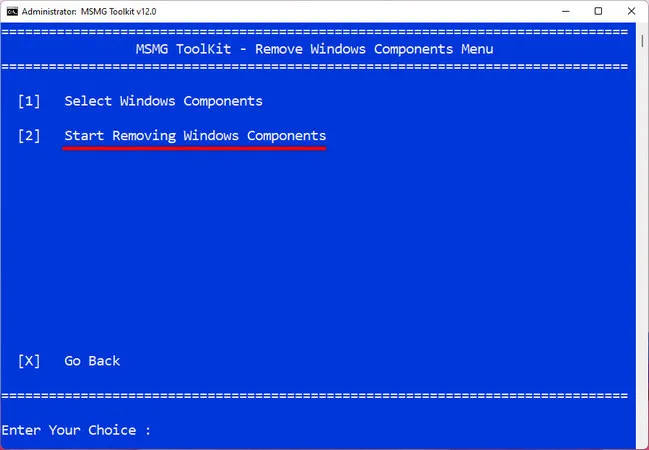
Step 5. All the components that you checked on the previous step, it is time to remove them. To remove them go back to the remove menu from the Windows Components Menu. And then select the second option. This process will take at least 30 minutes, so be patient.
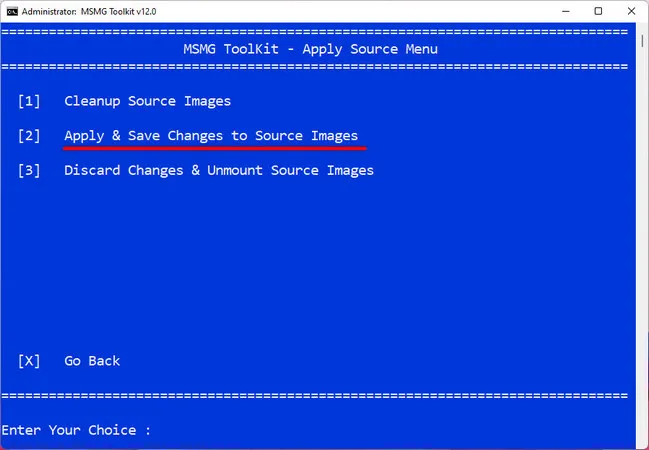
Step 6. Up until now we made a lot of changes to the windows 11. However, none of those changes have been saved. To save all the changes that we just applied, go back to the main menu, and type '5' and press enter.
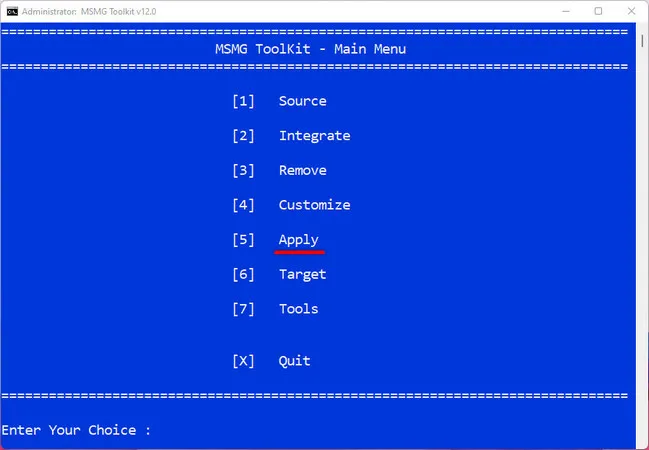
Choose the second option which is Apply and Save Changes to Source Images.
Now the script is starting to apply and save changes to the source image. However before doing that the script is also asking, you do you want to clean up image folder, if you want type 'Y', if you don’t want type 'N'.
The reason that I typed 'N' is simple, later if I want to bring changes to them, I can simply save much time because I already have those source images.
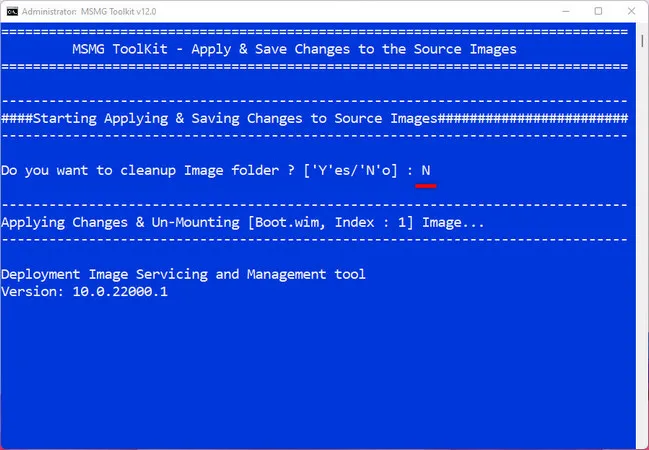
Note: Depending on changes on the source image it will take a lot of time. Mine toke 30 minutes to save the changes.
How to Make the Custom Windows 11 ISO
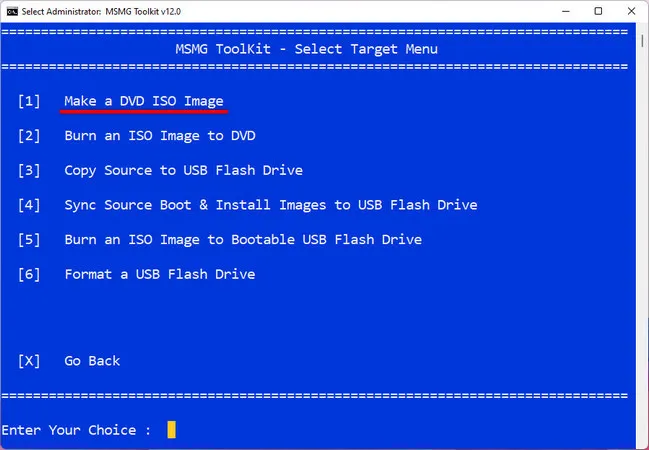
Finally, we are in the last step of creating an ISO file of windows 11. To create a new ISO file from install.esd, go back to the main menu and then type 6 which is called Target.

The target menu has 6 options, even you can create bootable USB directly from here. However, I am looking for an ISO image so, type 1 and it’s going to create a DVD ISO image inside the DVD directory in the toolkit directory.
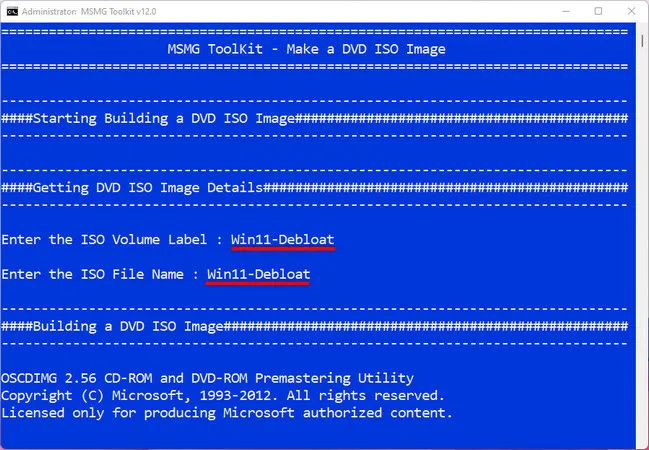
After choosing make a DVD ISO Image, the toolkit is going to ask enter the ISO of volume label and the ISO file name. In my case I have typed 'Win11-Debloat'. This step will take 8 minutes to complete.
Part 7: Create Windows 11 Install USB from Custom ISO
The ultimate goal of making a tailored Windows 11 ISO is to make a bootable installation media from it so we can install Windows 11 on a target PC or repair a computer with weird issues.
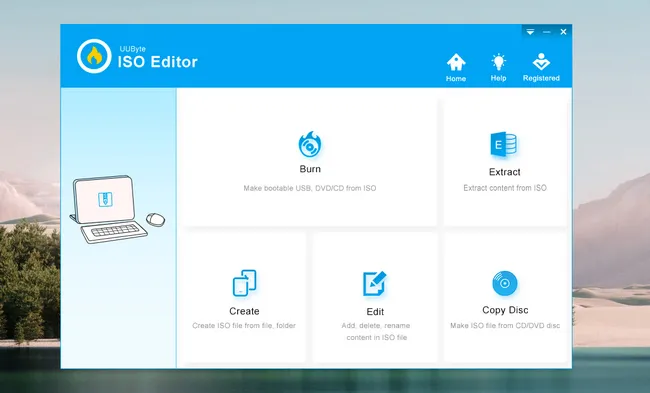
To do that, we need third-party ISO burning apps. In this example, we will give a try on ISO Editor for example.
First, download ISO Editor app from the following link. It can be used on a PC or Mac.


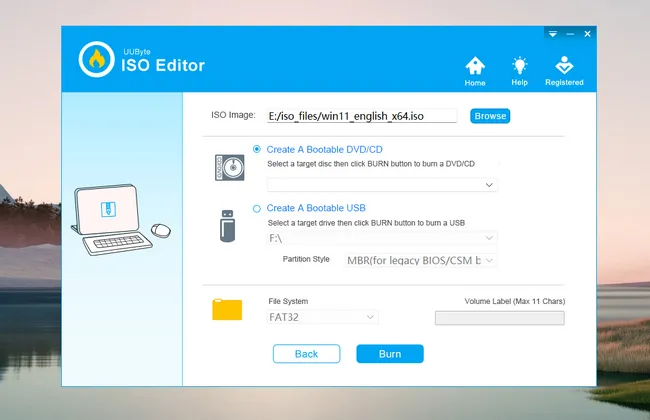
Then plug in a USB drive and open ISO Editor. For creating bootable installation media, we need to click the Burn button.
After that, import the customized Windows 11 ISO and choose the drive name of USB and click Burn at the bottom. This will extract files and folders from Windows 11 ISO and burn them to USB drive. About 3 minutes later, a bootable Windows 11 USB is ready for use.
Summary:
To create a custom windows 11 ISO image, you have to download the required files and install them. Extract the MSGM toolkit and extract Windows 11 ISO Image, convert the install.wim to install.esd. Then extract the esd image using WIM Converter. Follow that up by removing the Windows component, then save change and create a new Windows 11 ISO Image from it.

Petty is editor in chief at UUByte and writes various topics about Windows and Mac to help people make the most of current technology.