
What is a rescue disk?
A rescue disk is a special type of bootable device (USB or CD/DVD) being used for system recovery and repair. When your computer crashed or got a black or blue screen of death, then rescue disk could do a great help to help you pull off the data from computer or fix the issue. Hence, it is very important to create a rescue media for emergent cases.
In here, we will take Windows 11 for example. You will learn how to create a rescue disk for Windows 11 with different approaches.
More Details about Rescue Disk
In our daily life, there could be time your computer faces a hardware failure, startup failure and etc. This is the place where the rescue disk comes in handy.
A rescue disk (recovery drive) is simply a copy of minimal Windows operating system inside a USB flash drive or CD/DVD. Whenever your Windows 11 computer runs into a problem, you can boot it from rescue disk and start fixing process.
Keep in mind whenever you are creating a recovery drive, your personal files, installed applications, and personal settings will not be exported to drive. Only the system image will do. In addtion, there is no limitation on how many rescue disk you can create from Windows 11. But it's a good idea to create a recovery drive after six months or one year.
How to Create a Rescue Disk for Windows 11
Windows 11 has a built-in feature to create a rescue disk. We will get started with this option first as there is no need to download and install other software package.
Step 1: Attach USB to Windows 11 and Launch Recovery Drive
To create a rescue disk for windows 11, you should prepare for a USB drive with at least 8 GB storage according to Microsoft documenation. USB 3.0 or 3.1 is more recommended. However, USB 2.0 and the older version will also fulfill the job but it will take a lot of time.
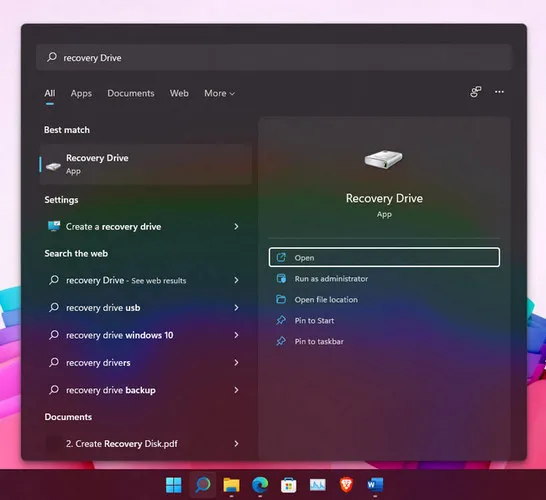
Now, a ttach the USB to Windows 11 computer. Then click on the search icon at the start menu and search for 'recovery drive' and run it as administrator. The option is shown up from search result.
Step 2: Start Recovery Drive Wizard
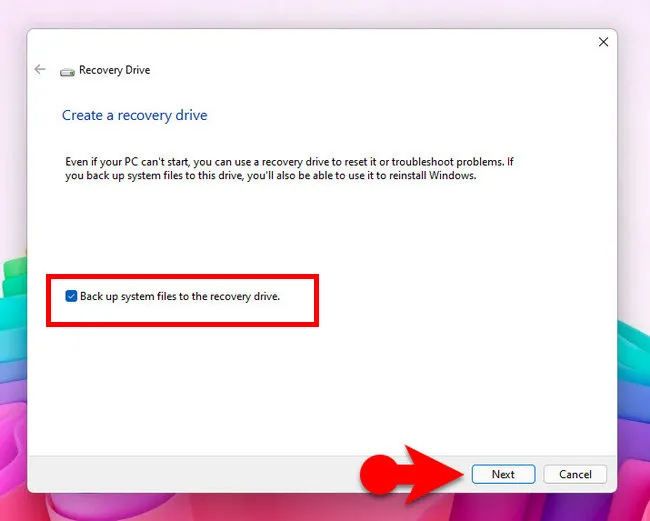
After opening the Recovery Drive wizard, check the option that says Back up system files to the recovery drive. This will copy Windows 11 system files to USB.
Step 3: Choose USB Drive
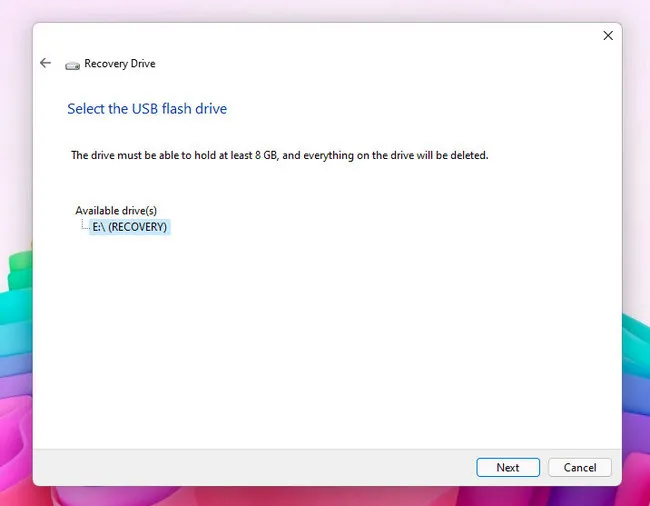
Recovery Drive wizard starts to check the system settings and do system cleanup for this time. Please wait a moment (2-3 minutes). Once the job is done, you will see the USB drive name and click Next.
Step 4: Format USB Drive
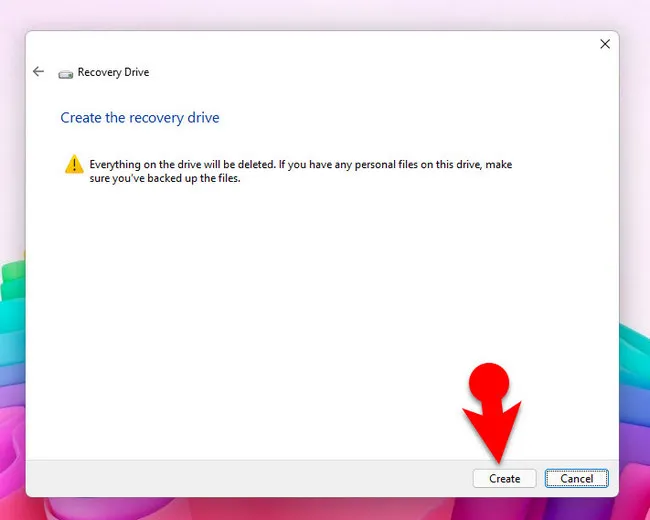
You will receive a warning message, saying everything on the drive will be deleted. Please back up the data in USB and confirm the operation by clicking the Create button.
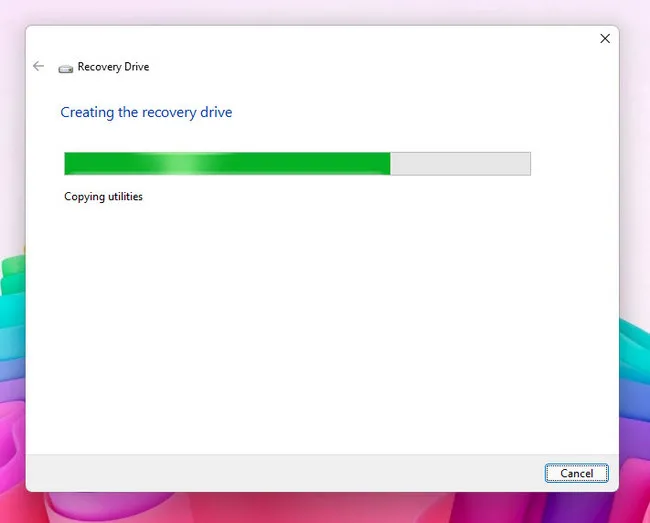
Step 5: Start Creating Rescue Disk for Windows 11
This part depends on the storage and the USB flash drive, so if you are using a portable SSD or fast USB 3.0 drive, it will be done quickly. For slow external device, it takes more time. In the meantime, you can monitor the progress on the below address bar.
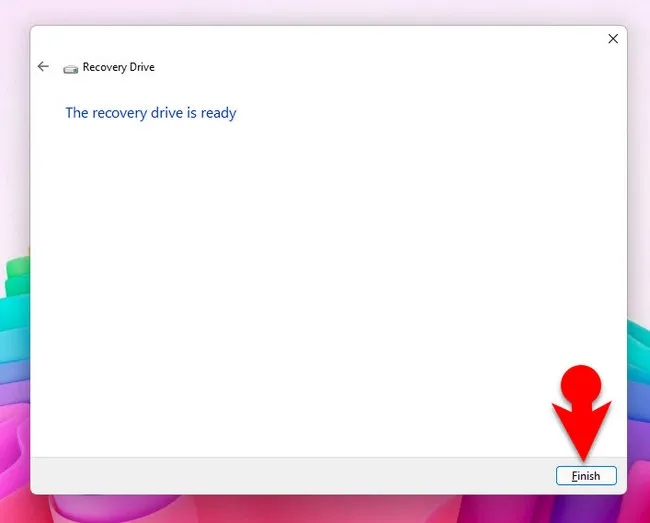
Step 6: Windows Rescue Disk is Ready
Congratulations! A Windows 11 Rescue Disk is now created successfully once you see the following message. Click Finish and use this Rescue Disk for system repair whenever there is a need.
How to Use Windows 11 Rescue Disk for System Repair
A rescue disk can be used for troubleshooting Windows 11 computer and reinstalling Windows. So basically, you have learned how to create a recovery drive but how you can use it that is entirely another case. In this part of the article, you are going to learn how to use it.
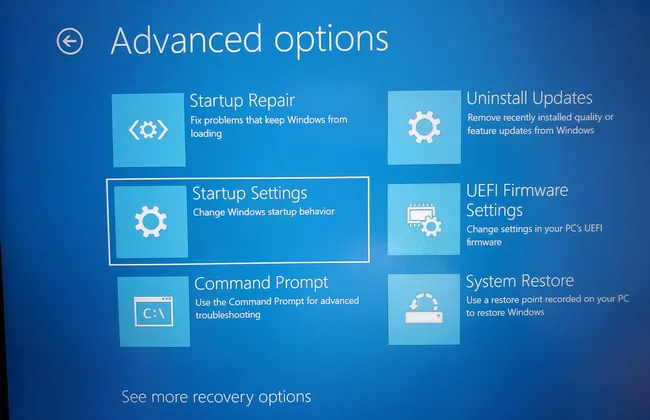
Anywhere if you cannot access a Windows 11 machine due to booting error, attach the USB flash drive and then boot the computer from rescue disk, which leads to Advanced Recovery Options, where a list of repair solutions are offered, including
- Startup Repair: Fix various boot issues automatically.
- Startup Settings: Enable debugging, Safe Mode, automatic restart, etc...
- Command Prompt: Complete advanced tasks under text interface.
- Uninstall Updates: Remove previously installed updates that caused the problem.
- System Restore: Restore Windows 11 from backup.
Third-Party Apps to Create Windows 11 Rescue Disk
The functions of stock recovery drive is quite limited. If you computer was hit by virus or had a hardware failure, it wouldn't do much help. That's why we turn to third-party tools, which have more useful features contained in a rescue disk created by themselves. We will share two famous alternatives in here.
1. AOMEI Backupper (Free)
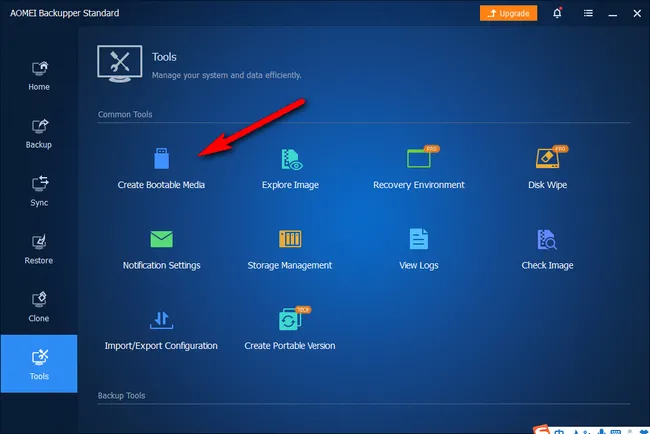
AOMEI Backupper is an all-in-one backup software shipped with many useful features, including disk backup and restore, drive clone and creating rescue disk. AOMEI Backupper is one of the most complete backup software for desktop computers, laptops and workstations. And the standard edition is free. Back up everything you want in different ways and then recover everything from the backup file.
In addition, it comes with a free utility to create bootable rescue media based on Linux or Windows PE.
Other Useful Features:
- Backup Windows partition and create a live image from it.
- Backup the entire hard disk.
- Restore Windows or files from previous backup.
- Sync files between two sources.
- Clone disk from one to another.
2.EaseUS Todo Backup (Free)
EaseUS Todo Backup is another professional and useful software to support backup of files, partitions and restore them when necessary. This is software is available Windows, Windows Server and macOS. If your PC ran into a problem, you can restore the PC to the state when WinPE was taken.
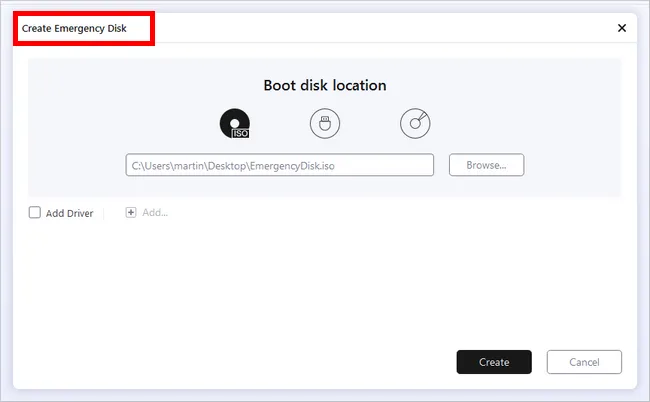
It means it will save you a lot of time by reinstalling Windows, your Applications, downloading files form the cloud and more. To create a rescue disk with Ease Todo Backup, please go with the Create Emergency Disk menu within the tool. Add a ISO image and select the USB or DVD drive. Finally, start to create a rescue disk for Windows 11.
Summary:
In short, rescue disk is a very handy tool in case of Windows 11 system failure. The process of creating and using the rescue disk is very easy and straightforward. For basic needs, the built-in Recovery Drive is fairly enough. For advanced tasks, AOMEI Backupper software is more suitable.

Petty is editor in chief at UUByte and writes various topics about Windows and Mac to help people make the most of current technology.