
CentOS Linux is a customization-friendly Linux distro that was originally intended as a replacement to the once-free RHEL 8 from Red Hat. You can create CentOS bootable USB from Mac or Windows for installation in any 64-bit machine, but you need the right tools. If you're not familiar with ISO burning or even the ISO file format itself, this article will help you understand the process and the required software in a stepwise manner for Windows and Mac users.
Preparation: The first thing to do is download the ISO or disk image file for CentOS. This is as simple as heading over to download section of CentOS official website and download the appropriate ISO file. ISO is a standardized file format that is essentially a replication of an entire disk or drive. It can also be used to install operating systems like CentOS, other Linux distros and even Windows. Another thing you should prepare for is a USB drive with more than 16G storage.
Now that you have some background information, let's create the USB installer for CentOS. Here are two ways to do it in Windows and one method for Mac.
Create CentOS Bootable USB from Windows 10: UUByte LiteBoot
The brand new LiteBoot from UUByte is designed to be an amazing Linux bootable USB creator, an automated Windows reinstallation tool, and a backup/restore utility rolled into one. The Linux Boot module supports almost all the active Linux distributions, including CentOS, Ubuntu, Linux Mint, Manjaro, Fedora. The versatile features are complemented by a clean-looking user interface and a soothing green color scheme. The controls in each of the many modules have been stripped down to a minimum so all the heavy lifting is done at the back end.
The user simply chooses a few fields and clicks a couple of buttons and the job is executed with an extremely high accuracy rate. For novices and advanced users alike, UUByte LiteBoot promises to be an invaluable asset for creating bootable USB and doing Windows repairs, recovery, and backups.
Step 1: Assuming you downloaded the CentOS ISO file without a hitch, head to the UUByte website for LiteBoot and install the application on Windows PC.
Step 2: In the LiteBoot interface, you'll see two options that show you the software's full functionality.
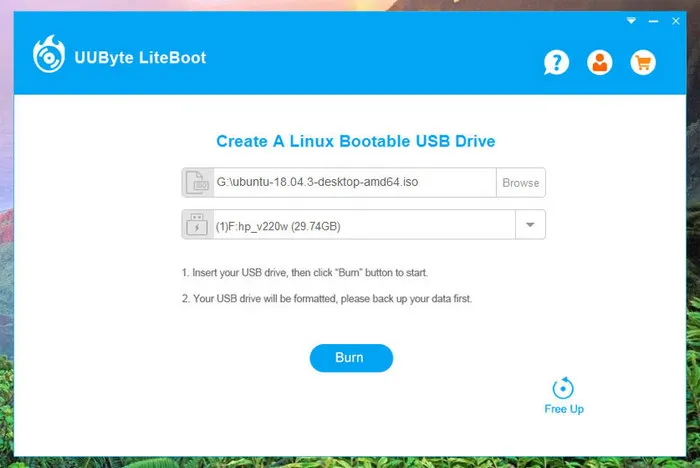
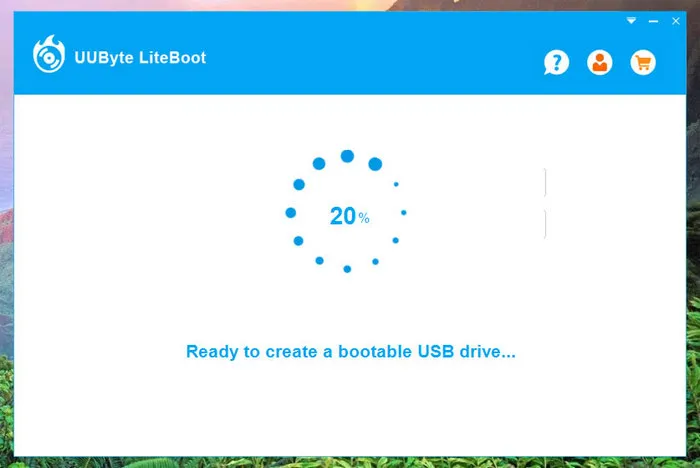
Step 3: The next page is very simple, which is the whole point of this software. You'll need to choose the CentOS ISO file from local drive where you downloaded it; insert a USB flash drive, and choose the drive from the dropdown when it's been identified. Hit 'Burn' and wait for a couple of minutes. That's all.
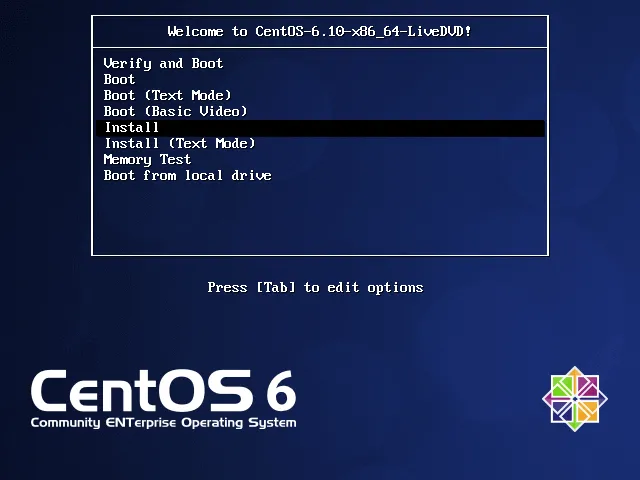
Step 4: Now, it is time to install CentOS on your machine. The installation wizard will appear automatically when the computer boots from Live USB you created in above step.
It is super easy to create CentOS bootable USB with UUByte LiteBoot. I can say everyone can know how to use the software as the user interface already put all necessary information on it. It is our best choice for creating Linux bootable USB drive.
Create CentOS Bootable USB from Windows 10: WinSetupFromUSB
Although the name suggests that this is a Windows USB installer creation tool, it can also be used for many Linux distros, including CentOS. The stand-out feature is its ability to create a multiboot disk, which is basically a disk containing multiple operating systems, ISO files, and other tools. Here are the steps to be followed for creating CentOS bootable USB.
Step 1: Once you have the CentOS ISO file and WinSetupFromUSB program installed and running in your Windows PC
Step 2: Insert an USB drive and select it from the dropdown at the top of WinSetupFromUSB interface.
Step 3 : Click the two dots button at the right side of Linux ISO/Other Grub4dos compatible ISO and select the CentOS file from the pop-up file manager.
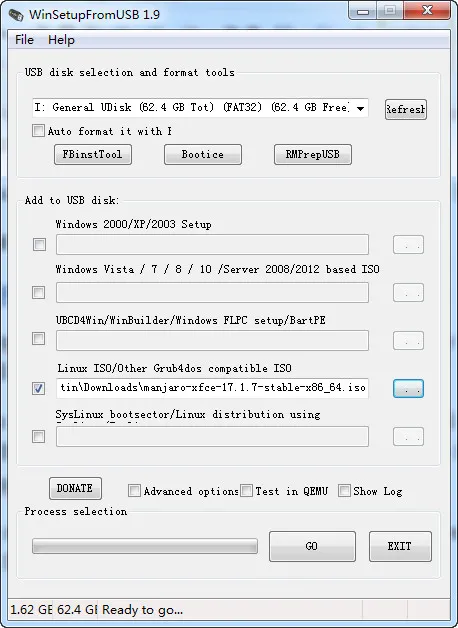
Step 4 : When you're ready, hit GO and wait for the bootable USB to be created.
This is one of the easiest functions to create CentOS bootable USB with WinSetupFromUSB but the software itself is a bit too much for new users with little or no experience with burning an ISO to a USB drive. LiteBoot is a better alternative in such cases because it does everything for you, including automatically formatting your drive for the ISO to be burned properly.
Create CentOS Bootable USB from macOS: Balena Etcher
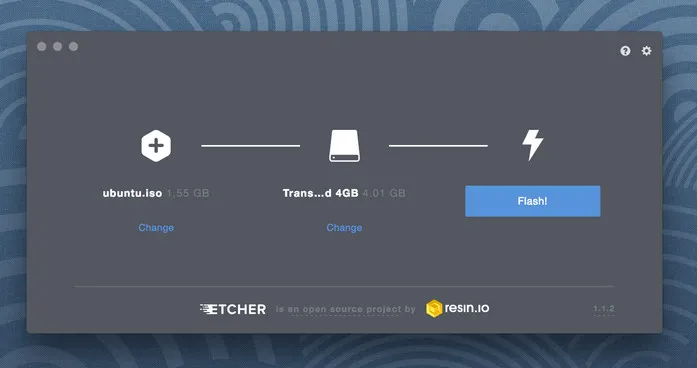
Balena Etcher is one of the slickest tools for creating bootable USBs from several different sources on Mac. The simplified interface lets you focus on the three core steps of creating bootable USB drive. In the following, it is a complete guide to show you how to create a CentOS bootable USB with Etcher after burning the ISO to USB on Mac. Please backup the content on USB drive first.
Step 1: Insert the USB drive after installing Etcher app on Mac; it's similar to installing any third-party Mac application, so you may need to override the security alert when you see it.
Step 2: Click the first of the three icons to choose CentOS ISO file, then choose the second icon to pick the USB that was just inserted.
Step 3: Hit 'Flash!' button to use default settings for formatting USB and create a CentOS bootable USB on Mac.
Wrap Up
These are the three recommended tools for creating CentOS bootable USB drive from Windows PC and Mac. All three have powerful ISO burning capabilities, added functionality, and user-friendly interfaces. All of them support most Linux distros as well, so you can use these methods for others like Ubuntu, Fedora, Mint, etc.

Petty is editor in chief at UUByte and writes various topics about Windows and Mac to help people make the most of current technology.