
Are you looking for a simple way to create Linux bootable USB? If yes, then you have landed at the right place as here you will get the comprehensive information to create a Linux bootable USB on Windows and macOS. The process is classified into 4 ways and all you need to follow the steps listed in each method.
Why USB? Generally, they are two common ways to create Linux bootable media: CD/DVD and USB. But for now, USB is more welcomed because of portability and hardware support. And CD/DVD is not longer a stock option on modern PCs or laptops. Another important impact is that there are more tools designed for USB drives.
Download Linux ISO: Before moving to any method, you must download and install the distribution ISO file of Linux and the same will help you to run the Linux smoothly. The method is pretty simple and in here we are taking Ubuntu as an example. Go to the official site of Ubuntu. On the home page, you will get several options, navigate for distribution ISO file and then click on the 'Download' button. Make sure to check the OS before downloading the file and also ensure that you meet the requirements to run Linux on target machine.
After preparing for a USB drive and downloading Linux ISO image, it is the time to create Linux bootable USB!
Create Linux Bootable USB on Windows 10: ISO to USB
ISO to USB is a lightweight too for burning ISO to USB drive under a single Window. It is very effective and has the potential to burn Linux ISO files to USB. But, before applying his method, you need to download this software first in order to create Linux bootable USB. Well, the software is free of cost, so you can go ahead without thinking more.
Step 1: Open the browser on your computer. Now, click on the link (isotousb.com) to reach the official page of ISO to USB.
Step 2: On the home page, you will get the information about the process and after scrolling the page, you will find the 'Download' section. Here, need to click the 'Download' button.
Step 3: After downloading the file, go to the downloader folder and then double click on the downloaded file to install the software.
Step 4: Insert the USB drive on your Windows PC. Now, launch ISO to USB and then move to the 'Browse' section that is located at the right end of the window.
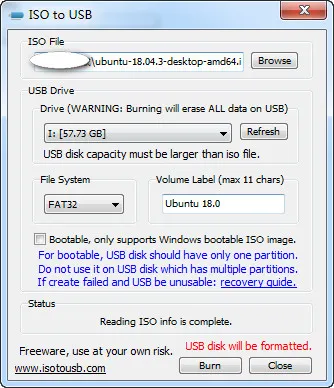
Step 5: Select the distribution ISO file and then click on the 'Burn' button. That's it; you are all done.
This is a great Linux bootable USB creator you could ever find. The best part is, it is free to use and supports USB flash drives, and other memory drives. However, if you are a Mac user, then you can't use this software.
Create Linux Bootable USB on Windows 10: UUByte LiteBoot
ISO to USB is mainly used for making bootable USB from Windows 10 ISO. This means it only supports a limited number of Linux OS. If it failed, then you should take a look at UUByte LiteBoot, one of the best bootable USB creators for all types of ISO files, including Windows, Linux and macOS. It has better design and a simplified user interface.
Besides creating bootable USB, it is also capable of backing up Windows partition and restoring from image backup, which is a crucial step to protect our data. In addition, you can also download Windows ISO image within the program at a fast speed.
Step 1: Go to the official site of UUByte to download the software. However, if you want to reach directly, then click on the link provided here. After the completion of the download process, open the download folder and then double-click on the downloaded file to install the application.
Step 2: Make sure the USB drive is inserted on your computer. Now, launch the software and you will find the 'Browse' button, click on it and then select the Linux ISO file.
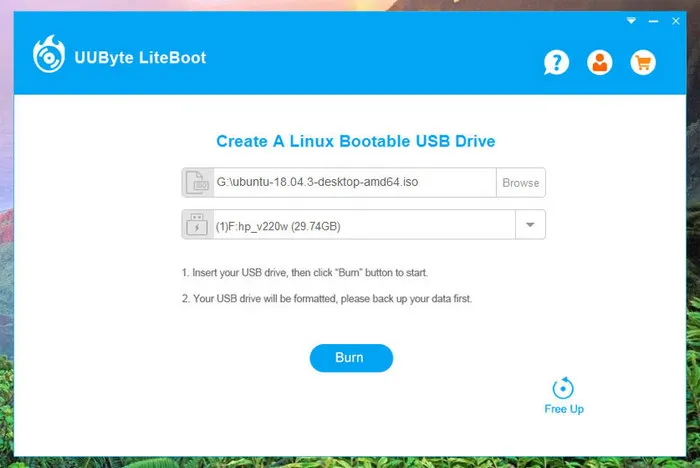
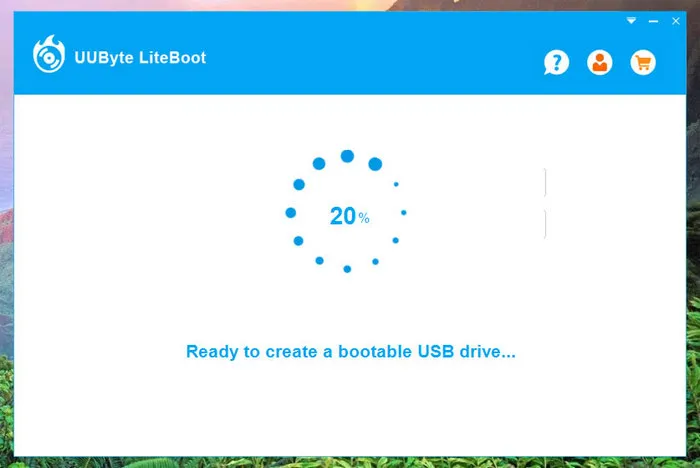
Step 3: Now, choose the USB drive name and then click on the 'Burn' button. Soon, the process will start and it will take some time to perform the task. After that, a bootable Linux USB is ready to use.
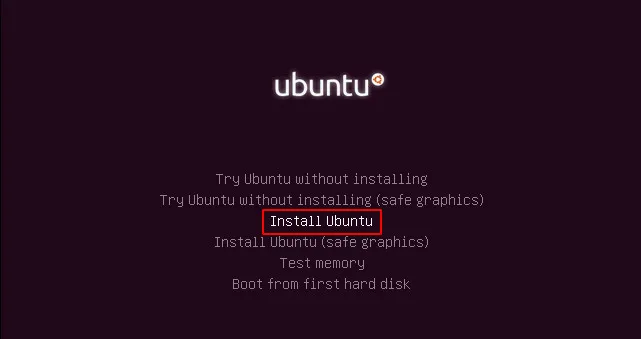
Step 4: The last step is to set the computer booting from external USB drive and start installing Linux OS on it.
UUByte LiteBoot is an easy-to-use program with powerful features. And it supports all the popular Linux distros such as Ubuntu, Linux Mint, Fedora, Manjaro. Basically, it is the No.1 choice for creating Linux bootable USB.
Create Linux Bootable USB on Mac: Etcher
Till so far, you have gone through the ways to create Linux bootable USB on Windows, now it's time for macOS. Etcher is a cross-platform ISO burning software that well supports macOS and Windows OS. So it is a handy tool for Mac users. The method is simple and the required steps needed for this process are provided below.
Step 1: First and foremost, you need to download the software and for that move to the official website of Etcher. On the home page, you will find Etcher for various OS, select the one that supports Mac and then click on the 'Download' button.
Step 2: After downloading the file, install the app on a Mac. Now, connect the USB on Mac. It's time to launch Etcher.
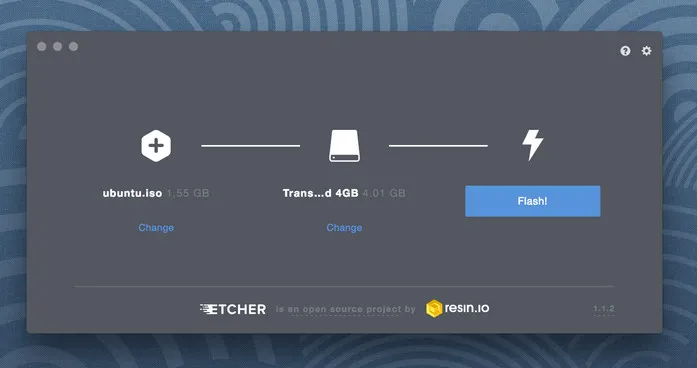
Step 3: The interference of Etcher is simple and you just need to click on the 'Select Image' icon. Now, navigate the folder where you have downloaded the distribution ISO file and then select the same.
Step 4: After selecting the file, click on the 'Flash' button. Soon, you will find the progress bar on your Mac screen and it will take 15 minutes to create a bootable Linux USB..
After the completion of the process, you will get the successful message on your screen, which means your USB is now turned in to a bootable one. Now, close Etcher as your job is done.
Create CentOS Bootable USB on Mac: Virtual Machine
ISO burning software on Mac is too less and in case Ether is not working properly, we share another way to create Linux bootable USB on Mac. And this is an amazing alternative if a virtual machine was already setup on your Mac. If not, you need to download VirtualBox and Windows ISO file before getting started with this trick.
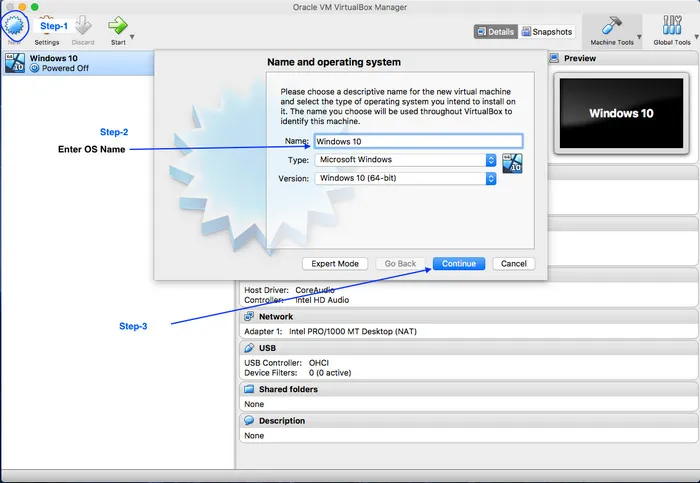
Step 1: Download and launch VirtualBox app on your Mac and then click on the 'New' button that is located at the top of the page. After that, you will have to provide the details of OS, make sure to enter the name, type and version of OS in the respective field. Now, click on the 'Continue' button.
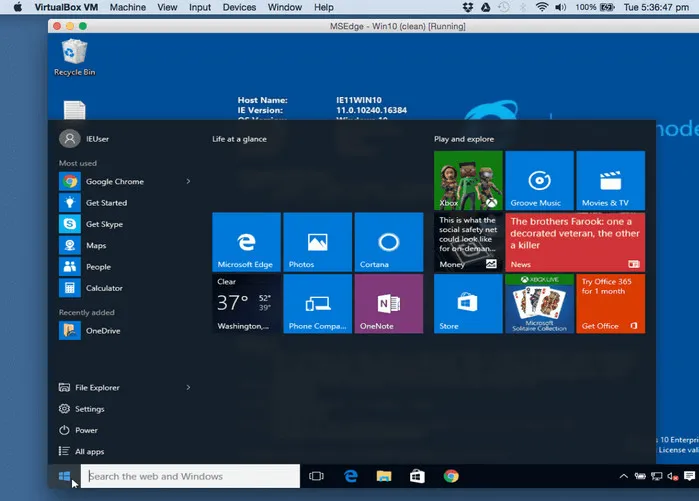
Step 2: Select Windows ISO file from the location and then click on the 'Start' button to create a Windows virtual machine on Mac.
Step 3: Now, boot up the Windows virtual machine and insert the USB on Mac.
Step 4: Once the USB is showing up Windows virtual machine, and then follow the above instructions to create Linux bootable USB using Windows Media Creation Tool, ISO to USB or UUByte LiteBoot.
This method is lengthy but is very efficient and using Mac you can create a Linux bootable USB using Windows OS platform as a Virtual Machine. In VM, you are using Windows Creation tool that is easy to handle and to access the same; you don't need to be a tech-savvy. It supports most of the versions of the macOS, including Catalina.
Conclusion
So, this was all about the ways to create Linux bootable USB. If you are a beginner, then you can go for UUByte LiteBoot method as it is easy to use and has a higher success rate. Apart from that, ISO to USB and Etcher will work too, but it will cost you more time for debugging. However, if you are a tech-expert, then a virtual machine is an ideal method for you.

Petty is editor in chief at UUByte and writes various topics about Windows and Mac to help people make the most of current technology.