
Boot Camp is the best-known app on Mac for running Windows 10 as a second boot. Basically, Boot Camp comes pre-installed on your Mac, allowing you to quickly install Windows and then lets you dual-boot between Mac and Windows when the Mac starts up, eliminating the need for virtualization and emulation, so you can get the best possible Windows speed on a Mac.
However, Boot Camp has its own problems and sometimes it is not working well at all. We have heard some of the issues Mac users are facing with Boot Camp while installing Windows 10, from installation errors, file system errors to ISO files not mounting and startup disk partition failed. If you are one of those who are affected by one of the above issues, we have possible fixes for you.
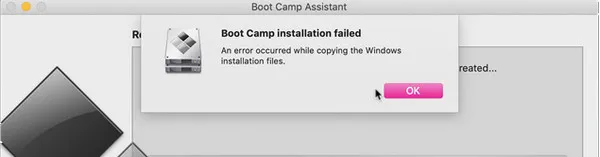
Fix 1: Boot Camp Installation Failed
Many users have reported that they get a message saying that Boot Camp installation failed, and the message appears when attempting to copy the installation files required for Windows. Here is the fix.
Step 1: If you are now in Boot Camp Assistant, but it is not working, then force quit the app. To do this, press Option+Command+Escape (Esc) and select the app from the list of all apps.
Step 2: Once you are done, you can install the latest updates for macOS. Keep in mind a new software update usually includes bug fixes, so make sure you are up-to-date.
Step 3: If you are trying to install Windows 10 on a Mac with Fusion Drive, then download and install macOS Mojave 10.14.5 Boot Camp Update.
Notice: Back in June, Apple released a new macOS Mojave 10.14.5 Boot Camp Update, which addressed a bug that prevents Boot Camp from creating a partition on iMac or Mac mini with Fusion Drive.
Step 4: Now, download the ISO file for the latest Windows 10 and start install it on your Mac with Boot Camp.
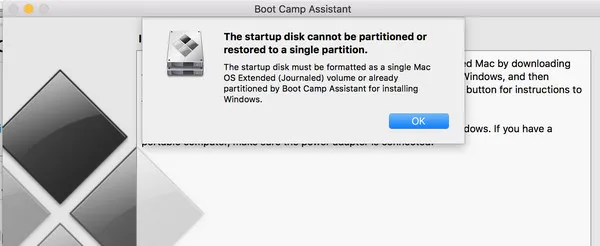
Fix 2: The Startup Disk Can not Be Partitioned
If Boot Camp alerts you to a partition problem with startup disk while installing Windows 10, then you can follow our guide below.
Step 1: Launch Disk Utility from the Applications > Utilities folder on your Mac and then, in the side panel, select your Mac startup disk.
Step 2: Click the Partition button in the toolbar and then click Partition in case Disk Utility prompts you to partition your Mac.
Step 3: Now, hit OSXRESERVED and then remove (-). After that, click BOOTCAMP and again remove.
Step 4: Click on Apply, then on Partition. After that, launch Boot Camp Assistant and try installing Windows to see if the problem is dealt with.
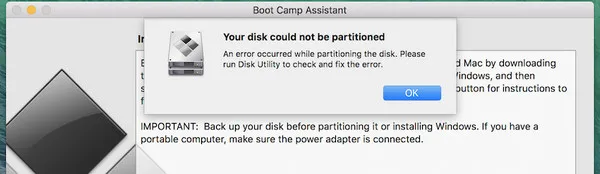
Fix 3: Your Disk Could Not Be Partitioned
If you get a message saying that your disk could not be partitioned, then follow our step-by-step guide to fix the issue.
Step 1: disable FileVault.
FileVault is a built-in disk encryption feature that’s specifically designed to encrypt your Mac’s hard drive. Basically, FileVault uses 128-bit AES encryption to secure your files. Once you have enabled it, all of your existing files and data will be encrypted, making your computer safe from prying eyes and unauthorized access.
In this case, FileVault can cause the partitioning process to stop working. So, try disabling it to see if the problem is fixed. To do this, open System Preferences > Security and Privacy > FileVault> Turn off FileVault.
Step 2: Turn off Time Machine.
Time Machine is one of the best options for creating a Mac backup. However, Time Machine may interfere the Boot Camp partitioning process, so try turning off Time Machine on your Mac. To do this, open System Preferences > Time Machine > Select Disk, then click on the disk that contains your Time Machine backup and hit Remove Disk.
Final Fix: Make a Bootable Windows 10 USB with UUByte ISO Editor
If you have tried all the fixes listed above and to no avail, then it means Boot Camp is not the ideal tool in this case. Instead, it is recommened to find some good alternatives in order to install Windows 10 on Mac.
From our perspective, UUByte ISO Editor is a cool Boot Camp Assistant alternative you can get according to positive user feedback. Basically, UUByte acts as a Windows 10 bootable creator for your Mac. If you are fed up with Boot Camp issues, then you can use UUByte ISO Editor to install Windows 10 on your Mac.


Step 1: Download UUByte ISO Editor from its website and then install it on your Mac. After that, get the latest edition of Windows 10.
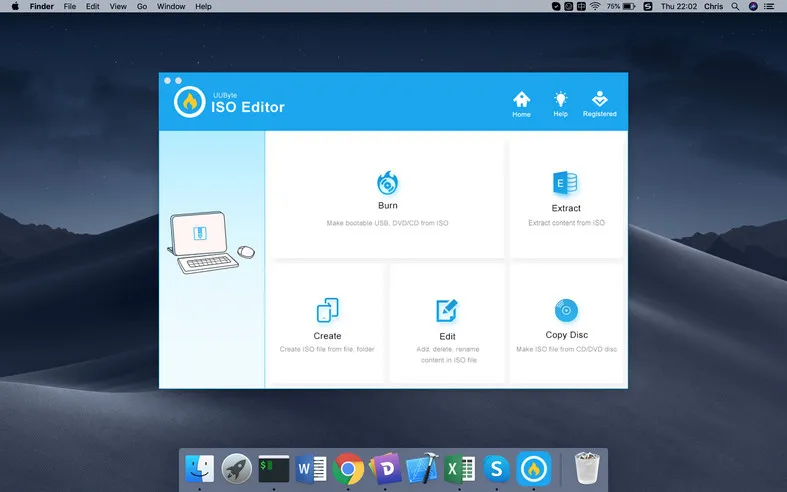
Step 2: Launch it on your Mac, then click the Browse button and select the Windows 10 ISO file you downloaded earlier.
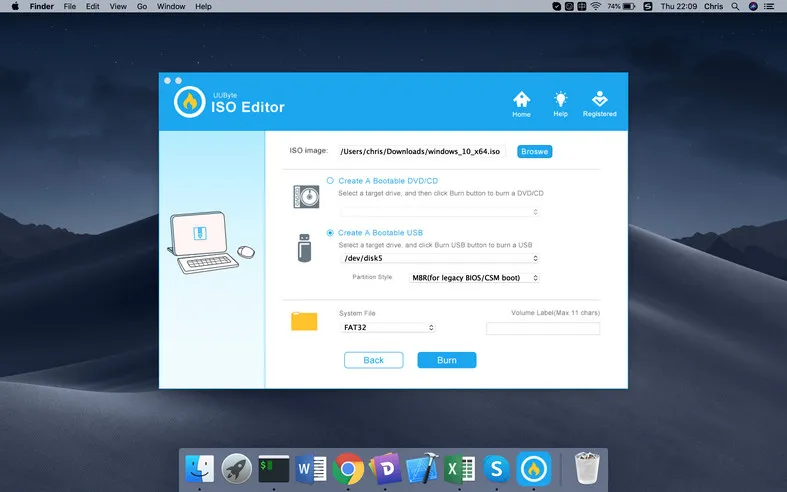
Step 3: Insert a USB drive into your Mac, then hit Burn button to burn Windows 10 ISO to USB (the process might take several minutes). Once done, you now have a bootable Windows USB and just install it on your Mac.
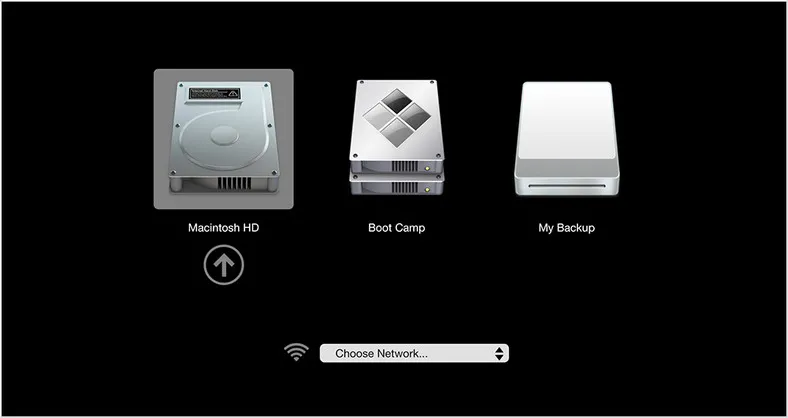
Step 4: Restart your Mac, then press and hold the Option key. Keep the button pressed until you see Startup Manager. After that, you should see a list of all drives and volumes.
Step 5: Select the disk you wish your Windows to boot from and then press the Return key to get started with Windows 10 installation.
Conclusion:
Boot Cam is still our first choice for installing Windows 10 on a Mac. You might come across a few errors during the process, but it is not hard to find a way to fix it. Actually, we have listed all possible solutions to fix "Boot Camp Installation Failed" error and the best alternative to replace Boot Camp if it did not work aftery trying out the suggestions.

Petty is editor in chief at UUByte and writes various topics about Windows and Mac to help people make the most of current technology.