
Mac laptops are durable and have a nice looking. I have seen several non-tech friends buying a Mac but installing Windows 10 on it instead as Windows offers a much better gaming experience than macOS. There are many more extraordinary features in Windows that bind Mac users to use Windows on their Mac. And some of them have the demain to reinstall macOS due to specific needs.
We know, you have reached here in search of the ways to reinstall macOS on your Mac machine running Windows 10 only, isn't it! And to fulfil your need, we have explained here everything along with the easiest method to perform the task.
1. Why Switching Back to macOS from Windows?
Macs are more expensive than Windows PC or laptop. And it is easy to build a PC at a much cheaper price nowadays. When you get a new PC, then it totally makes sense to switch to macOS on your Mac. Another reason is that Mac is usually packed with a small disk. If the free space is not enough, then running Windows is a full pain. Instead, macOS takes less storage than Windows.
There are many other reasons and we ca not list all of them in here. If you really need to reinstall macOS on a Mac with Windows OS installed only, then please follow the instructions in this tutorial to make the transition more smoothly.

2. Backup User Data of Windows Partition
User data is the core of our digital life so it is crucial to back up your data on Windows partition before installing macOS. If you had installed Windows on Mac via Boot Camp, then there is no official way to do that because Apple introduced Time Machine for taking backup on macOS. Though Windows also has inbuilt backup and restore feature but it takes so much time and has many errors.
Our suggestion is that copy and paste the important data to an external drive if there were only less data on Windows partition. For a full and secure backup, we recommend using professional software (e.g. Macrium Reflect 7 Free Edition) to do that.
Step 1: You need to download and install Macrium Reflect 7 Free Edition.
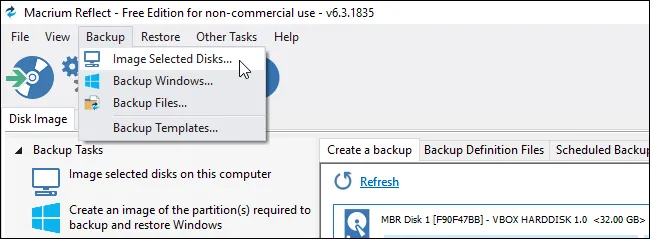
Step 2: Now, launch Macrium Reflect 7 Free Edition and on the main interface, you will get Image selected disk from Backup menu .
Step 3: Select the source disk you want to backup for and the destination you will save the backup file.
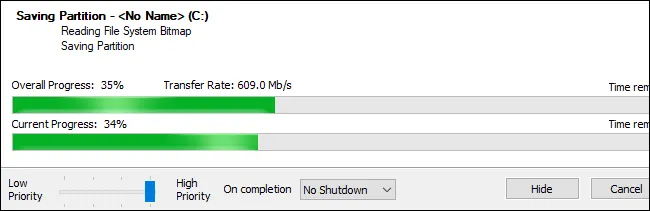
Step 4: Leave other settings as default and start copying data from source disk to destination disk. You should wait some time for this process.
3. Create macOS Bootable USB via UUByte DMG Editor
To install macOS on a Mac, you have to create a bootable macOS installer first. UUByte DMG Editor is a nice tool that easily burns macOS DMG file to USB and thus creates a bootable USB drive from macOS DMG file in a short time.
Most of the users think that the burning process is quite complicated, but UUByte DMG Editor proved it wrong because it has provided the smooth interface with limited options needed in the process and thus helps the mere novice to perform the task smoothly. In addition, you can also open DMG file and extract content from it.


Step 1: Open a web browser and visit the official site of UUByte DMG Editor, navigate for the latest version and then download the file. Next, install the application and meanwhile, insert the USB drive on your Mac.
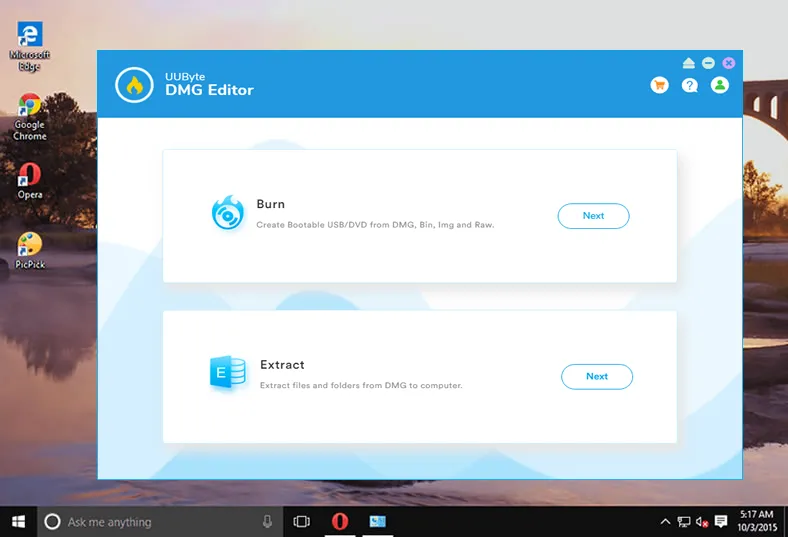
Step 2: Open DMG Editor on your Mac and at the main interface, you will get Burn and Extract options, please click on the Burn button at this time.
Step 3: From the new window, upload the macOS .fmg file by clicking on the Browse button and also ensure that your USB drive is detected by DMG Editor.
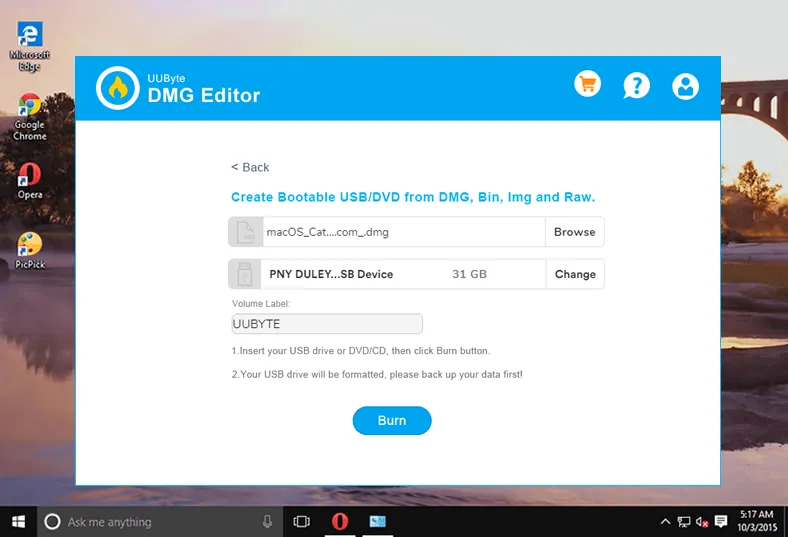
Step 4: After completing the above task, click on the Burn button. The process is started and it will be completed in less than 10 minutes.
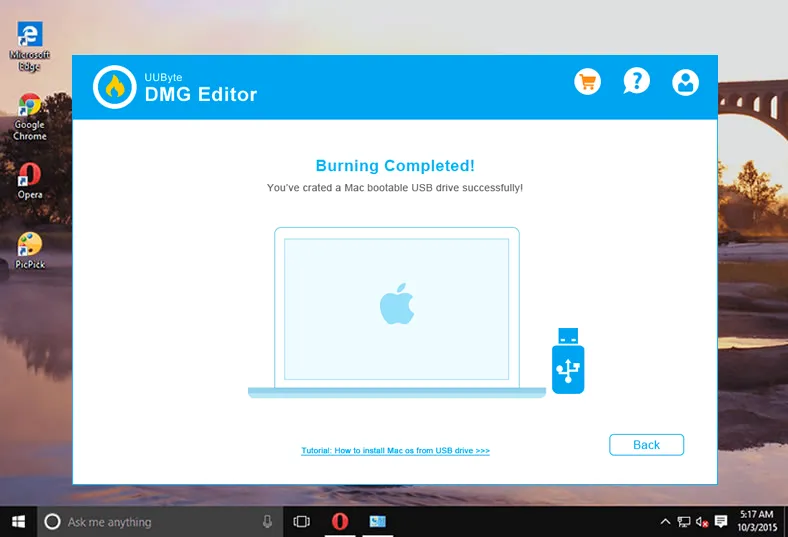
Now, you have a macOS USB installer and you can use it to reinstall macOS on any Mac.
4. Format USB Drive in macOS Recovery Mode
macOS utilizes different partition table and file system for OS installation. Currently, the file system is either FAT/FAT32 or NTFS on Windows partition. You have to format the internal drive to HFS+ or APFS. And this can be done in macOS Recovery Mode, which is usually applied to manage disk partition with the help of Disk Utility app. Now, let's see the steps needed to accomplish the task.
Step 1: Restart your Mac and then press and hold the Command and R keys together and release them when you see Apple logo on your Mac.
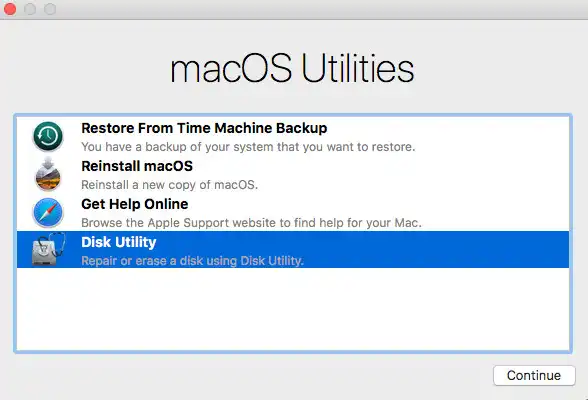
Step 2: You will be directed to macOS Utilities section with few options, select Disk Utility.
Step 3: Now, here you will get the list of drives and if you didn't get, then click on the View button and further click on the Show All button.
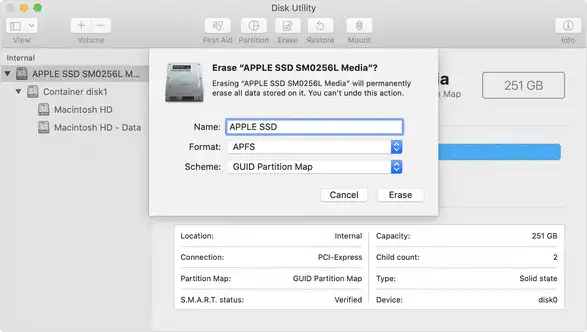
Step 4: Select the drive that you want to erase and then click on the Erase button.
Step 5: After that, you will get a pop-up window, move to the Format section and select APFS; then choose GUID Partition Map from Scheme option. Now, give a name to the disk and then click on the Erase button.
Once the erase task is completed, close the Disk Utility section and then move to macOS Utilities main interface.
5. Reinstall macOS on Mac from Bootable USB Drive
Untile now, all the preparation work has been done. It is time to reinstall macOS on your Mac now with the bootable USB drive. In this step, a wireless keyboard may not work and at this point, you must be ready with a wired keyboard to perform the task.
Step 1: Make sure the macOS bootable USB drive is plugged into the Mac. Now, restart your machine and then press the Option key immediately to enter into Startup Manager. This allows the Mac booting from external USB drive.
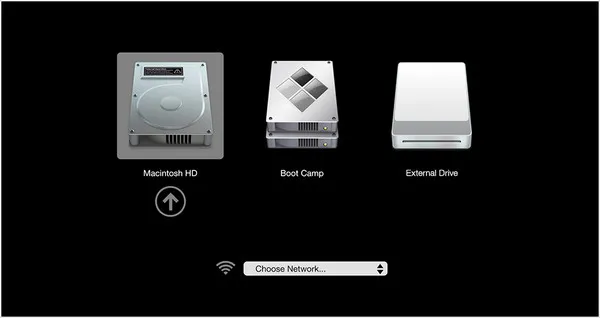
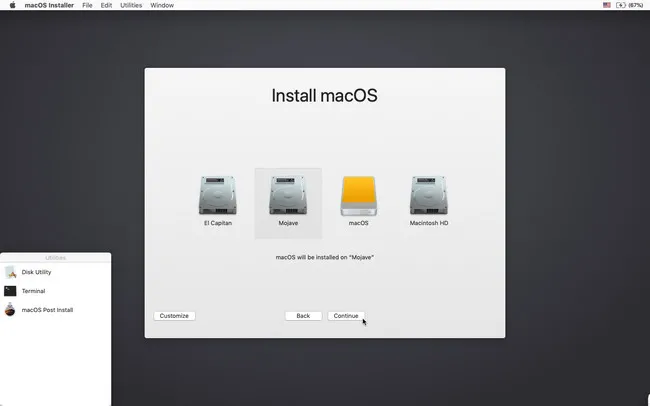
Step 2: Here, you will get the list of drives, select the macOS installer USB drive and it will direct you to the Install macOS section and here, you have to choose the internal hard disk (Macintosh HD) where macOS will be installed to.
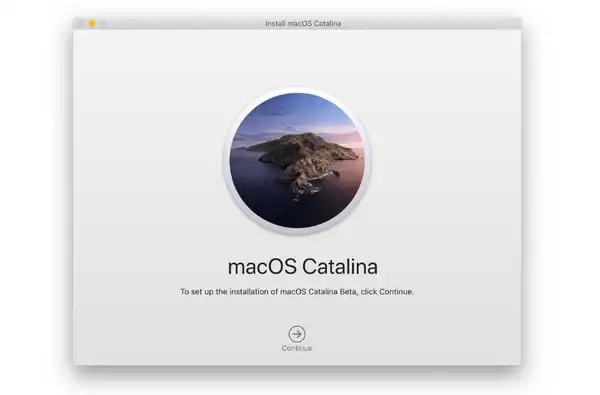
Step 3: The installation process usually takes time, so have some patience. And once the installation is completed, remove the USB drive and then restart your Mac.
You have successfully installed macOS on Mac from USB drive and thus wiped Windows 10 from the hard drive. After completing the installation process, only the setup part is left and you can do it by yourself, but make sure your device must be connected to Internet.
6. Troubleshooting
Command and R button are not working: This kind of issue mostly arises on the older version of macOS or Maa machine. For instance, if you are running Snow Leopard on your Mac, then recovery mode feature will not work and thus the respective buttons will not respond. So, to access macOS Recovery mode, you will need Sierra or above.
Installation failed and is showing corrupt: The issue is due to the expiration of the certificate and Apple does not update the certificate of the older version of the macOS. So, to get rid of such an issue, you need to install the latest macOS on your Mac machine.
Mac failed to recognize a bootable USB drive: There are many reasons behind the issue such as corrupted USB, faulty cable, or improper formatting. So, to fix the issue, you must try the USB drive on another computer. If the USB drive is not working, then replace USB with a new one. However, if the USB drive is running on the secondary computer, then try to format it again and then create a bootable USB one more time to reinstall macOS on the primary drive.
Summary
So, this is a complete guide to reinstall macOS on a Mac which is running Windows only. We have covered all the necessary steps to complete the task and also offered the toubleshooting guide. The entire processed was tested on several Macs and worked perfectly. However, it might be not working on old Macs that run an updated version of Mac OS X.

Petty is editor in chief at UUByte and writes various topics about Windows and Mac to help people make the most of current technology.