
How many times it happened that you just needed to use a software package, or play an old game, but realized that you can not accomplish this since they could run it only on Windows 7 but you have a Windows 10 PC instead. Its not sensible to shop for a new Windows 7 PC simply to run one program, or play a game.
However, there's a straightforward solution. You can install Windows 7 on a Windows 10 computer as dual booting. Everytime you turn on the computer, you will have the choice to decide on whether or not to use Windows 10 or Windows 7. Here's how you can do it.
1. Create A New Partition for Installing Windows 7
By default, there is only one active partition on one drive. To put Windows 7 on a Windows 10 PC, you have to create a new partition for installing Windows 7 OS. To do this, Microsoft has provided a wonderful tool in their Windows 10 OS, the Disk Management program.
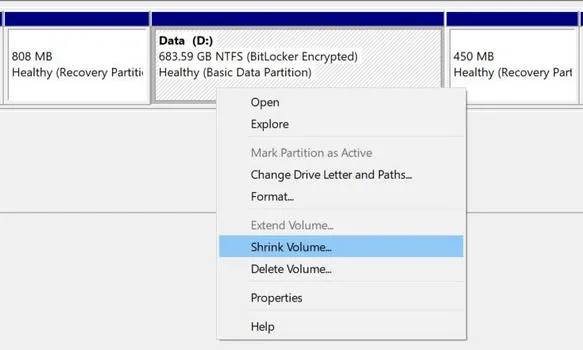
Click on the Start button on your Windows 10 PC and search for the term 'disk management'. It will show a program named Create and format hard disk partitions. Click on it and this will open the Disk Management utility. Now, click the internal drive name and right click on that drive and select Shrink Volume.
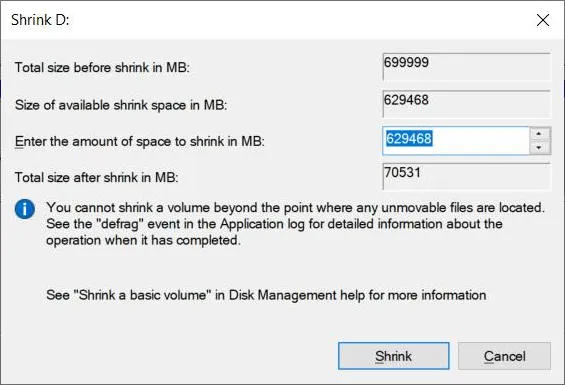
From the new window, it show that it is calculating the amount of space required for shrinking. Once done, it will open up a new tiny window like below, here you need to specify the amount to which you need to shrink the volume, the remainder of the quantity are going to be left blank. You should leave at least 50GB for Windows 7 OS..
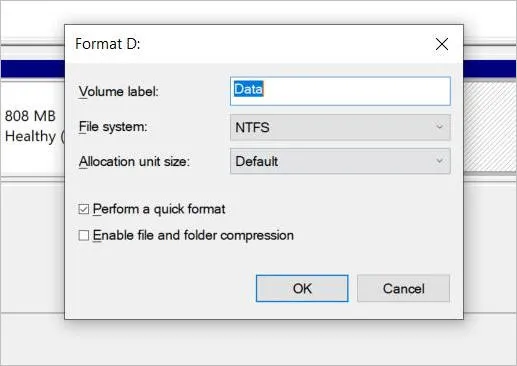
After the new partition was added, it is time to format it. Right click on the new partition and click on New Simple Volume. This will open New Simple Volume window, here you can set the drive letter, a volume label, and format the drive. The settings here should be NTFS for File system, and you would like to uncheck Perform a quick format, then click on OK.
Once the drive has been formatted, you may be able to see it from This PC. Now comes the next step, preparing for Windows 7 installation media.
2. Create Windows 7 Installation Media
To create an installation media for Windows 7 you should prepare for three things:
- Windows 7 ISO
- ISO burning software (UUByte ISO Editor)
- A USB flash drive with at least 16GB storage
You can get the Windows 7 ISO file from Microsoft website if you have a valid product key. If not, please follow this guide to download Windows 7 ISO image.
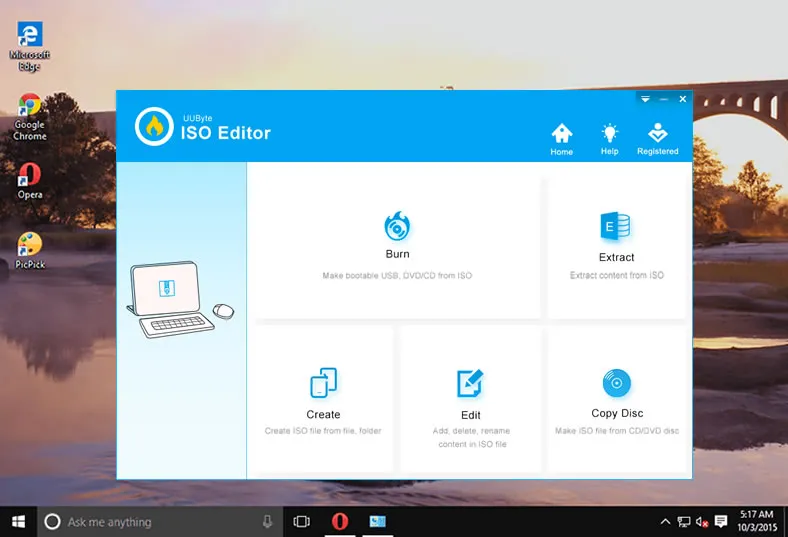
Next, back up important content on USB drive and download UUByte ISO Editor, one of the best programs for making bootable USB from ISO image.It is super easy to use and has less errors.


Step 1: Once UUByte ISO Editor is installed on your Windows 10 PC, launch the program and click Burn tab.
Step 2: Now, select the Windows 7 ISO you downloaded earlier using the Browse button, check Create A Bootable USB and choose the right drive letter from the drop-down list. We recommend ejecting other USB devices during this process, making sure you don't pick up a wrong USB device by accident.
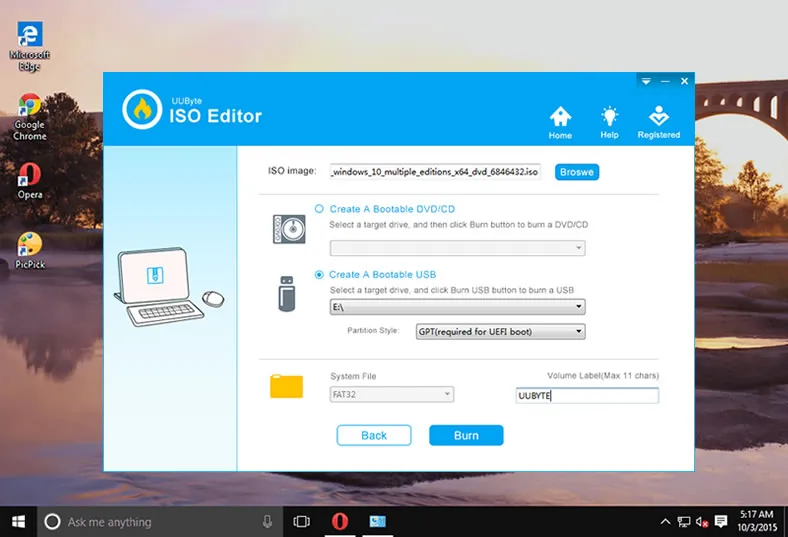
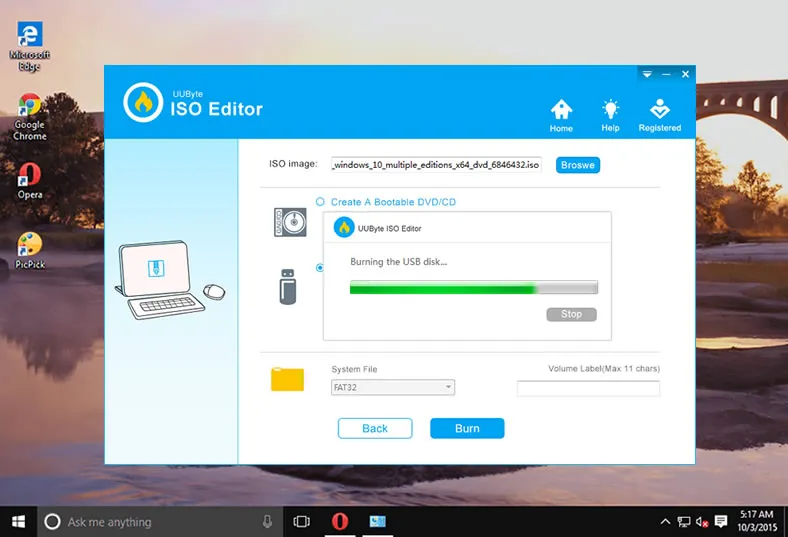
Step 3: You can additionally give a name to Volume Label, and then click on Burn. This can begin the process of creating bootable Windows 7 USB for installation.
Right after you created Windows 7 installation USB you'll use that same USB to save Windows 7 drivers. You may need to install them after Windows 7 is installed on your PC. You can download these drivers from manufacturer's website. The most important one is network driver, which lets you access websites on Internet. This will save your time during setup process but it is not mandatory.
3. Install Windows 7 on New Partition of Windows 10 PC
This new partition is the one you created in step 1 after shrinking the volume of existing drive. Now insert Windows 7 bootable USB on Windows 10 PC, and then restart the computer.
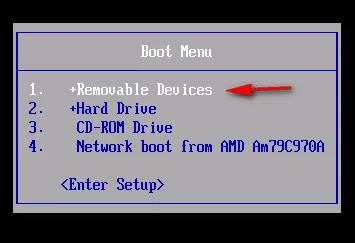
You need to keep holding a special key (shown on the secreen for 2-3 seconds during boot up) in order to open Boot Menu, where you can choose a temporary booting device (Removable Devices).
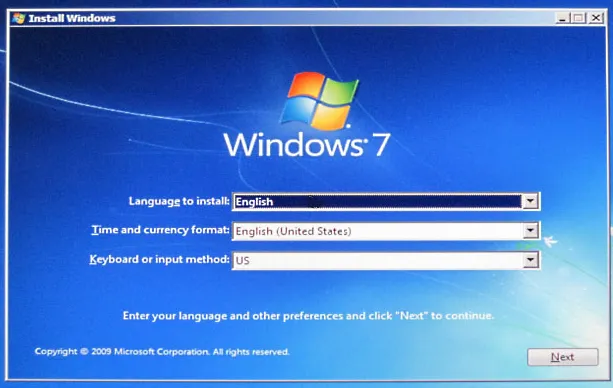
Once Windows 10 boots from USB, it'll begin Windows 7 installation steps. The choices given on PC screen will be fairly simple like selecting a language, time, keyboard; Just go on clicking Nex and filling out the details to continue the installation process.
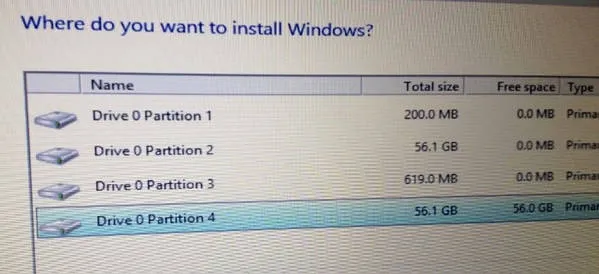
At some point, it will ask you where do you want to install Windows 7, which is the target partition you created earlier.
Towards the end of the procedure, it will ask you to create a user account, and set passwords. Make sure you remember this information like you do for Windows 7 login.
Depending on the configuration of your PC, this entire process may take around 30 minutes to one hour. Once the installation is complete, the PC will boot again. Now you may not immediately see the option to boot to Windows 7, in which case you need to configure the boot menu. We will come to that next.
4. Configure Boot Menu
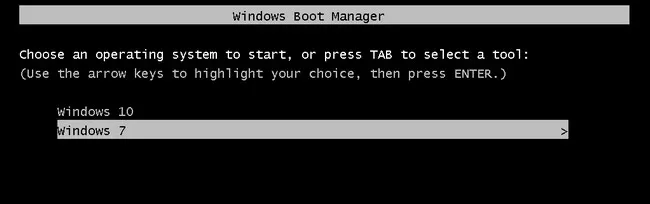
To ensure that you can see the option to choose whether to boot to Windows 10 or Windows 7, you need to configure Boot Menu under Windows 10. Here's how you can do that.
Click the Start button and search for 'MSConfig'. This will open a program called System Configuration, launch this program.
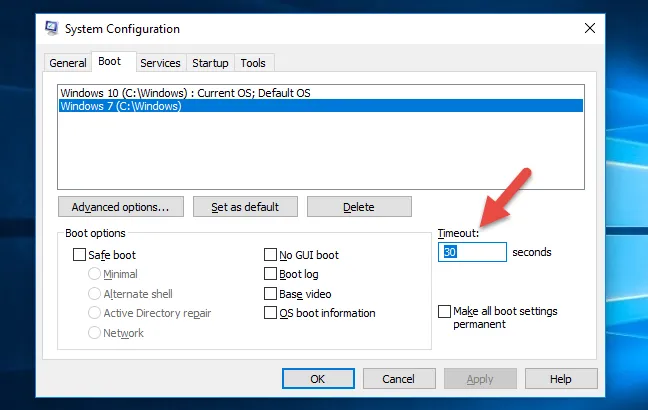
From the small windows that pops up, switch to Boot tab, and write 30 in the field under Timeout field. This will ensure that the option to boot into either Windows 10 or 7 is displayed for 30 seconds, so that you can have time to make the decision.
5. Install Missing Drivers on Windows 7
Unlike Windows 10, only a few types of hardware driver comes with Windows 7 OS. This means you have to install the missing driver manually.
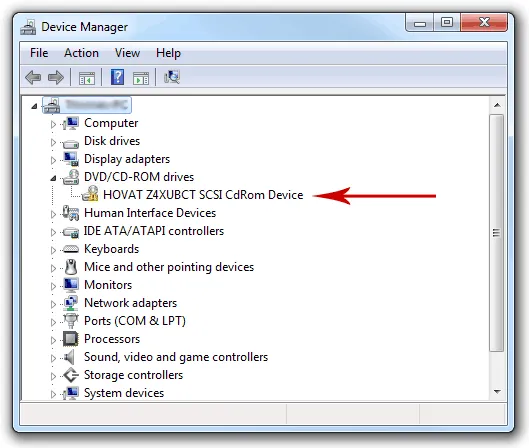
Click on Device Manager, there you will see all the hardware on your PC. You can see a yellow question mark beside some of them, those are the ones that needs a driver installation. Right click on them and click on Update Driver Software. Once you click on that a new window will pop up with the options to update your drivers, select Browse my computer for drivers and search in the USB drive folder where you had downloaded the drivers.
Go on repeating the process of updating the drivers for all the devices that needs an update. Once completed, you have a new Windows 7 installation ready to be used. It would feel like a brand new Windows 7 PC.
Other Possible Ways to Install Windows 7 on a Windows 10 PC
The above is the common way to install Windows 7 on a Windows 7 PC. However, it is not suitable for all cases. Actually, there are other ways around.
Create a Windows 7 Virtual Machine: Virtual machine technology is quite polular now. You can run multiple types of guest OS on a Windows host PC. You can create a Windows 7 virtual machine on Windows 10 PC with VirtualBox or VMWare Workstation software. It is easy to get it done and do not have any risk. This is a perfect solution if you just want to run Windows 7 occasionally.
Install Windows 7 on Another Drive: It is more recommended to add a new drive and install Windows 7 on it if free space of internal drive that hosts Windows 10 is not enough, let's say there are 128 GB or 256 GB SSD. In such a case, you'd better adding a new SSD drive to motherboard and install Windows 7 on it as a dual boot. By doing this, the two operating systems work in parallel and don't affect each other if one failed.

Petty is editor in chief at UUByte and writes various topics about Windows and Mac to help people make the most of current technology.