
Bought a new Raspberry Pi? And that's awesome! However, you can not do anything with the micro computer if no OS was installed on it. For all Raspberry Pi devices, Pi OS (previously Raspbian OS) is the operating system designed for them. As a Mac user, you may want to know how to install Pi OS to SD Card with this new microcomputer
Well, the idea is great but you must have detailed knowledge about the process and the necessary tools required for the task. During the installation of Raspberry Pi OS to SD Card, you will need one Mac computer, SD Card, Ethernet Cable, and Micro USB Power supply. If you have all this equipment, then be ready to perform the task by following the methods listed below.
Preparation
Before the installation gets started, there are a couple of things you should prepare for. This makes sure you won't waste any time in next stage. And the whole list in shown in below.
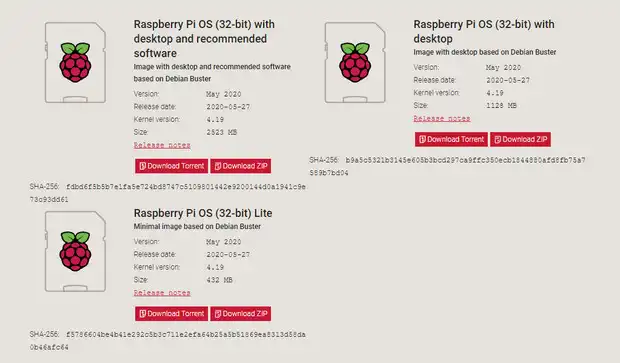
Raspberry Pi OS Download: You have to download Pi OS by your as no one is preparing this for you. Please go to Raspberry Pi OS Download page and pick up the one that suits for your board. The download file is archived in a Zip format and you should unzip the file using tools like Unarchiver app on Mac in order to get the .img file for Pi OS installation. After that, you can burn the .img file to SD Card.
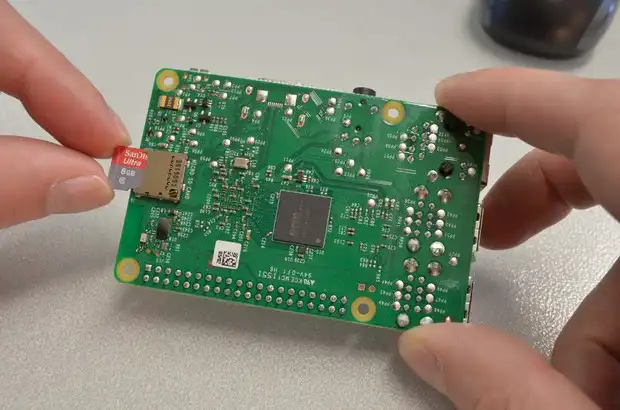
SD Card Requirement: Not all SD Cards are eligible to run Pi OS. According to Raspberry official document, the SD Card should be Class 10 with more than 8GB capacity. The recommended card size is 16GB.
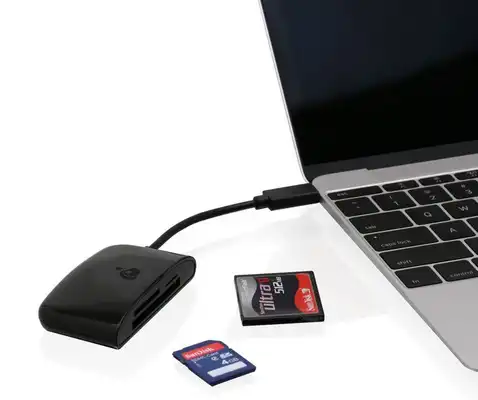
SD Card Reader for Mac: In default, there is no SD Card slot on modern Mac computers. So you have to use an SD Card reader on Mac instead. You can purchase one from Amazon or Apple.
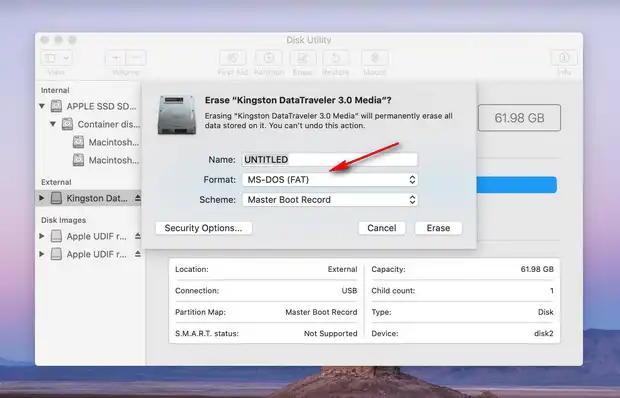
SD Card Formatting: Any SD Card larger than 32GB should be formatted to FAT file system that Raspberry Pi supports. The default format is SDXC for 32GB+ SD Card. You can format the SD Card on Mac using Disk Utility app with the Erase option.
Once you have everything prepared, it is time to get started. Please follow the steps in below parts to begin installing Raspberry Pi OS to an SD Card on Mac.
Install Raspberry Pi OS to SD Card on Mac with DMG Editor
We will introduce three different tactics in this article and we come with the easiest one first. The tool we are going to use in this section is called UUByte DMG Editor, one of the best tools for flashing .img file to SoC like Raspberry Pi. It is very effective and easy to use utility for OS installation. Moreover, the interface is so smooth that even a mere novice can do the job at his/her own. Now, go through the process listed below to install Raspberry Pi OS to SD Card on Mac


Step 1: Software Installation and Plug SD Card to Mac
Download and Install UUByte DMG Editor on your Mac. The direct download link is given above. After completing the installation process, launch the application and insert the SD Card on Mac.
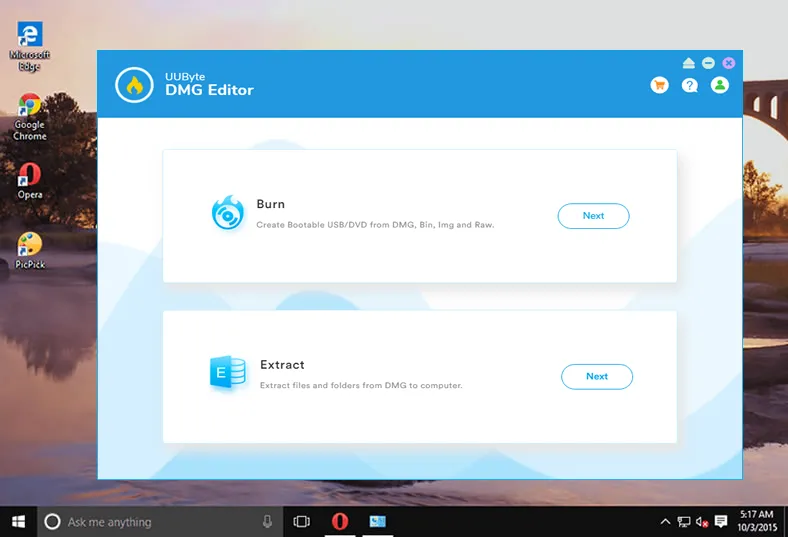
Step 2: Import Raspberry Pi OS .Img File
Now, click on the 'Burn' button and it will direct you to another window. Click on the 'Browse' button and then upload the image file of Raspberry Pi OS or you can use NOOBS files in a raw mode, which means no need to extract the folder. Make sure to check the target location of the SD Card that is located on the home page of UUByte DMG Editor.
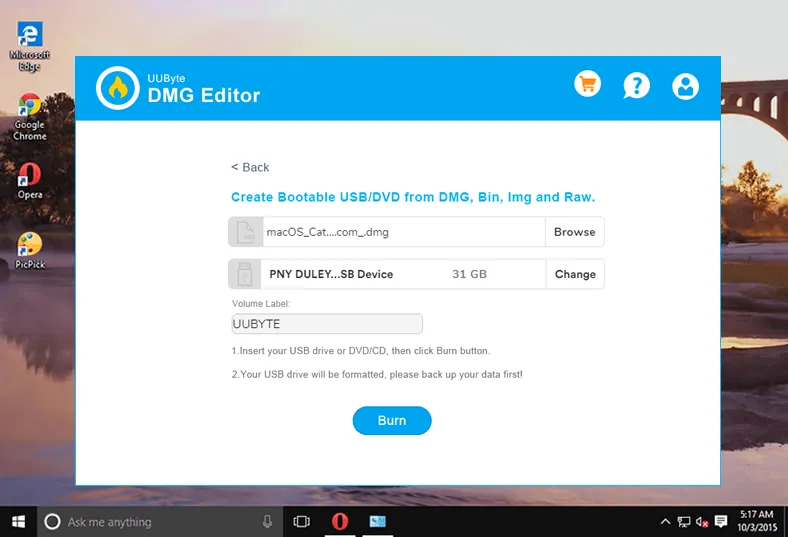
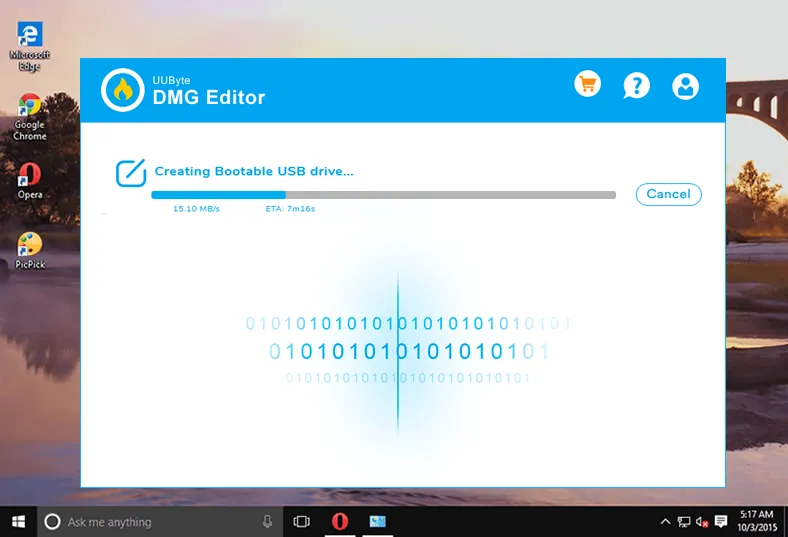
Step 3: Write Raspberry Pi OS File to SD Card
Once the file is loaded, click on the 'Burn' button. Thereafter the process will get started and within a few minutes, the task will be done.
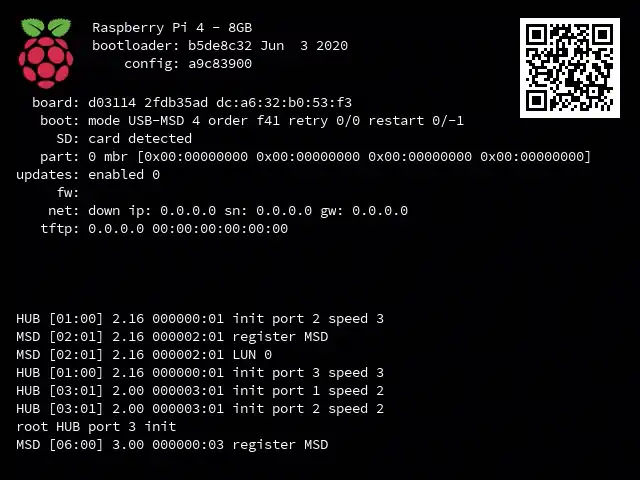
Step 4: Boot Pi OS from SD Card
Now, close UUByte DMG Editor and eject SD Card from Mac. Insert SD Card on your Raspberry Pi and boot from it. That's it; your job is done.
UUByte DMG Editor is a great application that performs multiple tasks in no time. The features are outstanding that helps the users to access the application smoothly. The performance level of the application is quite high and when you will use it, you will feel the same.
Install Raspberry Pi OS to SD Card on Mac Using Terminal
Terminal is a stock app on Mac when the users want to complete tasks from text command. It is totally free and you have to type a few commands combined in order to install Raspberry Pi OS to SD Card on Mac. It does the same as UUByte DMG Editor but without a visual interface. Also, you will have to format the SD Card to FAT first and then install Raspberry Pi OS. For the detailed procedure, follow the steps provided below.
Step 1: Insert the SD Card into a card reader and then attach it on your Mac.
Step 2: On your Mac, open Launchpad and search 'Terminal'. Click the app name from result page.
Step 3: In the terminal box, you need to enter a few commands to erase the data on the SD Card and you must these commands in a sequence manner one by one.
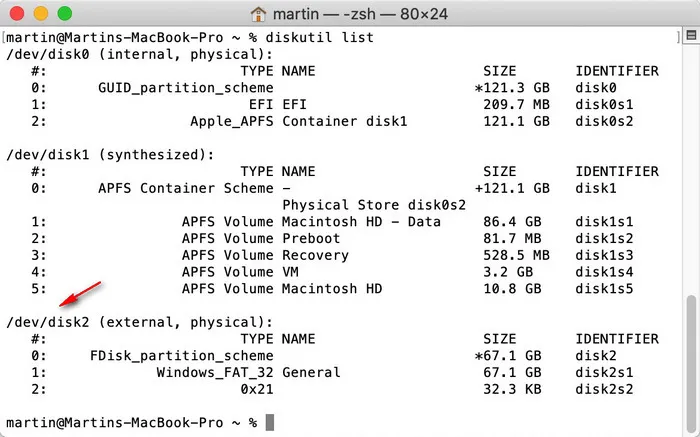
Step 4: First, you need to type 'diskutil list' in the terminal box to view the list of drives. Now, you will have to locate your SD Card and it will be presented in the form '/dev/disk2'. Here, disk2 is the name of inserted SD Card.
Step 5: Now, unmount the SD Card through the command listed below:
diskutil unmountDisk /dev/disk2
Step 6: Write Raspberry Pi OS image file using this command:
sudo dd bs=1m if=raspbian-jessie-lite.img of=/dev/disk2
Note: Here, disk2 is given as an example and you must enter the disk name of your SD Card.
Step 7: The image writing process is started and it will take some time and once it is completed, you need to eject the SD Card from Mac using the command given below:
sudo diskutil eject /dev/rdisk2
Step 8: Now, remove the card reader from Mac and then remove the SD Card from the card reader and further insert the same on your Raspberry Pi.
Step 9: Thereafter, plug your Raspberry with the Ethernet and make sure to use the same network connection that you use for your Mac. Also, ensure to provide the power supply to Raspberry Pi using micro USB Power Cable. Soon, you will find the Raspberry Pi logo on Raspberry and this shows that your job is done.
Install Raspberry Pi OS to SD Card on Mac via NOOBS
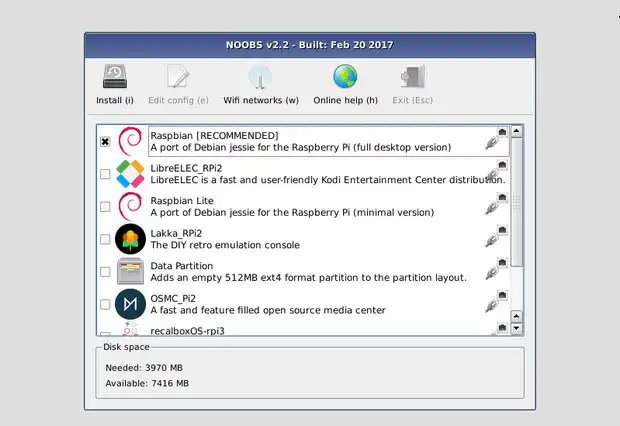
This method is for the beginners as NOOBS (New Out of Box Software) offer the Raspberry Pi imager that will help the user to perform the setup task on Raspberry smoothly. To perform the task, follow the steps listed below.
Step 1: First, you need to format the SD Card, so do the task using the Terminal of Mac.
Step 2: Now, open the browser on Safari and then grab the latest version of NOOBS from the raspberry site.
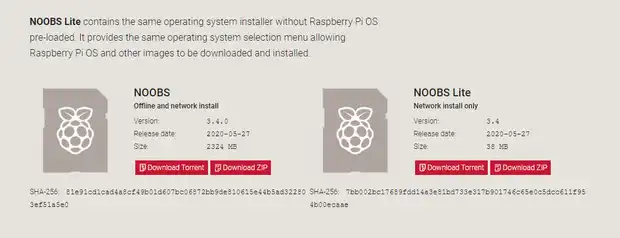
Step 3: In the download page, you will get NOOBS and NOOBS Lite, download the one as per your convenience. The downloaded file is in zip format, so you will have to unzip the same.
Step 4: Now, locate the extracted NOOBS folder, open it, and then drag all the files and drop it on the SD Card. Make sure to drag and drop the files only, not the folder.
Step 5: After completing the above process, remove the SD Card from the card reader that is inserted on Mac. Now, insert the SD Card on Raspberry Pi and connect all the peripherals associated with the device. Soon, you will get the Raspberry Pi Logo on your Raspberry device, it means your job is done.
This method is simple and easy to use, but if you miss any file amid dragging and dropping process, then you will fail to get the result. In short, you will have to perform the task manually, starting from erasing the SD Card to write the image file of Raspberry Pi OS.
Conclusion
Terminal and NOOBS are good for installing Raspberry Pi OS to SD Card on Mac, but UUByte is much better. You don't have to tech-savvy and no need to read and input any command. Moreover, in the NOOBS process, you will have to perform additional steps to accomplish the task, but UUByte DMG Editor is completed automatic and you don't have to give much effort and time.

Petty is editor in chief at UUByte and writes various topics about Windows and Mac to help people make the most of current technology.