
Windows 11 is currentlt the hottest desktop operating system and there are a lot of users plan to install Windows 11 on an old PC. However, you should really pay attention to the BISO firmware before installation as Windows 11 has much more rigorous requirements for hardware, such as TPM 2.0 and UEFI boot.
When your computer or laptop boots up, the first screen you see is the BIOS window. In fact, BIOS's role is to execute primary and secondary tests before booting the on-board operating system. In this post, you will learn details what is BISO and its role, what are the reasons for updating BIOS. Finally, learn the step-by-step guide o how to update BIOS on a Windows 11 PC.
What is BIOS and Its Role?
BIOS stands for Basic Input Output System. It is a set of instructions stored in ROM (Read Only Memory) that are used to check PC components. After testing, it loads the operating system from the storage devices like hard disks. BIOS is a type of firmware, which means it can be updated by installing a new version.
By default, BIOS firmware is located on a chip of connected motherboard and you can access it by pressing a special key when you power on the computer. The key varies depending on the manufacturer, and it will often display which key to press before booting up. Usually, you can use F2 or DEL key to access BIOS settings. After you press the key, BIOS will perform a series of tests called "Power on Self-Test" (POST) to check if all hardware is working properly. Then it will initialize all hardware components so that they can be ready to work with the operating system.
After POST finishes successfully, BIOS checks if there is any bootable device connected to the computer. If there is no bootable device found, BIOS will display an error message like 'No operating system found' or 'Invalid partition table'. However, if there is a bootable device connected to the computer, BIOS will load OS into memory and boot from it.
Reasons to Update BIOS Firmware
There are many reasons to update the BIOS firmware. Below is a list of the most common reasons you would want to update BIOS.
1. If the computer got too hot, it might shut down or hang so updating the BIOS can help lower temperatures inside the case.
2. A new version of the BIOS usually adds support for new processors or chips.
3. Bugs and improments have been made in new version of BISO firmware. This will boost the overall performance.
Note: Some motherboards have an option in the BIOS to "revert" to an older version. This feature can come in handy if you have installed a device that causes your computer not to work properly and you do not know how to uninstall it.
How to Check the Current BIOS Version
To update the BIOS on a computer running Windows 11, the first step is to check the current BIOS version of the computer. Later if you update the BIOS, you will see the newest version. The good thing is when you're checking the current BIOS version of your PC, you will also the last time the update for the BIOS was installed.
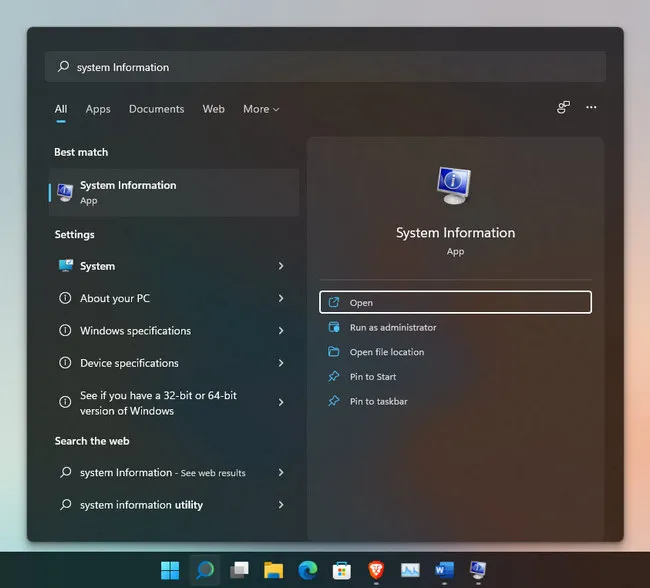
The quickest method to check the current buyers of your computer, click on the search icon at the taskbar and search for system information. Or you can open the run dialog box by holding 'windows + R', and type 'msinfo32', and pressing enter.
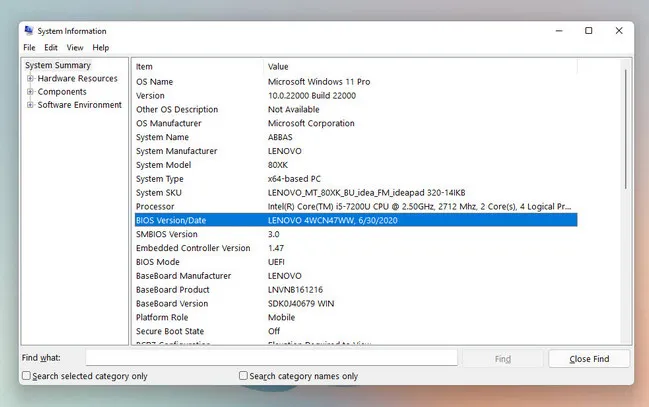
Under System Summary tab, you will find out the BIOS version and the date. In my example (Lenovo laptop), the BIOS version is 4WCN47WW. The date is June 30, 2020. You can take a screenshot of it, or write it on a notebook and keep it save.
How to Automatically Update BIOS Firmware on Windows 11 PC
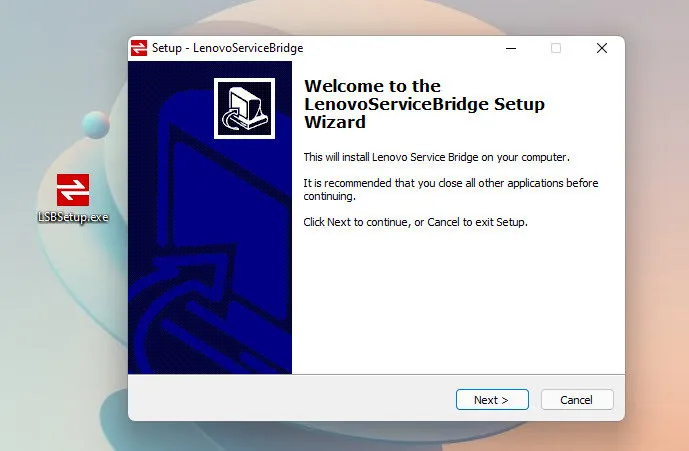
The quickest and yet the simplest method to update BIOS on a Windows 11 PC is to download the tool provided by the manufacturer. It means if you search on Google Lenovo drivers for example (in my case), the first thing that you open will be support.lenovo.com. There is an option that can detect the serial number of systems. But for that, you have to download and install a small software, called Lenovo Service Bridge.

Double-click on the installer to begin the installation process.
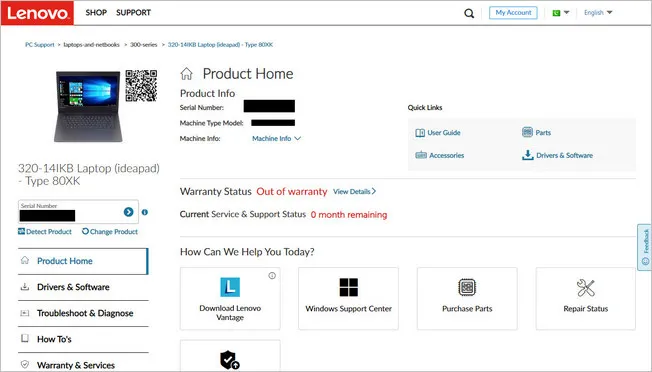
After installing the application, if you go to support.lenovo.com click on detect, it will launch the Lenovo service bridge automatically and it will check your warranty status.
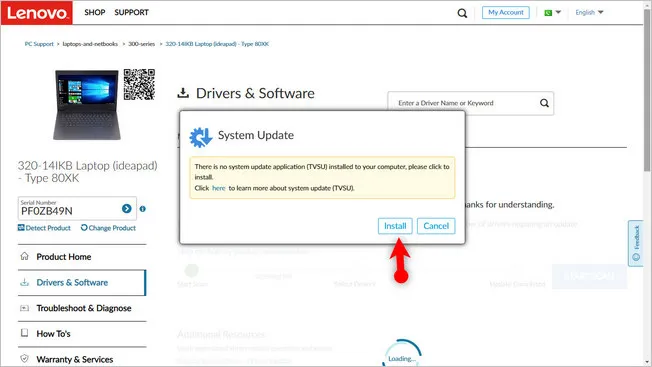
We are looking to update the BIOS, so go to the Drivers & Software category and click on Scan. Lenovo will ask to download and install the "System update" app on this PC. You have to click on Install.
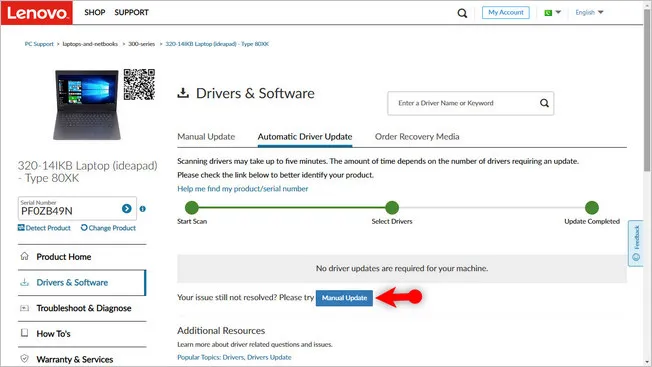
After installing, the scanning of drivers on your PC will begin immediately . In the end, you will see the result. If there was an update regarding your hardware, it will immediately begin downloading and installing. In my case, there is no update at all. However, you can manually update your drivers too, just click on the Manual update.
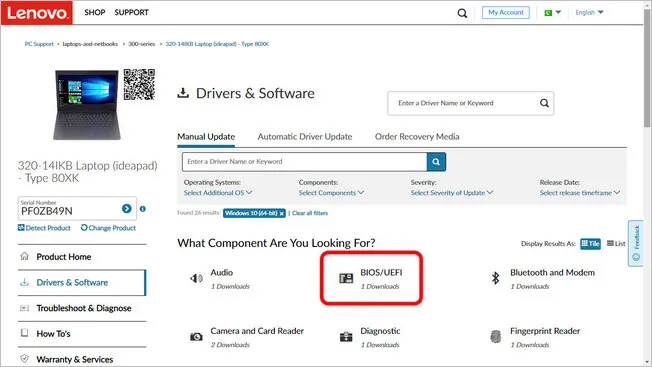
Now, look for any driver that you are eager to update manually. In our case, we can check the BIOS UEFI driver.
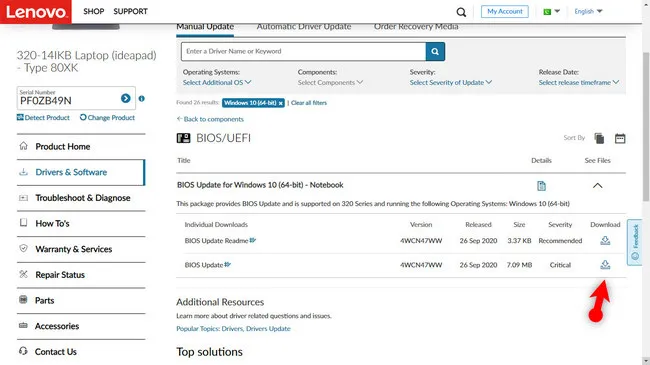
And now download the BIOS driver. You can see the drive was updated on Sep 26, 2020, which is newer than the current BIOS firmware on my Windows 11 laptop.
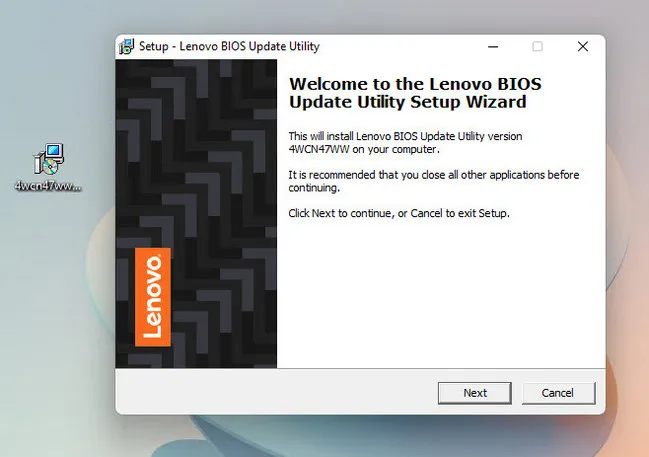
Double click the downloaded file to start installing the latest BIOS firmware on Windows 11.The installation steps are easy.
How to Update BIOS Firmware on Windows 11 PC Manually
If the above steps I provided are a bit time-consuming and confusing, then it is better to manually update the BIOS of your computer. The first step would be to get the serial number of your computer. To get it you have to run CMD and type the below command and press enter.
wmic bios get serialnumber
Next, go to your manufacturers' drive's website and enter the serial number and click on Detect. Again, it's going to download and install the needed application inside the computer.
Go to the driver section, and download the driver that you are looking for. If you are looking for a BIOS update, click on it and get it. After downloading it you have to install the BIOS update, so double click on the installer and install it.
Note: If you are using a laptop, make sure the computer is connected to power adapter during the installation of the BIOS update tool.
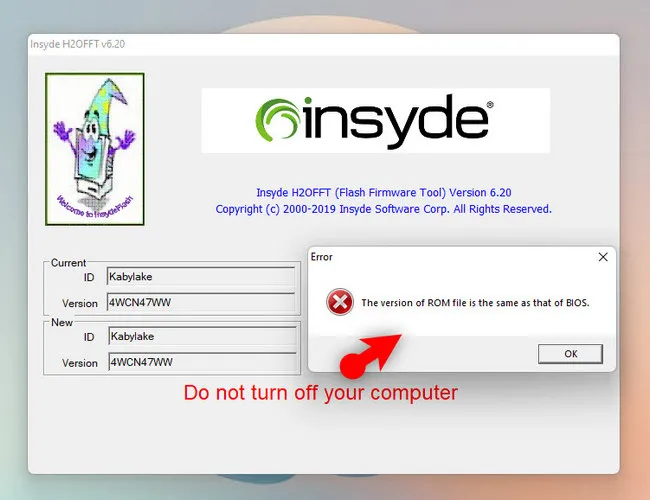
When did installation is done, click on Finish, it is going to extract the required files and a new window will open. This window is called Insyde. In my case the app is saying that my PC is running the latest version of the BIOS.
Update BIOS of Dell, HP, Asus and other brands
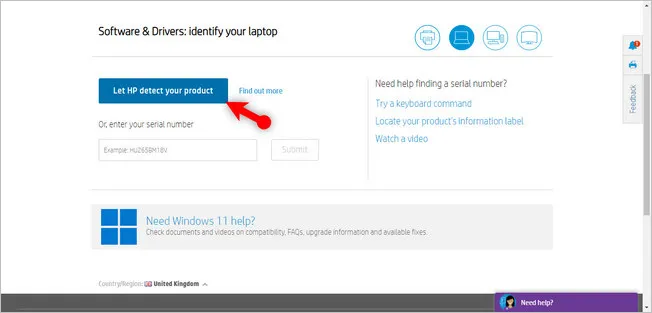
The above example shows you how to update BIOS firmware on a Lenovo laptop running Windows 11. If you are using a computer from other brands like HP Asus or Dell. The steps are a bit defferent. You have to navigate to that brands driver download portal and choose the computer model, then do the same steps the same way that I did with Lenovo.
Have a look at the below screenshot, I have visited the HP's driver page. You will see there is written "Let HP Detect Your Product". After that, go and download the latest drive for BIOS.
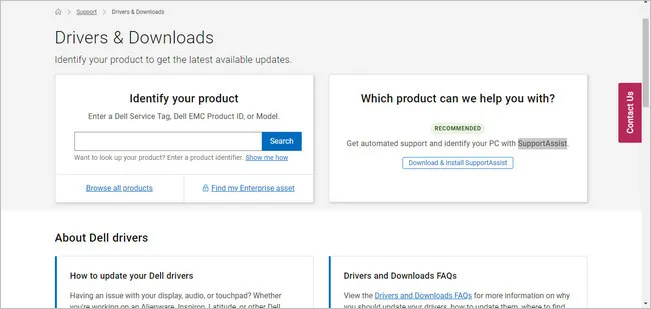
Dell has also the same feature, you can use their software known as "SupportAssist" or enter the product detail manually.
Summary:
BIOS is an important firmware that must be updated at any cost. If you install the manufacturer's System Update application in your Windows 11 PC, every time new driver update arrives it will automatically install. In my case Lenovo's application is known as system update. However, if you are not comfortable with that, you can manually install your drivers update, specifically BIOS.

Petty is editor in chief at UUByte and writes various topics about Windows and Mac to help people make the most of current technology.