
ISO is the most popular file container for distributing bootable system images like Linux, Windows, rescue disk and others. And ISO 9660 disc image format is basically regarded as ISO. Unlike Windows, ISO image file is not a native support type on mac OS X and macOS. Unfortunately, the issue is still existing on latest macOS Catalina. You will get an error when trying to open an ISO file like usual:
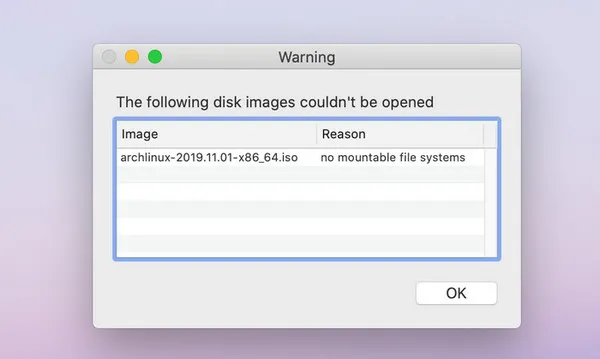
Please don't be discouraged if you received "The following disk images could not be opened" or "no mountable file system" error. The following parts show you the best four methods to help you open and extract ISO file on macOS Catalina with minimal effort.
Method 1: Open ISO File on MacOS Catalina with Disk Utility
Disk Utility is an stock app on all Mac computers for handling disk related tasks such as mount, unmount and disk format. Some of the ISO image files can be opened directly by Disk Utility app. When you double click on the file, it will be channeled through Disk Utility app that will already be there on your Mac. And this is a more advanced process to mount and open IOS images on macOS Catalina.
Step 1: Click the 'Finder' app icon from Dock. There is an option called Application in the sidebar.
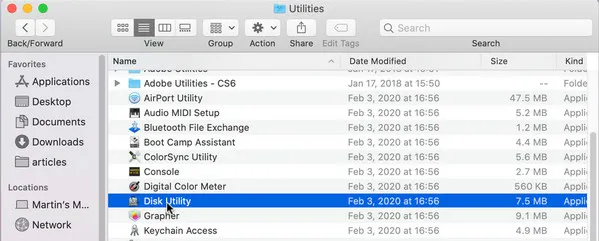
Step 2: Click the Application icon to get into that folder. You will see all apps being installed on this Mac. Scroll download the window and find the Utilities folder, where Disk Utility app sits in.
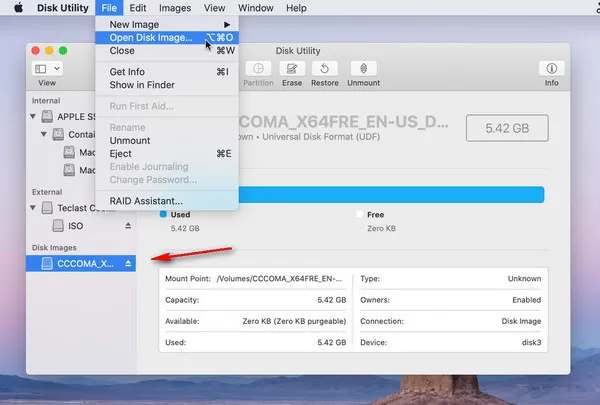
Step 3: Now you just need to double click on the Disk Utility icon to open it for further steps. Now, select 'Open Disk Image' to finish your action. Now you can load the ISO image from Mac. Unpon success, you will see a volume label below the left sidebar. This means the ISO file is mounted.
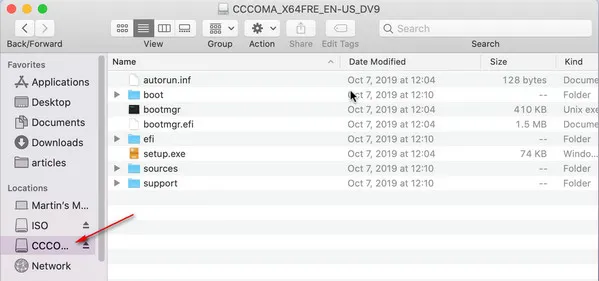
Step 4: Close Disk Utility app and open Finder again. Now, you can see the mounted volume label at left under Locations tab. Click on the name and all files/folders are displayed. Then you can make all kinds of actions for those files or folders.
You can burn the ISO file in an external device if you want. If not, then you can just use it as a mounted disk image. After mounting, you can just eject it by taking the mounted image to the trash bin.
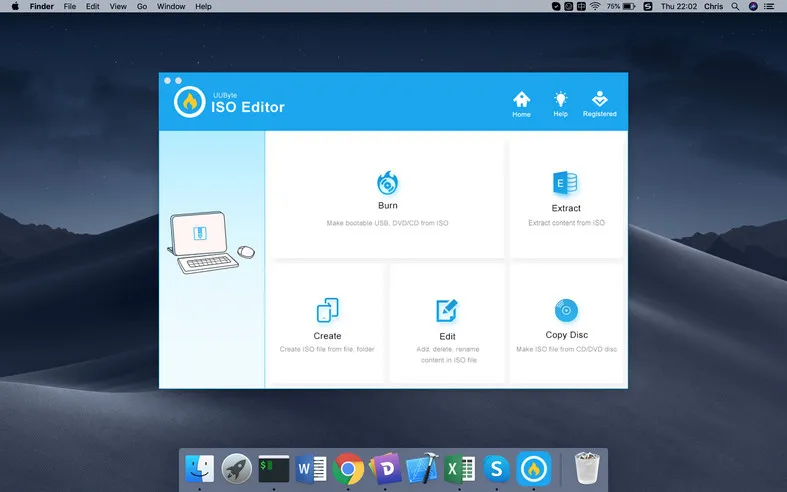
Method 2: Open and Extract ISO File on Mac Catalina with UUByte ISO Editor
Not all ISO file can be opened by Disk Utility app. At least, Linux ISO is not supported as for as we know. So if the image file failed to load with Disk Utility, then UUByte ISO Editor is a good alternative, which is regarded to the best way for opening ISO image on Mac. It's simple drag and drop system has won the customer satisfaction in the case of ISO image viewing.
Main Features of ISO Editor for Mac
- Support all types of ISO standards, such as ISO 9660, ISO 9660 Jolet, UDF ISO.
- Support latest macOS Catalina as well as Mojave, High Serria.
- Instantly load and extract files from ISO file.
- Make bootable USB or DVD from ISO image.


Step 1: Download UUByte ISO Editor
At first, download the UUbytes ISO Editor on your Mac to begin the whole process. Then just follow the given instructions on the screen and install the app. After completing the installation process, you just have to open the file by double-clicking the icon shown on Lanuchpad.
Step 2: Import ISO Image
There will be an option called Extract when the app is opened. Click on the tab and add the targe iso image file by clicking Load ISO button. Below is the unzipped file structure of a Linux ISO file.
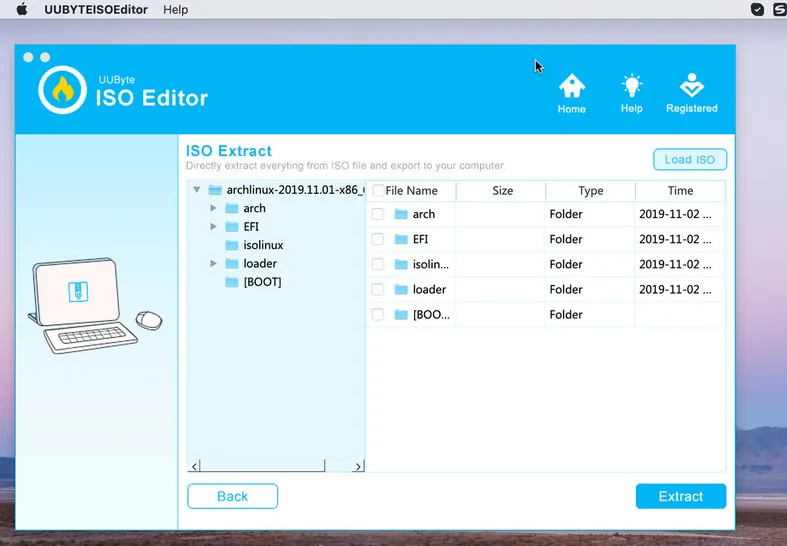
Step 3: Extract ISO Image to Mac Catalina
All ISO files are loaded and you need to choose which file you want to extract. Now you just have to hit the Extract button after choosing the file or folder and then it will take 1-2 minutes to complete the process.
UUByte ISO Editor Tool is the most convenient and time-saving tool for opening ISO images on macOS Catalina. To access it's full feature, recommended downloading the software from its official website. Because, if you downloaded it from any third party website, there are chances to get some hidden virus or malware along with the setup files.
Method 3: How to Open ISO File on macOS Catalina in Terminal App
Virtually, all actions that are completed under graphics user interface can be also done in Terminal, which is command prompt tool for Mac. Opening ISO image file on macOS Catalina using Terminal app is also a quick and straight process. You have to input a set of commands to finish the task. And you should pay a lot of attention to it. One little mistake can make the whole action fruitless.
Step 1: Open Lanuchpad on Mac and select Terminal app from Other folder.
Step 2: Remeber the location of ISO image file to be opened. Assuming it is saved on your Desktop and the full name is Win10_1909_English_x64.iso.
Step 3: Type this command to mount the target ISO file:
hdiutil mount ~/Desktop/Windows_10_x64.iso
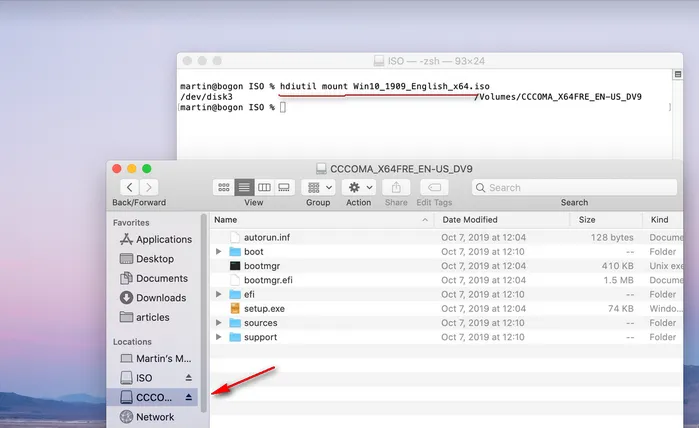
Step 4: Now just hit the Enter button and a new volume label appears on the left sidebar. This is the mounted folder for imported ISO file. Now you can copy and paste the file to Mac.
Step 5: When you are finished working with the ISO image you should unmount the ISO file by running the following command:
hdiutil unmount ~/Desktop/Win10_1909_English_x64.iso
This process needs no script upfront and that's why it is the most recommended process with the minimum needed comfort. Direct commands also save your time in unnecessary procedures. However, if you are not familiar with the commands, it's better to use some UI based tool.
The Bottom Line
These three methods have been the most successful and popular methods of opening ISO images on macOS Catalina. Every method has its own kind of specificity and importance. Besides these methods, UUbytes ISO Editor has gained so much popularity in very less time because of its simplicity and easy to handle designs. However, if you ever find any difficulty, you should contact the support team for more information.

Petty is editor in chief at UUByte and writes various topics about Windows and Mac to help people make the most of current technology.