
macOS Big Sur has been out there for months with small, but welcome improvements. If you are still on a Mac with older macOS version and you hesitate to upgrade to macOS Big Sur due to potential bugs and glitches, then the good news is that you can install Big Sur on an external drive and run from it. In other words, you don't need to upgrade to Big Sur on your current machine, which may keep important data you never want to lost or get it damaged because of software updates.
Installing macOS Big Sur on an external drive is not new as this approach has been around for months. However, the process might be unknown to many folks. No worries, we can help you out.
In this guide, we are going to walk you through the steps on how to install and run macOS Big Sur from an external SSD drive. Before you dive in, there are some things you need to know about.
1. Benefits of Running Big Sur from External Drive
Running macOS from an external drive is the safest way to get a detailed look for beta or a new operating system without damaging current data. In other words, your personal files remain unbroken and intact while you still can run apps or play around with a new OS.
- Test out new features on Big Sur.
- Keep important data untouched on your working Mac.
- Not taking free space on Mac's internal drive.
- Not fraid to perform advanced or risky tasks on external copy.
- Run macOS Big Sur on unsupported Mac.
12. The Best External SSD Drive for Your Mac
To run macOS Big Sur from an external drive smoothly, you will need a fast drive. So an SSD drive is good to go. Portable SSDs offer a greatly-improved speed and performance, with up to 30 times faster than the traditional hard drive (HDD). In a nutshell, SSD will dramatically reduce the boot time and make the apps running much faster.
If you are looking for the best portable SSD for Mac, then we recommend LaCie Rugged SSD Pro. This is one of the most used SSDs for Mac out there as it features high-performance and compact design. It only weighs 0.1kg, so you can easily carry it around or slip it into your pocket or bag. Plus, its black sleeve is thick, allowing it to survive severe drops. It's also rated IP67, meaning that it is water-resistant. Besides, the SSD Pro features write speeds of 1780MB/s, and a faster 2480MB/s for read speeds.

In terms of pricing, the SSD Pro does not come cheap as it starts at around $190 USD for base 500GB storage model. But, it's really worth an investment. If you have a tight budget, then you can purchase cheaper portable SSD instead. Make sure the connection port is at least USB 3.0. ThunderBolt support is more welcomed.
Other possible considerations are: Samsung Portable SSD T5 (1 TB, $129.99), SanDisk Extremely Pro (500GB, $94.99) and Crucial X8 Portable SSD (500 GB, $97.00)
3. Create macOS Big Sur Bootable USB Installer
To install macOS Big Sur on any drive, you should create a bootable macOS USB first. There are two ways to do this. One is UUByte DMG Editor, which works on Windows and macOS. And the other is Terminal app that is only available on Mac. We will go with DMG Editor first.


Step 1: Download DMG installation file of macOS Big Sur
Please download a valid copy of Big Sur dmg file (11.0.1) from this link, which was verified and tested successfully by our editor.
Step 2: Insert USB Drive into a Computer and Open DMG Editor
Currently, DMG Editor can be running on a Windows PC as well as Mac. Please insert a USB drive into the computer and launch DMG Editor after installation. The main screen looks like this:
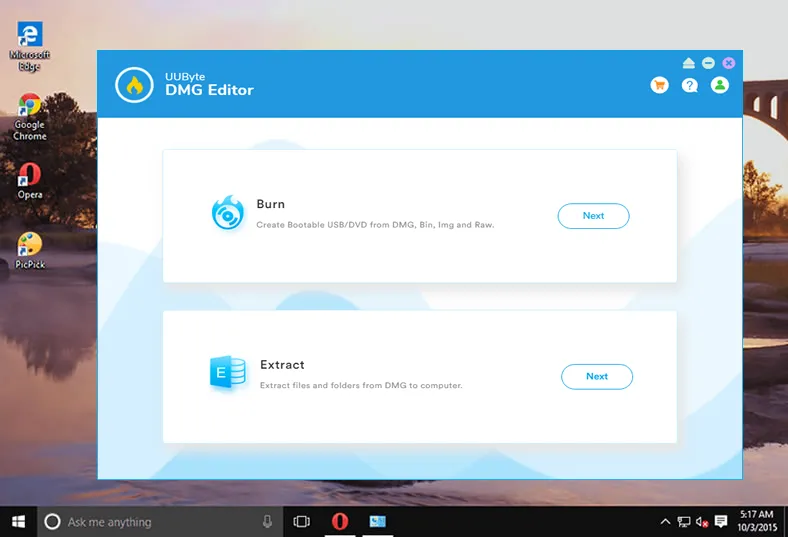
Step 3: Load Big Sur DMG File
Click the Next button near Burn tab and load Big Sur .dmg file you downloaded into DMG Editor.
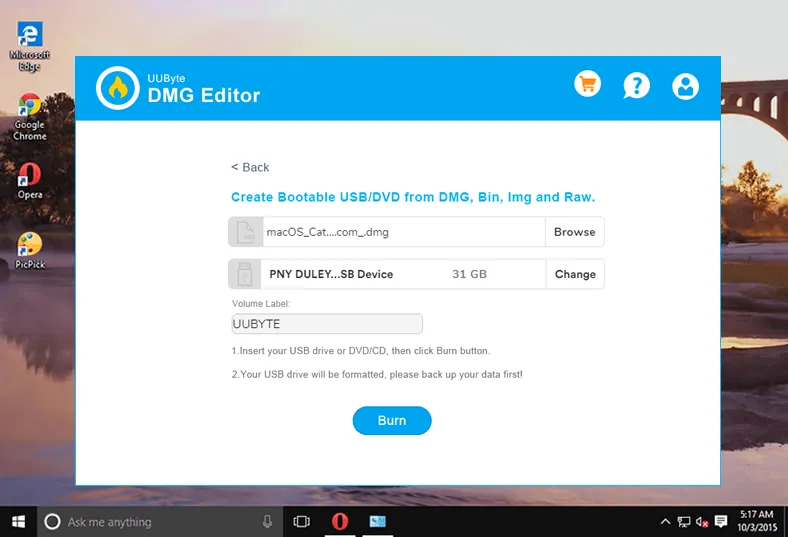
Step 4: Burn DMG File to USB
Click the Change button to pick up the USB drive you just connected. At this stage, all settings are done. Finally, cick the Burn button to start burning dmg file to USB. The entire process would take 10 minutes to complete.
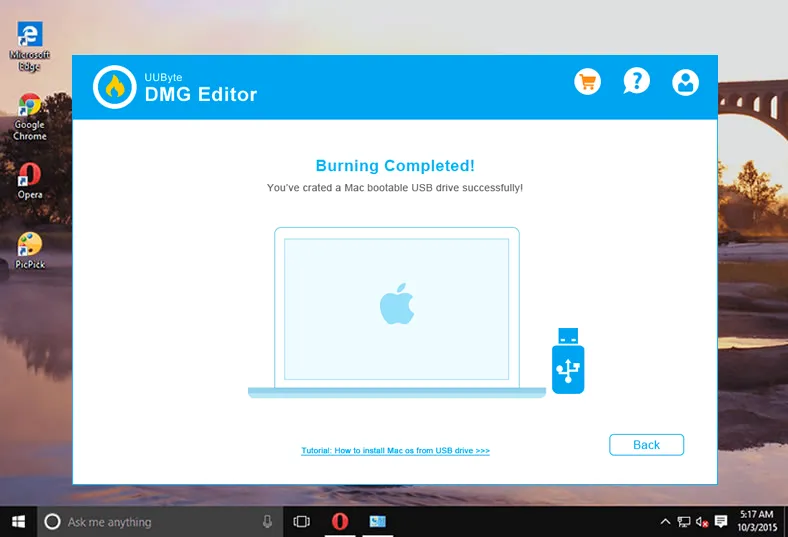
This approach is pretty straightforward for both beginners and professionals. The coolest part is that it won't require any command line.
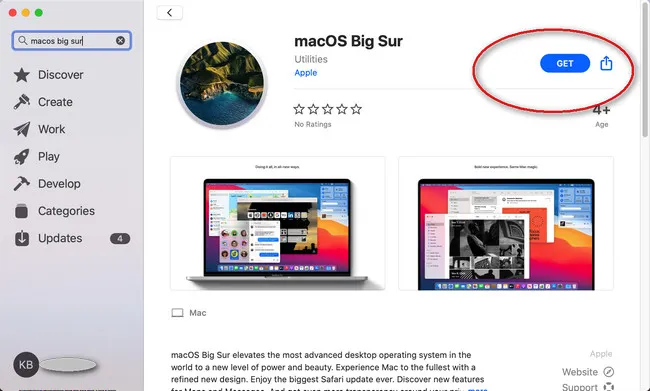
Alternatively, you can also use the command line method to create a bootable Big Sur USB if you were on Mac.
First, open App Store and search 'Big Sur'. Click View button when macOS Big Sur app appears in search result. Now, click on it and hig Get button to download this app on your Mac. You will find it in Application folder once the download is finished.
Insert a USB drive and type the following command in Terminal to create Big Sur bootable USB:
sudo /Applications/Install\ macOS\ Big\ Sur.app/Contents/Resources/createinstallmedia --volume /Volumes/MyVolume
Notice: You must change MyVolume to the name pointed to the USB drive you inserted into Mac. You can use this command ( ls /Volumes) to find the volume name.
By utilizing the above command-line method, a bootable Big Sur USB installer will be ready in less than 20 minutes. We recommend using a USB 3.0 drive for this purpose.
4. How to Install Big Sur on an External SSD Drive
Step 1: Connect Big Sur bootable USB installer as well as external portable SSD on the same Mac.
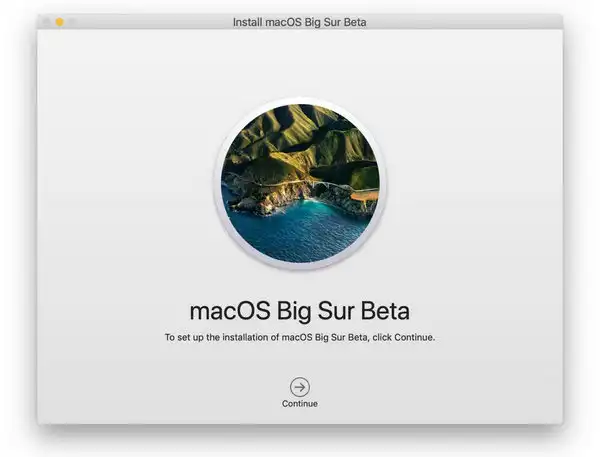
Step 2: Reboot your Mac and keep pressing Option unless you see the Startup Manager. At this time, click Install macOS Big Sur, which is the name of your USB drive.

Step 3: Big Sur installation wizard pops up and follow screen instructions to complete the process, such as Timezone, keyboard, language, etc... The most important part is to choose portable SSD as the destination drive for installing macOS Big Sur.

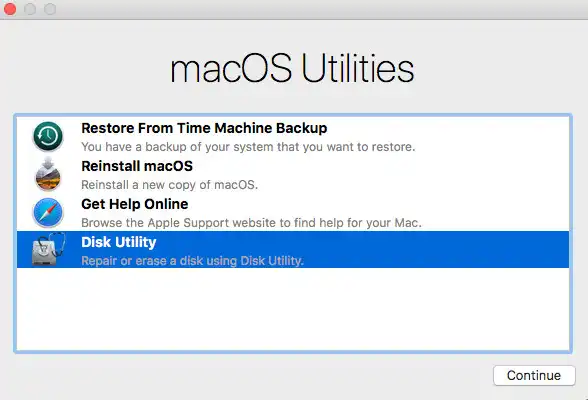
Tip: If portable SSD drive is not shown up, then you need to boot your Mac in Recovery Mode and erase the drive to APFS in Disk Utility app.
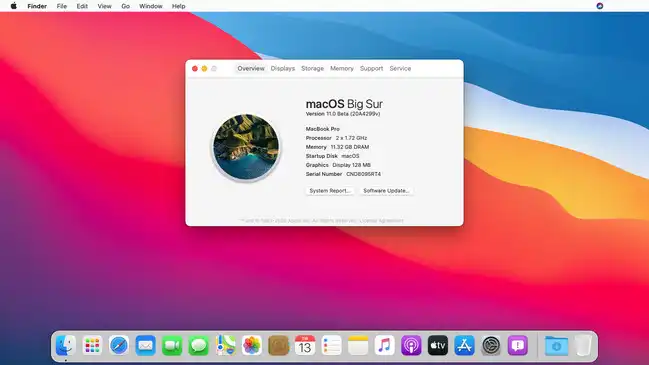
Step 4: Wait and macOS Big Sur will be installed to external SSD drive in less than one hour.
5. How to Run Big Sur from External SSD Drive
Up to now, macOS Big Sur was already installed on your external SSD. You have to do one more step to boot from it.
Restart your Mac and hold on Option key for a few seconds. Release it when you see Apple Logo. This operation will help you open Start Manager on Mac, where you can pick up a boot device. Click the drive name of external SSD. At this time, your Mac will directly run Big Sur from external drive with above settings.
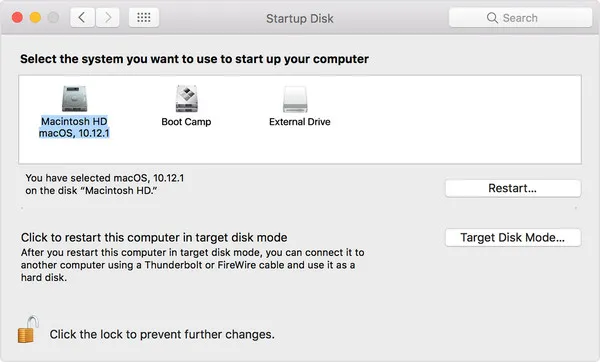
In addition, if you want to run Big Sur from external drive by default, you can set the default booting device to external drive in Starup Disk panel of System Preferences.
The Bottom Line
Installing macOS Big Sur on an external drive is a great way if you want to try out new mac operating system. More importantly, it won't damage your data while leaving your configuration intact.

Petty is editor in chief at UUByte and writes various topics about Windows and Mac to help people make the most of current technology.