
If you've upgrade to macOS Big Sur but decided to stick with macOS Catalina because of annoying bugs still not resolved in Big Sur, it is easy to roll back or downgrade from Big Sur to Catalina by following the guidelines shared in upcoming section. Before the downgrade starts, please make sure you have backed up important data on your Mac. This can be done with Time Machine, the stock app for file backup on macOS.
Notice: No matter which method you are going to pick up for downgrading Big Sur to Catalina, please backup your data on Mac first. You can sync them to cloud drive or an external backup drive.
Potential Bugs for macOS Big Sur
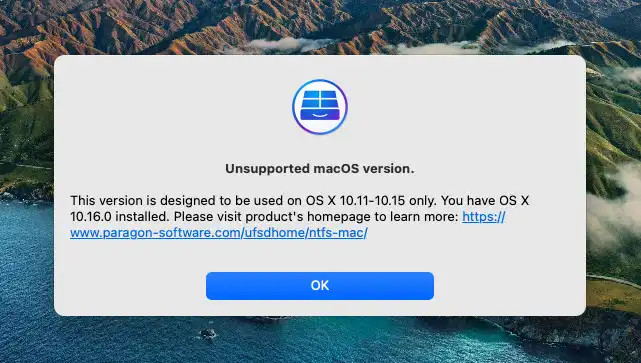
Operating system is a enormous software project that needs hundreds of developers to work together. So it is inevitable to avoid bugs and errors. This also applies to OS Big Sur, the latest version of macOS. Some of the major issues you may have on Big Sur and may be the main reason to put you back to old versions of macOS like Catalina or Mojave.
- Some apps can not run properly like Dropbox, Google Drive.
- App craches after launch.
- Media import may not work in iMovie and Final Cut Pro.
- Can not sign in iCloud sign-in.
- Some keyboard shortcuts not working on non-English languages.
- Weather widget display incorrect location.
Method 1: Directly Downgrade from Big Sur to Catalina
macOS Catalina is the official app you can use to install Catalina on current Mac on the air. This is the direct way to downgrade from Big Sur to Catalina. You don't need to make additional settings as the whole process is quite straightforward and safe.
Step 1: Search "Catalina" in App Store on your Mac running with Big Sur.
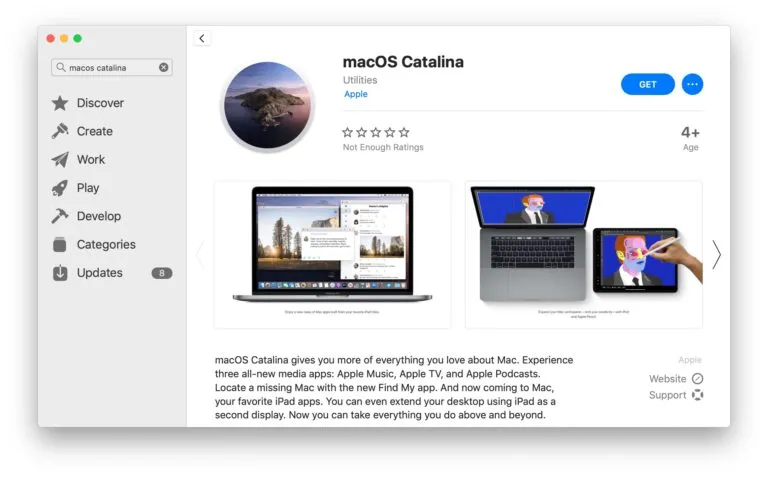
Step 2: Click "Get" button at the top to download macOS Catalina install app. When it starts, you will see a progress bar in Launchpad and you have to wait for minutes to fully download the app because the app is pretty big.
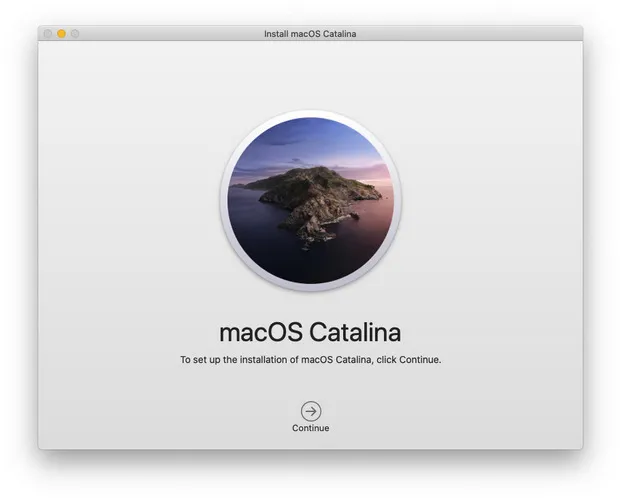
Step 3: The installer will be opened automatically when the download is completed. Just follow the screen prompt to install macOS Catalina on your Mac. The process will overwrite Big Sur installation in a safe way.
This method still works till the day we wrote the post. However, macOS Catalina will be no longer available after a period of time according to Apple convention. Please don't worry. You can still apply the following two methods to downgrade macOS from a new version to old one.
Method 2: Downgrade from Big Sur to Catalina by Deleting Big Sur Installtion
If your Mac is originally shipped with macOS Catalina, you can then downgrade from Big Sur to Catalina by removing the current Big Sur installation in Recovery Mode. After that, Mac will start downloading and installing Catalina from Internet (Apple Server).
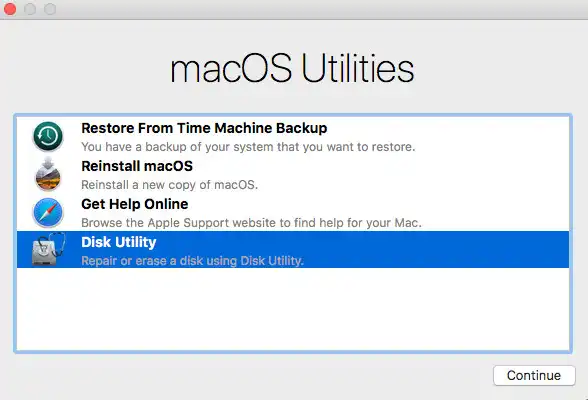
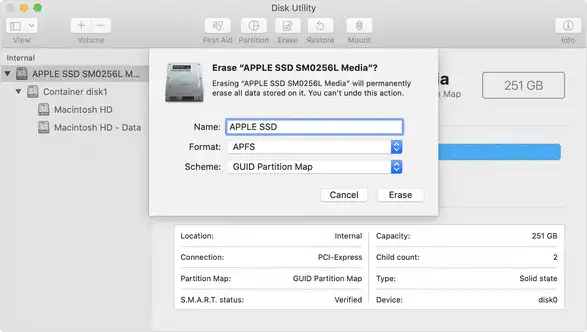
Step 1: Make sure your power adapter is connected because this could take a while. Now, restart the Mac but hold down the Command+R key combination during boot. Next, choose the Disk Utility app when you see the macOS Utilities window on your screen. The purpose of this is to be able to erase Big Sur installation and re-format it for macOS Catalina.
Step 2: Hit the Continue button and choose the option for Startup Disk. Click the Erase option, then choose APFS as your file system and GUID as your partition scheme.
Step 3: Quite Disk Utility app and back to macOS Utilities. At this time, please choose Reinstall macOS and hit Continue button. After that, follow the screen instructions to install macOS on your Mac.

Your Mac must be connected to Internet if you chose to downgrade from Big Sur to Catalina in this way. And this may take hours to complete if the download speed was too slow.
Method 3: Downgrade from Big Sur to Catalina by Reinstalling Catalina
Another possible solution is to install macOS Catalina over Big Sur partition via a bootable USB drive. If the above two methods do not work, then you can use this trick to downgrade from Big Sur to Catalina. However, you should create a macOS Catalina USB installer first. This can be done with the help of UUByte DMG Editor.
Step 1: Get macOS Catalina DMG file from here.
Step 2: Download and install UUByte DMG Editor onto a Windows PC or Mac.
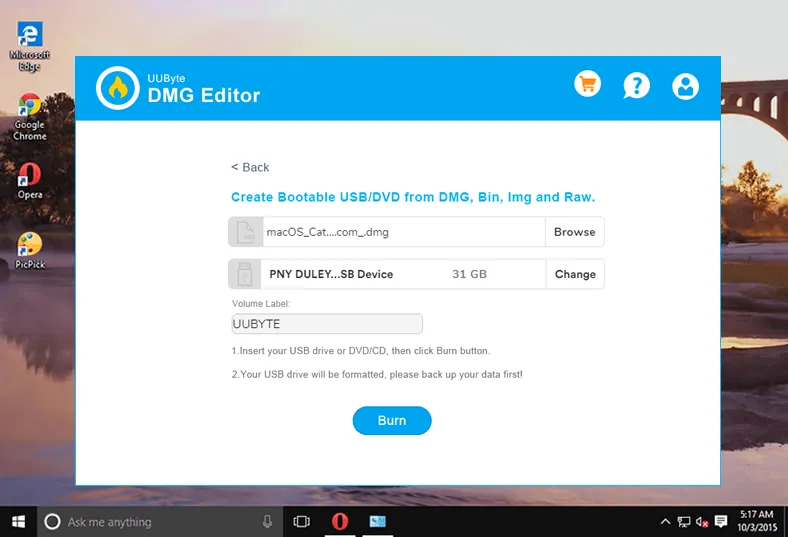
Step 3: Plug in a USB drive and open UUByte DMG Editor app; then click "Burn" section. You will be lead to a new window immediately, where you can import Catalina dmg file and select USB drive.
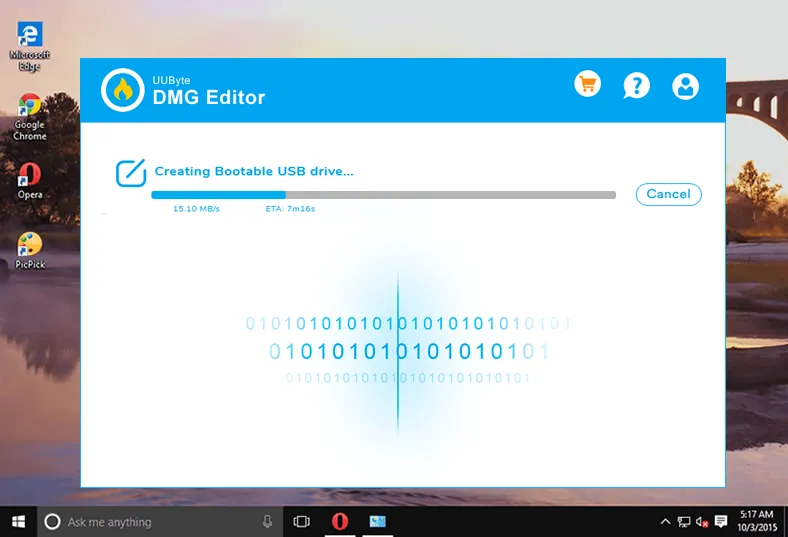
Step 4: When the setting part is done, click "Burn" button to create a bootable Catalina USB drive. You need to wait about 10 minutes in this step.
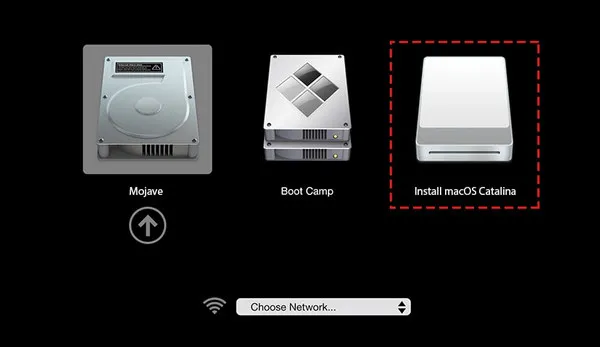
Step 5: Turn off your Mac with the bootable USB drive still plugged in. Wait 2-3 minutes and reboot your Mac with Power + Option key. This will open up macOS Startup Manager, where you can choose a temporary booting device this time. Now, click the USB drive name and starts to install macOS Catalina on your Mac.
Summary of the Process
To help you get a clear picture of how to downgrade from macOS Big Sur to macOS Catalina, the steps are summarized below:
- Erase startup disk and reformat it.
- Get macOS Catalina Install App.
- Create bootable macOS Installer USB.
- Boot your Mac from this USB drive.
- Start installing macOS Catalina in Recovery mode.
If you want to do this once Big Sur is officially launched, you may not be able to get the installer file from the Mac App Store. In that case, you will need to download a DMG disk image file from a third-party source in order to complete the downgrade. Our recommendation is to get the installer file now while it's available as an official download. That way, even if you decide to downgrade later, it will be much easier.

Petty is editor in chief at UUByte and writes various topics about Windows and Mac to help people make the most of current technology.