
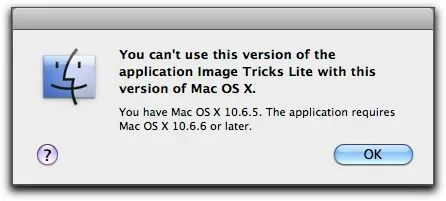
Old Macs are not eligible for latest OS upgrade. Hence, some of the applications such as browser, office, are not working properly on old Mac because of demanded update of such applications. You will see error message like "You cannot use this version of the application with this version of Mac OS X".
So, if you own an old Mac and need to access the latest version of the browser or other applications, then you can go with Linux on Mac. Why Linux? Because it can run well on old hardware. Also, it is fun to play with it, epsecially for programming.
Currently, there are two possible ways to install Linux on Mac, either by using Live CD or USB drive. Since the MacBook is too old, then maybe the CD/DVD drive does not support the Live CD process, so the last left option is the USB drive. So, let's go through the detailed process to install Linux on Mac as a dual boot.
1. Pick up a Linux Distro
There are dozens of Linux distributions you can find via DistroWatch. As a new comer of potential Linux user, you might have no clue to pick up the right one. Each distro has designed with special purpose and has it own advantages and disvantages.
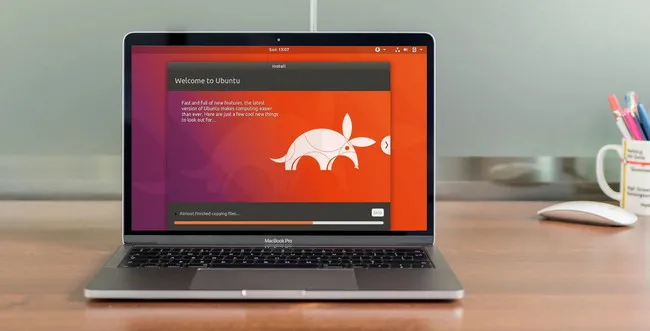
For newbies, we recommend Ubuntu, one of the most popular and user friendly Linux distros with a well-crafted user interface. This is helpful for users who come from Mac world, a heavily GUI-based OS. In addition, Ubuntu has much better support for Mac hardware so you won't come across device driver issue with Ubuntu Linux on Mac.
In addition, Ubuntu is the fast and most reliable replacement of Mac OS X that comes with various useful applications such as Music, Epiphany, Mail, Videos, and many more. It gives you the same experience just like Mac because the explore feature is more or less the same as macOS that includes Grid, Categories, and Search options.
Some other Linux distributions that work seamless with Mac are: Ubuntu Linux, Manjaro, and AVLinux.
2. Download Linux ISO Image File
You are free to choose what version of Linux to be installed on your Mac. However, we will take Ubuntu for example in this article. Below get started, we need to download Linux installation image first.
Please open a web browser and paste this link in address bar where you have access to all releases of Ubuntu Linux. Scroll down the page and download .iso file of Ubuntu desktop version. This is a big file and it is better to download it with a Download Manager if the speed is too slow.
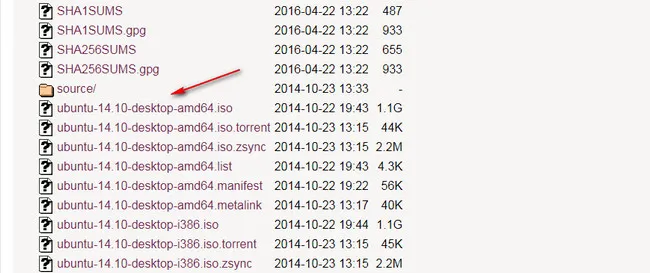
Tips: Don't download the latest version as the hardware requirement is usually higher than previous version. For old Macs, we suggest the release date of Linux version is before 2016.
3. Create Linux Bootable USB Installer
After downloading Linux ISO image, you have to burn it to a USB stick in order to make it as a bootable USB installer. At this stage, we will use UUByte DMG Editor to complete this task. It is across-platform image burner that works with Windows PC and macOS. Besides, it supports 10+ different image files, including ISO, DMG, IMG, ZIP, BZ, XZ.
Step 1: After downloadling Ubuntu Linux ISO, please download a copy of UUByte DMG Editor on your Mac.


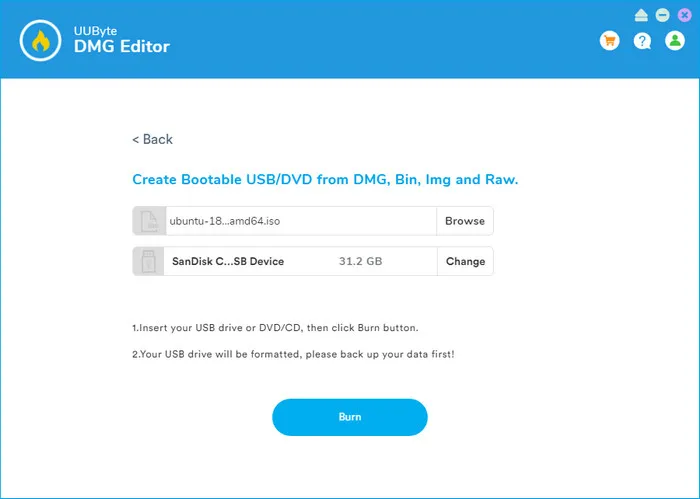
Step 2: Insert the USB drive on Mac and then launch UUByte DMG Editor. On the main interface, click "Next" button at the right side of Burn tab and you will get a few options.
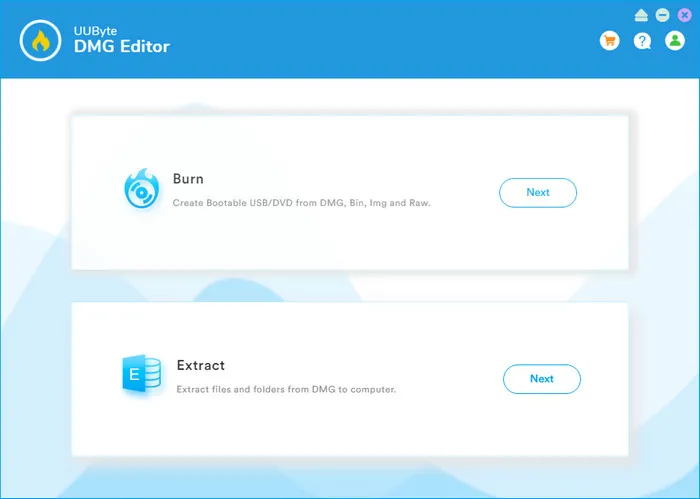
Step 3: Click "Browse" button to load Ubuntu ISO into the app and select the USB drive name. This should be done automatically. Finally, click "Burn" button and wait for a few minutes. After that, a bootable Linux USB installer is ready for use.
4. Create a Linux Partition on Mac
The default file system on Mac is either HFS+ or APFS, both of which are not compatible with Linux. The Linux OS should be put on Ext3 or Ext4 file system. Hence, you have to create a separate partition for Linux installation on your Mac's internal disk. Fortunately, it can be done easily with free Disk Utility app.
Step 1: Back up your Mac with Time Machine or manually copy them to an external drive for safety reason.
Step 2: Go to Application folder on your Mac and launch Disk Utility from Utilies folder.
Step 3: The internal disk is shown at the top of Disk Utility app. The name usually comes with APPLE SSD.
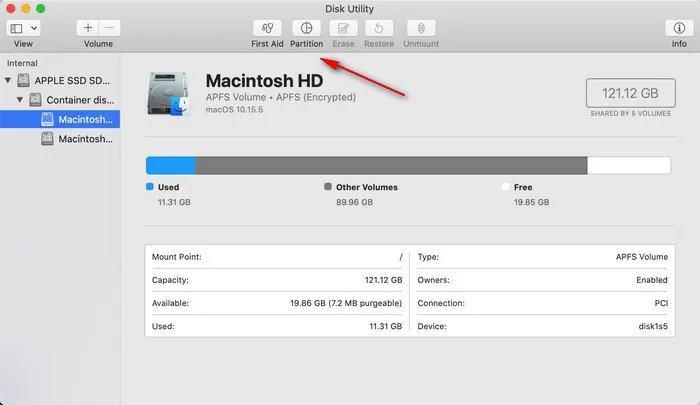
Step 4: Click "Partition" menu at the top and select "Partition" from pop-up menu. It will lead you to the partition window.
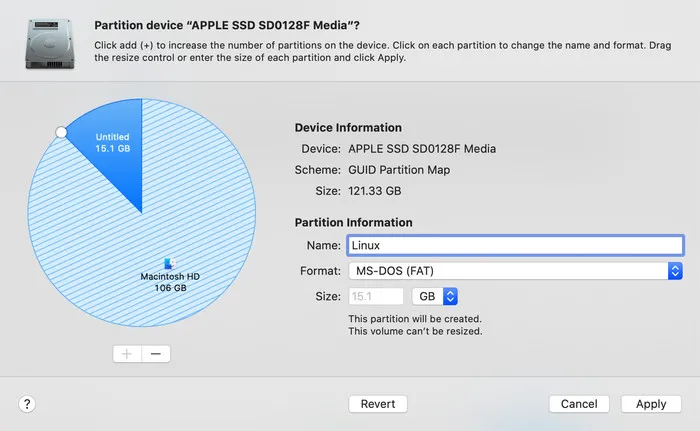
Step 5: Click '+' sing under the disk circle. Now give the partition a new name and set a size to it. For Linux partition, the format should be MS-DOS (FAT) and the size should be over 20 GB.
5. How to Install Ubuntu Linux on Mac
After completing the burning process, restart your Mac, and when you heard a champing sound.
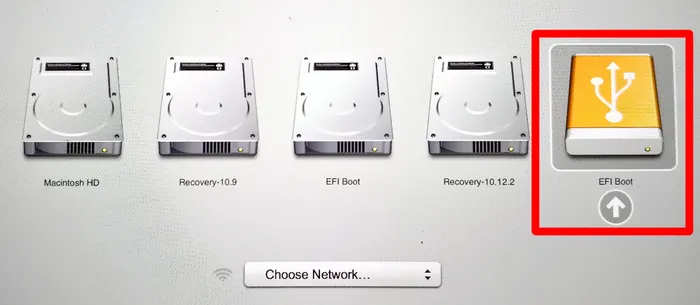
Step 1: Reboot your Mac, simply press Power and Option key to get into Startup Manager. You should select the USB drive (EFI boot by default) at this time.
Step 2: Once your Mac is booting from Ubuntu USB installer, click "Install Ubuntu" button to get started.
Step 3: The installation page will appear and you need to set the keyboard first, so do as it asks.
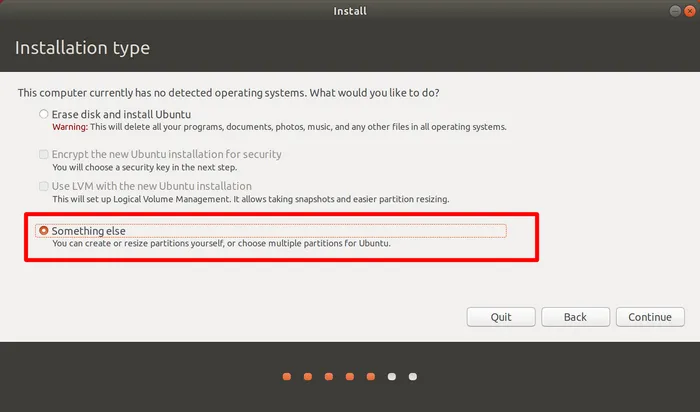
Step 4: When the Installation type window is loaded, choose "Something else". It will allow you do more customer settings during installation. The first option (Erase disk and install Ubuntu) will erase Mac disk and remove Mac OS X from the drive.
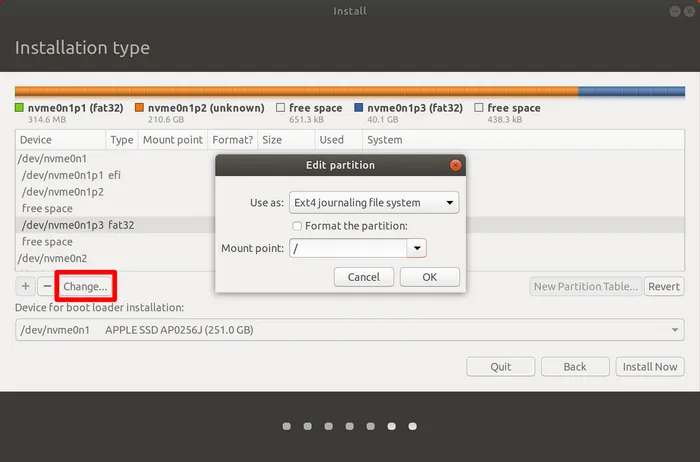
Step 5: Move your mouse to FAT partition you created in above section. Now, you should format the drive to Ext 3 or Ext4 by clicking the "Change..." button located at the bottom. Make sure set the Mount point to "/".
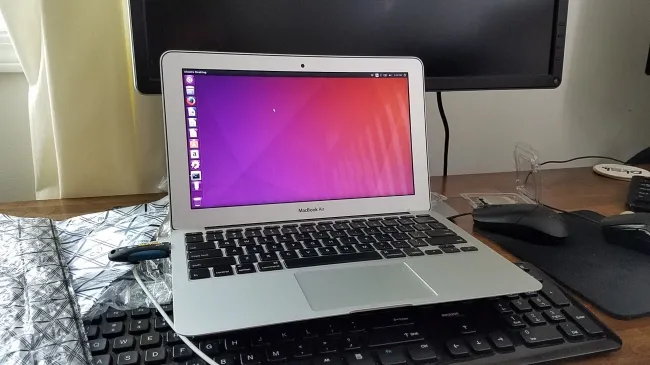
Step 6: Set time-zone and other details. Thereafter, the installation process will start and once it gets completed, restart your Mac. Now, enjoy Ubuntu on Mac smoothly.
Verdict
By following the above tutorial, it makes a lot of easier to install Ubuntu on Mac as dual boot option. Ubuntu Linux is the smart OS that enables Mac users to access Linux OS smoothly. Through this OS, they will feel like they are working on the Mac just because of its features. So, you got a nice platform to access the latest application on your older version of the Mac machine. Because, most of the time, such applications do not support the older version of macOS and the Ubuntu Linux is the best alternative.
However, if you get any driver issue such as libinput and synaptics, then you need to get the actual firmware of macOS and then install it on Ubuntu Linux platform. This can be done automatically by installing isight-firmware-tools. It will help you extract firmware updates from Mac OS X drivers.

Petty is editor in chief at UUByte and writes various topics about Windows and Mac to help people make the most of current technology.