
Creating a bootable macOS installer USB is not a tough job, but it depends on what kind of tools you choose. Recently, Apple added a new member in macOS series, i.e. Big Sur and it comes under macOS 11.0. But it is on Beta version and only the developers have the access to enjoy the features of Big Sur. So, if you are on the list and want to upgrade to Big Sur, then you have landed at the right place. Here we have provided the two ways to create a bootable macOS Big Sur USB for installation.
But before creating a Big Sur bootable USB, you must be ready with a downloaded Big Sur DMG file. If you don't know how to download then please follow the steps given below. However, if you have already downloaded the Big Sur MacOS install app or file then jump to the methods section for creating bootable Big Sur USB drive
A Comprehensive Guide to Download macOS Big Sur
There are two types of macOS Big Sur installer. One is in the form of Mac app, named Install macOS Big Sur, which you can get from Mac App Store or system update. It is mainly for direct upgrade on the same Mac. Another type is in the form of dmg file, which is used to install macOS on other Macs.
Step 1: Before downloading Big Sur on your Mac, make sure to take the backup of the data to be on the safe side.
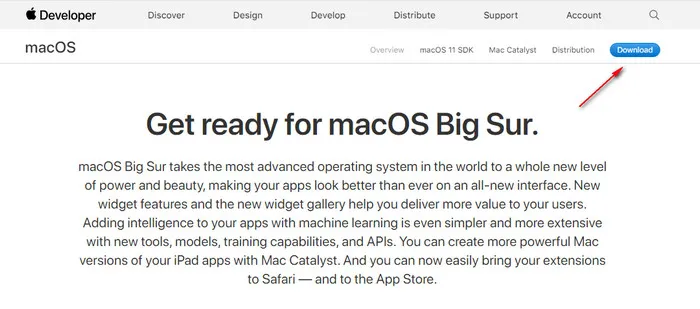
Step 2: Open your browser and move to the official website of the Apple Developer Program. You can reach directly by clicking on the link provided below: https://developer.apple.com/macos/
Step 3: On the home page, you will get a download button, click on it. Thereafter, you will get the sign-in page and you need to log in with the credentials, perform the task.
Step 4: After signing-in, Safari will ask for the confirmation of the action and you need to approve the same to download Big Sur on your Mac.
Step 5: Make sure to keep the beta version of Big Sur inside the Application folder. After the completion of the download process, you need to create a bootable USB and the detailed steps for the same are listed below.
Create macOS Big Sur Bootable USB on Mac Using Terminal
As the Big Sur is available in beta version only, you can easily create a bootable USB by running a single line of terminal command in your existing Mac OS.
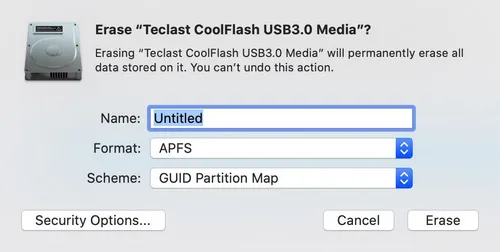
Step 1: Insert USB on the Mac and then launch Disk Utility.
Step 2: On the Disk Utility page, you will get the details of USB, move to the Format section, and select APFS. Now, jump to the Scheme section and select GUID Partition Map from the drop-down menu.
Step 3: After completing the above task, click on the Erase button. Now, close Disk Utility and then launch the Terminal on your Mac.
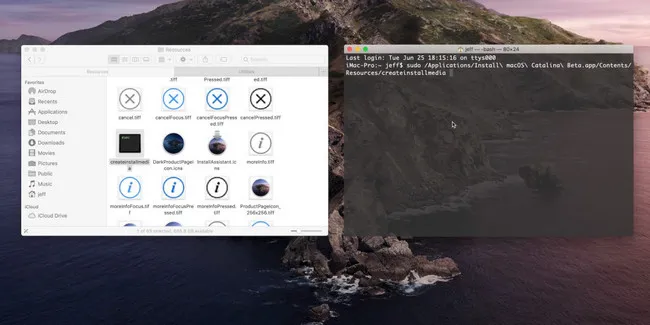
Step 4: Type the following commands that are provided below and make sure not to do any mistakes.
sudo /Applications/Install\ macOS\ 10.15\ Beta.app/Contents/Resources/createinstallmedia --volume /Volumes/Untitled --applicationpath /Applications/Install\ macOS\ 11\ Beta.app
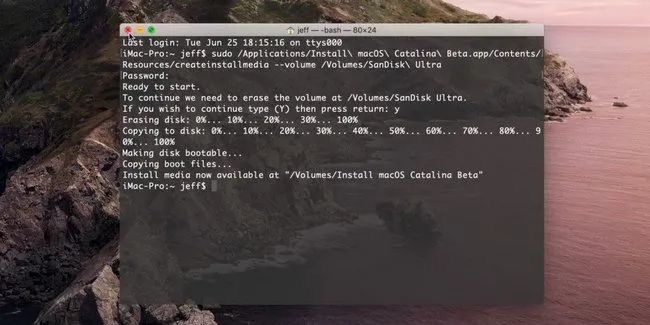
Step 5: Press the return key and enter the login password to grant the permission..
Step 6: Now, wait for a while as the process is started and it will take some time, so till then, you can relax. After the completion of the process, you will get a successful message and after that, you can eject the USB.
Creating a Big Sur bootable USB using Terminal app is the easiest method to go with. Because you don't need to rely on any third-party tool. You can create the required bootable USB drive just by accessing apples in-built features.
Create Bootable macOS Big Sur USB Using DMG Editor
If you downloaded the Big Sur DMG file, then the above method will not work. You have to use third-party apps to burn macOS dmg file to USB drive instead. Currently, UUByte DMG Editor is the only tool you can find to complete this task on Mac. It is a tool specially designed for non-tech savvy users. It will help you to create a bootable Big Sur USB drive in almost no time. And you don't need to type any command during the process.


Step 1: Download UUByte DMG Editor from official website. Run the setup file and then complete the installation process.
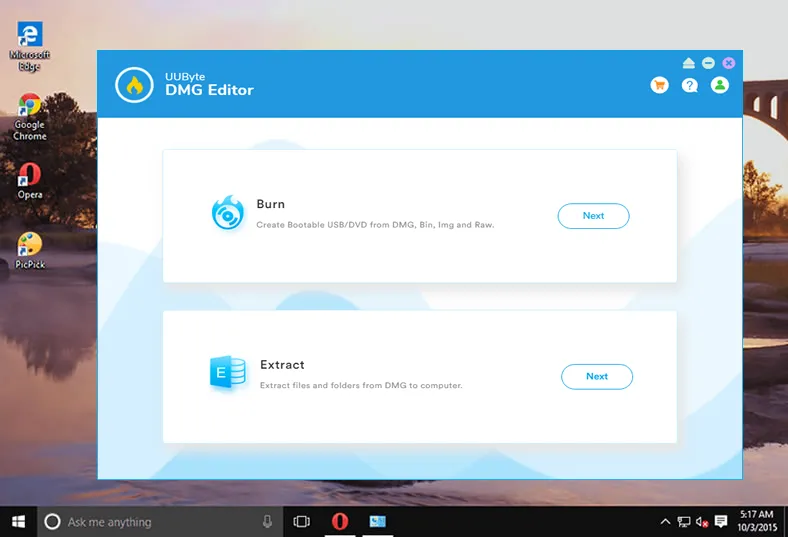
Step 2: Now insert your USB and launch the UUByte DMG Editor app.
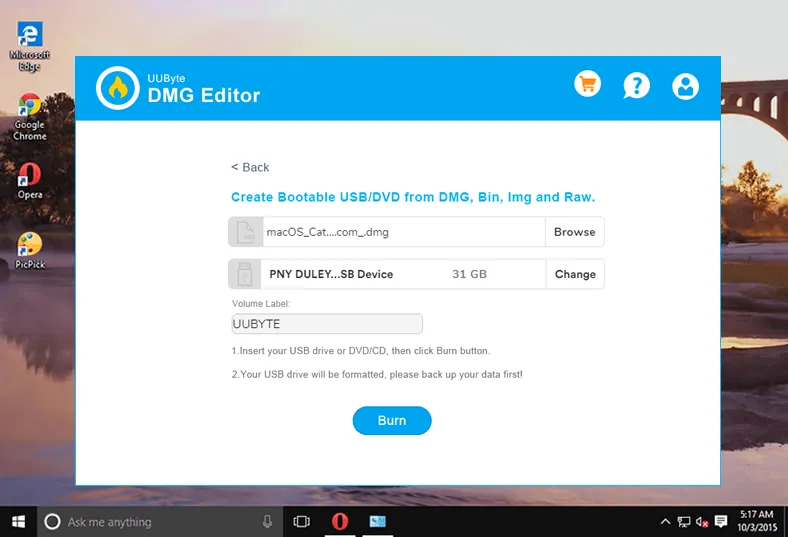
Step 3: Now browse the location of downloaded Big Sur MacOS dmg file and select your USB device as well. Assign a custom Volume Label if you required, else skip it.
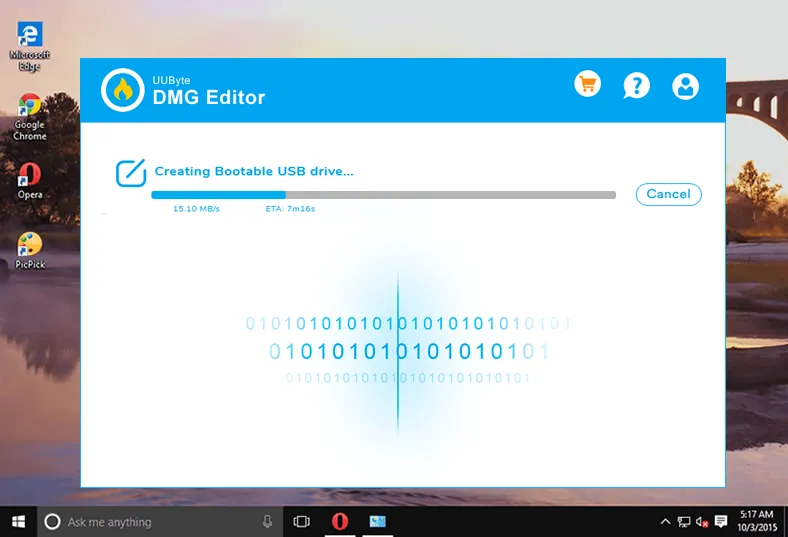
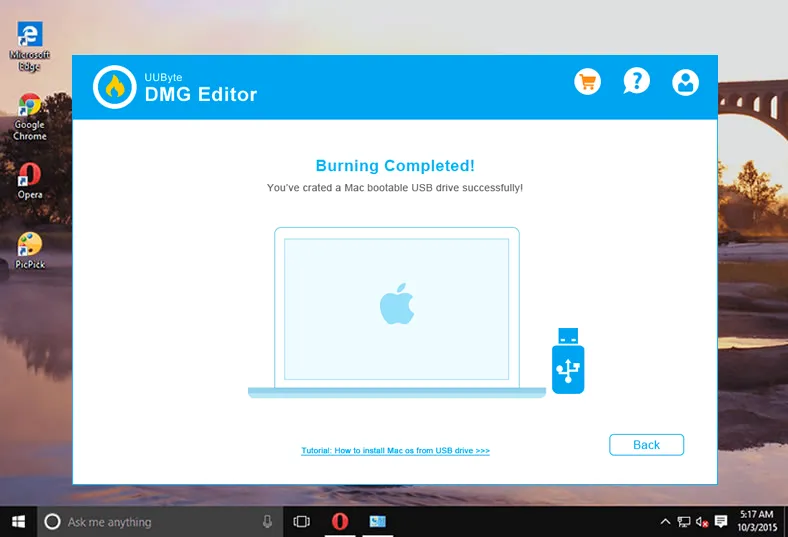
Step 4: Now click on the 'Burn' button. Allow a few minutes to the tool and it will show you a message of 'Burning Completed' after the successfully copying all the required files to USB.
UUByte DMG Editor is one of the handpicked tools to create macOS bootable for any version due it's lightning-fast features. UUByte DMG Editor supports Windows as well. This means you can create a bootable Big Sur on Windows PC.
Conclusion
A clean installation is always recommended as the chances of errors are very minimal, however, updating the new OS over the existing may mess up everything. Hence, it is a good way to go with clean installation. And for that creating a bootable Big Sur install USB with the help of UUByte is more convenient if you are not familiar with the terminal command. Otherwise, both of the methods are quite easy to create a macOS Big Sur Bootable USB.

Petty is editor in chief at UUByte and writes various topics about Windows and Mac to help people make the most of current technology.