Table of Contents
Can you Install Windows 11 on Surface Pro 3?
Yes. But you have to bypass TPM 2.0 and Secure Boot in order to successfully install Windows 11 on Surface Pro 3.
Microsoft is serious about the system requirements for Windows 11. Unfortunately, these includes some of their own laptops that they have released to the market. specifically, a Surface Pro 3 which is among the devices that can’t be installed Windows 11. At the same time Microsoft has provided a separate guide for the users to upgrade or install Windows 11 on an unsupported computer. For now, just have a look at the list of the Surface that Windows 11 supports.
| Surface Book 2 on 8th Gen Intel | Surface Book 3 | Surface Laptop 2 | Surface Laptop 3 |
| Surface Laptop 4 | Surface Laptop Go | Surface Go 2 | Surface Pro 6 |
| Surface Pro 7 | Surface Pro 7+ | Surface Pro X | Surface Studio 2 |
| Surface Hub 2S |
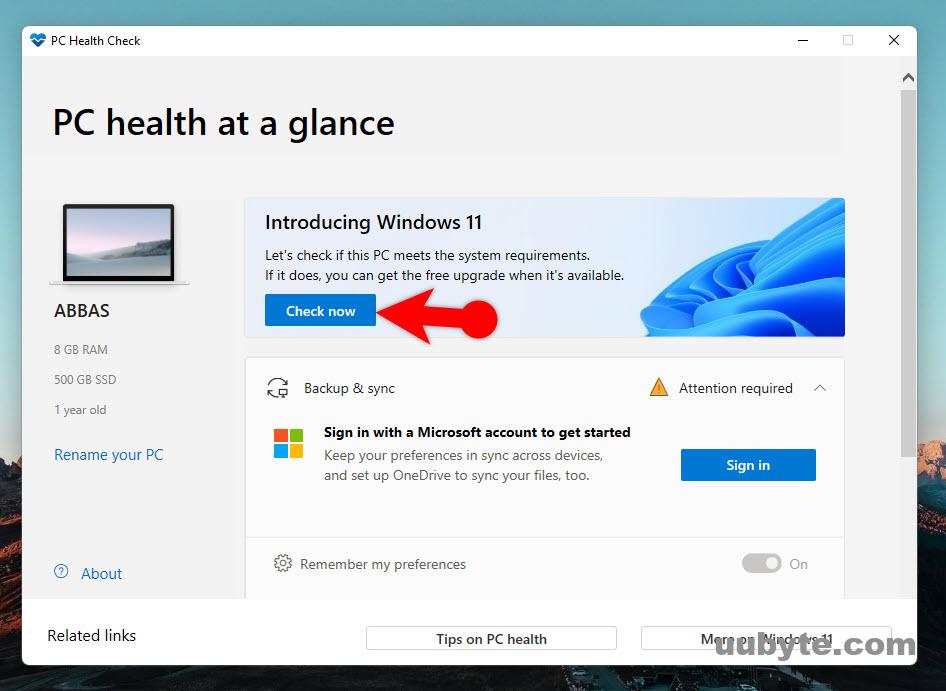
You have to check the computer is compatible to run Windows 11 or no. There are a couple of tools but I would recommend you to use the Microsoft official tool to check it. This tool is called PC Health Checker and you can get it from Microsoft official website.The process is really simple you have to download and install it. Following that open it and click on the Check now.
Surface Pro 3 Not Meeting Windows 11 Requirements
According to the statement by Microsoft, Surface Pro 3 is unable to run Windows 11 because it does not meet the requirements of Windows 11 operating system. This means you cannot upgrade Windows 10 to Windows 11 on Surface Pro or clean install Windows 11 without any hack.
However, don’t get frustrated. We have workaround to help you install Windows 11 on Surface Pro 3 with registry hacks. Please follow the below steps to bypass the TPM and CPU requirement.
Bypass TPM and CPU Requirements for Surface Pro 3
As you can see, Surface Pro 3 is not on the official support list. This means you have to do a few tricks to bypass Windows 11 installation. We will show you how to do this in here.
This is the official method that Microsoft has recommended users to bypass the CPU and TPM requirements in order to install Windows 11 on unsupported devices. However, keep in mind that there are risks that Microsoft is warning the users. The risks are not mentioned exactly what it is but I am assuming a system failure could be one of them.
Before bypassing the TPM and CPU requirements, update your Windows 10 computer. This is a necessity.
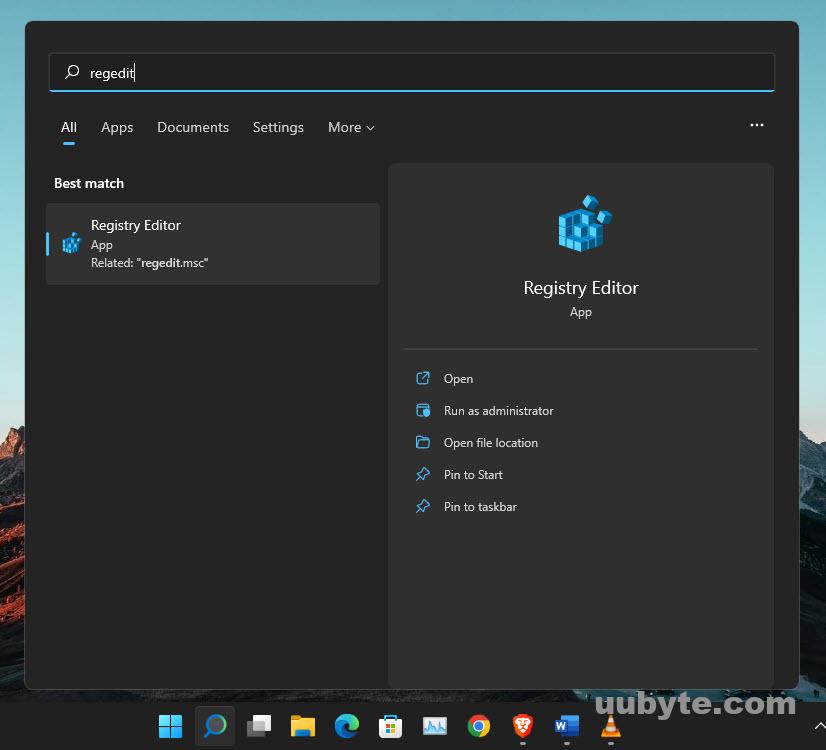
Open the Registry editor by typing "regedit" on the search bar at the taskbar or in the run dialog box.
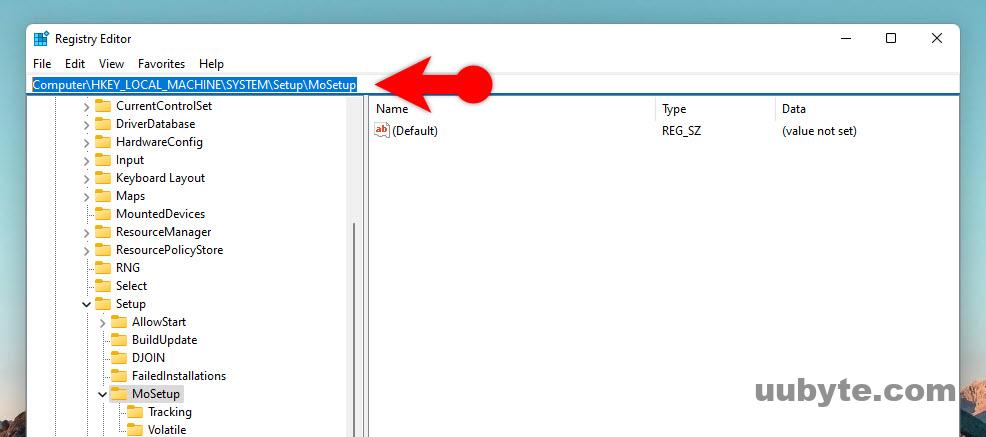
Go to the below path.
- Computer\HKEY_LOCAL_MACHINE\SYSTEM\Setup\MoSetup
Or You can copy and paste the path on the search area on the registry.
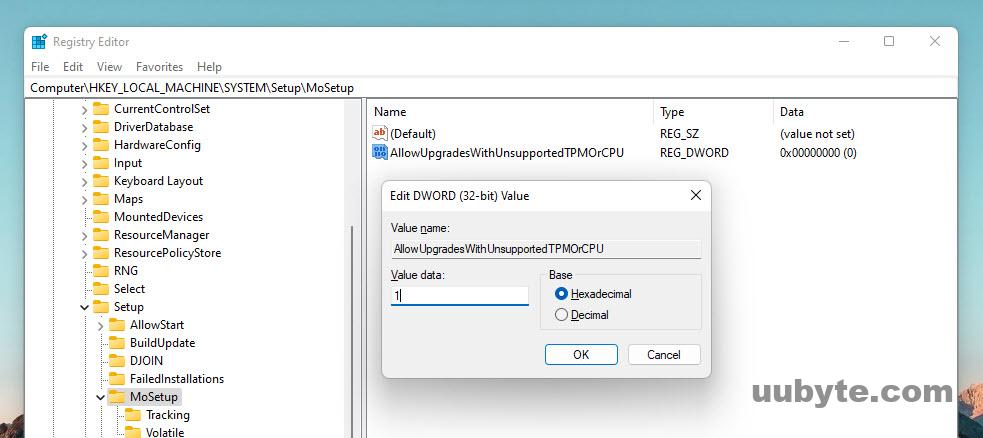
Right-click> New> DWORD (32-bit) value, set the value to AllowUpgradesWithUnsupportedTPMOrCPU.
Open the newly created value, and change the value data from 0 to 1.
Method 1: Install Windows 11 on Surface Pro 3 via Direct Upgrade
For starters I am suggesting to upgrade from Windows 10 to Windows 11 instead of performing a clean installation. You know when you perform a clean installation you need to purchase a new license of Windows. This way if you upgrade your Windows, you won’t have to purchase. You can find three different ways to upgrade Windows 10 to Windows 11 on Surface Pro 3.
Note: If you follow the below method to upgrade from Windows 10 to Windows 11, chances are you won’t lose any of your files. But it still is good to take backup of your files.
#1 Windows 11 Installation Assistant
As I said earlier you have to make sure that your Windows 10 is updated to the latest version. After that you have to visit the Microsoft official site and download the Windows 11 Installation Assistant.
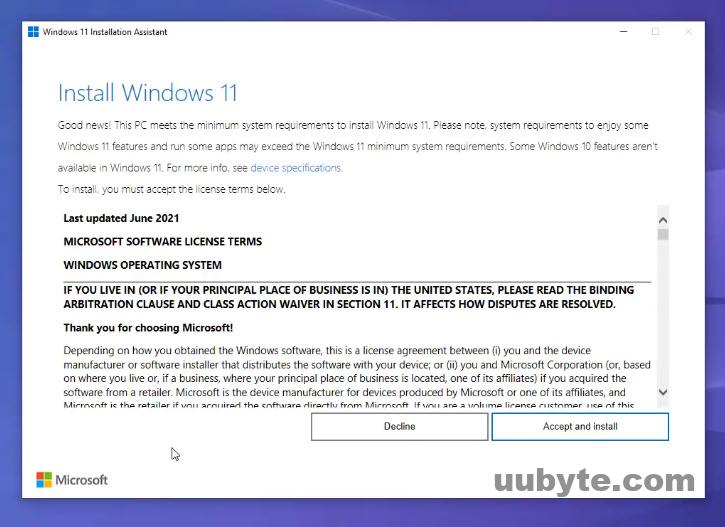
Launch the Windows 11 installation assistant, and if your computer is compatible to run Windows 11, you will see it there. Anyway, click on Accept and Install.
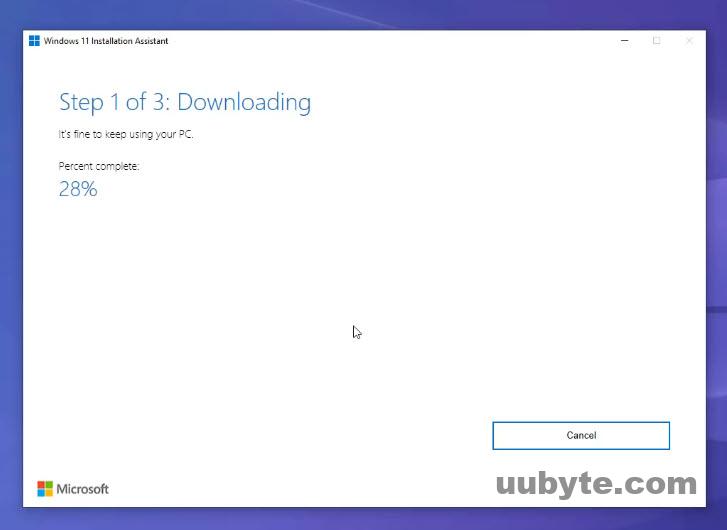
Following the above steps, you have to wait until the Windows 11 is downloaded, verified and once is ready click on restart now and it will upgrade your computer.
#2 Windows 11 ISO
If you have downloaded the Windows 11 ISO image previously, then you can also run it and upgrade your Windows 10 to Windows 11. This means you don’t have to use the Windows 11 installation assistant.
You see while using the Windows 11 installation assistant, it’s going to download the Windows 11 and it is quite taking a lot of time. If you have separately downloaded the Windows 11 on any other device such as Mobile or iPad, just export it to your PC. Following that double click on the setup and start updating your Windows.
And by the way using this method before getting into installation of the Windows 11, it is going to provide you an option to keep your files or no.
#3 Media Creation Tool
This method involves using the media creation tool provided by Microsoft, also an 8 GB USB flash drive is required. This method is useful when your computer is running out of storage.
So, the first step is to get the windows 11 media creation tool, and attaching the USB to the computer. Go through the steps of the media creation tool until you reach the Window known as “Choose which media to use”. Select the USB flash drive.
This means that the media creation tool is going to create a Windows 11 bootable USB and it will download Windows 11 inside of it.
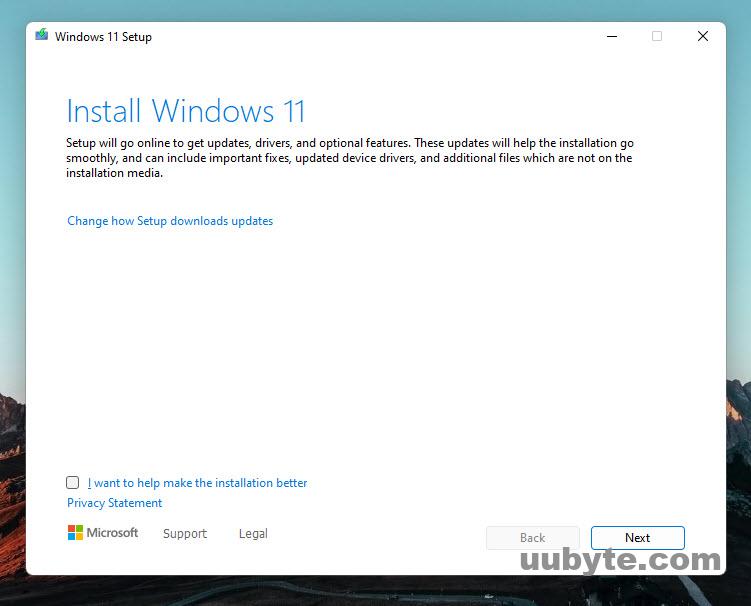
Once everything is done, open the USB flash drive and double click on the setup and follow the below steps.
- Click Next.
- After that the installer will restart automatically.
- Click Accept.
- Wait for the Updates to Finish.
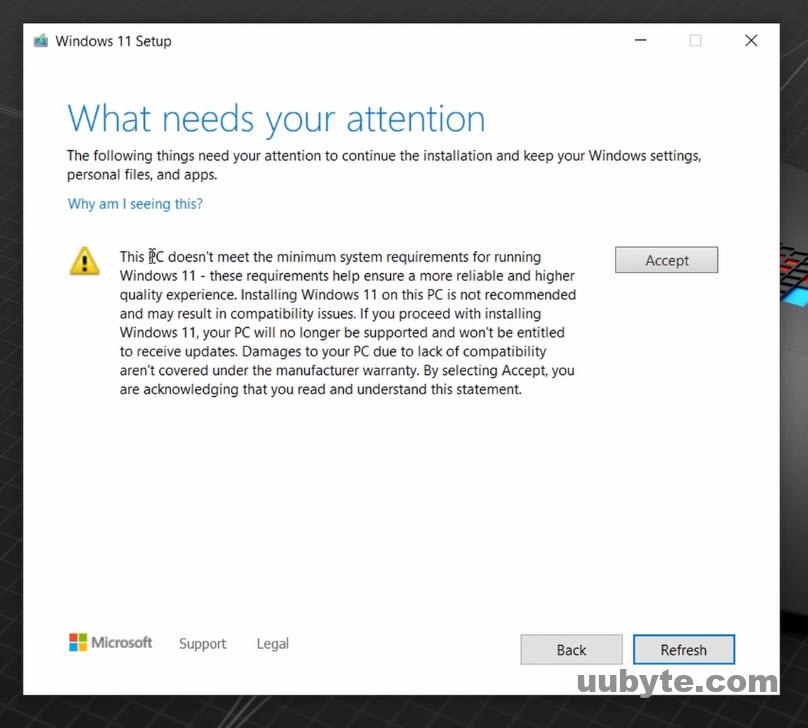
- On the page known as “What Needs your attention”, click on accept. (This only appear if you have bypassed the TPM and RAM)
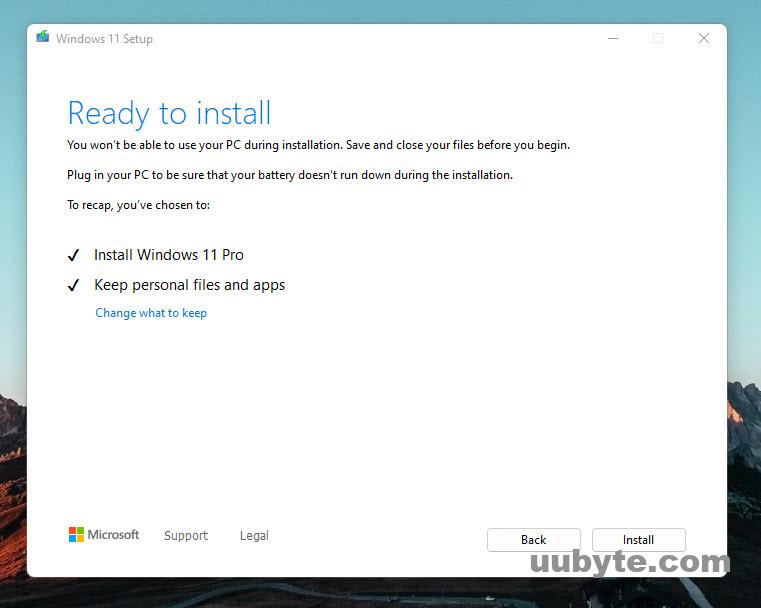
- Now you are ready to Install Windows 11. And by way from here you can configure the settings of regarding to your files too. By default, the installer will keep all of your files and Apps, but you can change it. Once you are ready, click on the install.
Method 2: Clean Install Windows 11 on Surface Pro 3
Clean installation of Windows 11 is the other option that you can use. It is fast and the downside is that you have to purchase a new license of Windows 11. Also, if you are dual booting Windows 10 and Windows 11, then install windows 11 on a separate hard drive or just a drive. This means you have to perform a clean installation of Windows 11.
In any case performing a clean installation of Windows 11 on a surface laptop is easy. All you have to do is prepare an 8 GB USB flash drive, download Windows 11 ISO image, and get Rufus. And backup your important files because everything will be erased from drive C.
Step 1. Create Windows 11 Bootable USB
For creating a Windows 11 bootable USB, attach the USB to the computer and launch Rufus. Select the ISO of Windows 11, configure your settings and then click start. Remember this process is going to take a while and everything on the USB flash drive will be erased.
Step 2. Install Windows 11
To install windows 11, if your computer is powered off, you have to access the boot key off your surface laptop. To access it press and hold volume down key + Power button. When the surface logo appeared, release both the buttons.
If your computer is turned on, click on the power button> hold shift key on the keyboard> then click on the restart. It will take you to the advanced startup> then select Use a Device> EFI USB.
For the wrest of Installing Windows 11, follow the below steps.
- Select your language.
- Click on Install Now.
- Accept the terms and conditions.
- Choose Custom Installation.
- Select the drive that you want to install Windows 11 in it.
- Wait for the files to be copied from the USB to the Hard Drive.
- Select your region.
- Choose a Keyboard Layout or skip it.
- Connect to the internet or don’t connect it, in my case I have select Don’t connect.
- Enter a Name and a Password.
- Select security questions.
- Configure the other settings.
- Welcome to the Interface of Windows 11.
Step 3: Check for Drivers
Open the Windows 11 Settings, go to the Windows Update and update Windows 11. This is going to download the latest version of the drivers for your computer and also the cumulative updates if it is available.
Frequently Asked Questions
Can you install Windows 11 on a surface pro?
Yes. You can install Windows 11 on any Surface Pro but the steps are totally different. It is much easier for supported Surface Pro devices.
How do you install Windows on a Surface Pro 3?
First, you need to download Windows 10 ISO. After that, make a Windows bootable USB drive with media creation tool. Finally, boot your Surface Pro from USB and start to install Windows on Surface Pro 3.
Can I update Surface Pro 3 to Windows 10?
Go to Windows settings to check if Windows 10 upgrade is available or not. If this does not work, then you should prepare a Windows 10 bootable USB and clean install Windows 10 on Surface Pro 3
Is the Surface Pro 3 still supported?
No. The official support of Surface Pro 3 was discontinued on November, 2021.