Table of Contents
When you are planning to install a fresh copy of Windows 11 OS on your computer, it is recommended to create a bootable USB drive first. This will make the installation process faster as well as it will save you from burning ISO file to USB flash drive.
In this tutorial, we have listed four different ways to create a Windows 11 bootable USB drive from Windows 11 ISO file. You can follow any one of these methods to create a bootable USB drive.
1. Create Windows 11 Bootable USB Using Rufus
Rufus is the most popular free tool for creating bootable USB drive. It has a simple GUI (Graphical User Interface) program with some unique features. The best part of Rufus is that it has an extremely high success rate. In addition, it doesn’t need to be installed on the system, you can simply run the executable file and start using it without any admin rights on Windows PC.
Rufus does not require any installation and can be directly used from a portable storage device like USB Drive. Rufus is a small utility in comparison to other bootable USB creation tools, which makes it quick to create a bootable USB from different types of ISO.
Plus, it supports both BIOS and UEFI boot scheme for Windows 11/10/8/7 operating Systems. The interface looks straightforward and is easy to use for anyone without any technical knowledge about creating bootable USB drives.
Steps to create Windows 11 bootable using Rufus:
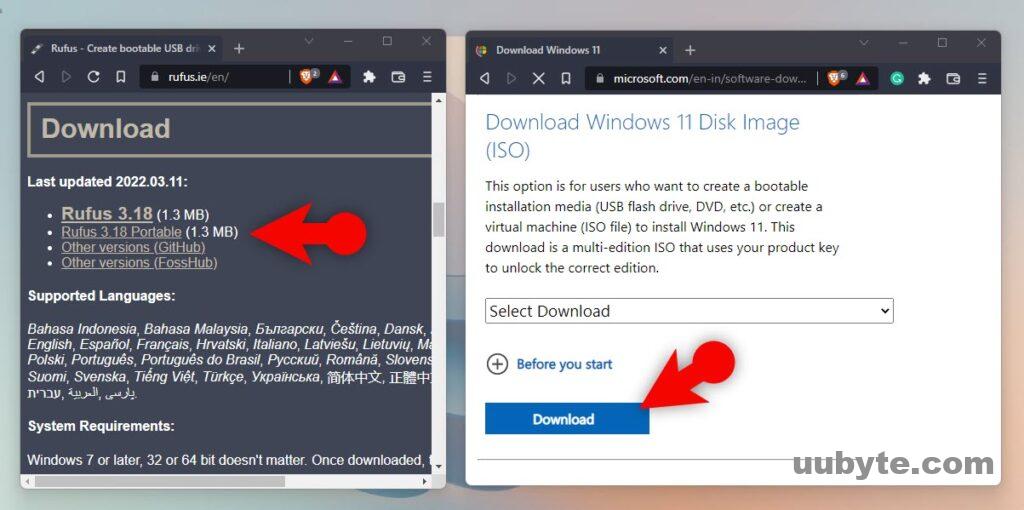
To create a bootable USB of windows 11 using Rufus, you have to download the Windows 11 ISO, Rufus application, and finally prepared an 8GB of USB flash drive.
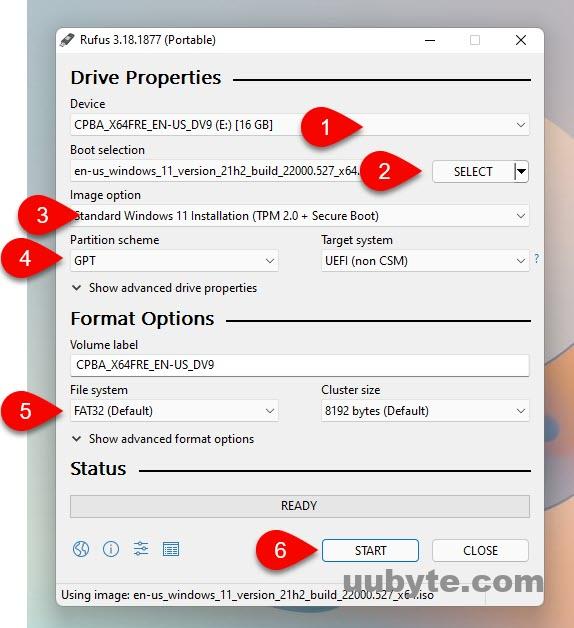
Attach the USB flash drive and launch Rufus. Next, configure the below settings from Rufus interface:
- By default, when you launch Rufus, it will detect the USB flash drive automatically.
- Following that you have to click on select and locate the ISO of Windows 11.
- Select an image option, if your system supports Windows 11, go with the Standard Windows 11 Installation. It means that TPM 2.0 and a secure boot will be enabled. However, if your computer is not compatible with Windows 11, you want to bypass and still install windows 11 and click on the image option and choose Extended windows 11 Installation. It means there will be no TPM and no secure boot.
- Following the image options, you have to use the partition style as you need it. But most of these days Windows 10 and Windows 11 come with a GPT partition.
- The moment you configured partition style, the UEFI or legacy boot will be automatically configured depending on the partition style.
- After that, you can name the USB if you want or go with the default name that the ISO provides.
- If I were you, I would not do anything to the file system and cluster size? Still, you can click on them, configure the settings the way you want.
- Once everything is ready, click on start. Depending on the speed of your USB and your system’s storage, it’s going to take a while. And copy all the ISO files into the USB flash drive. At the same time before copying it’s going to format the USB.
The only problem is that Rufus does not run on a Mac and you need to find an alternative to Rufus if you planed to create a Windows bootable USB on Mac.
2. Create Windows 11 Bootable Installer with Diskpart
Diskpart is a command-line utility in Windows operating system which enables you to manage disks, partitions, or volumes. It can be used to create a new partition and format it with the file system such as NTFS, FAT32, exFAT, etc. You can also extend or shrink a basic volume, add a mirror to a simple volume, convert a basic disk to dynamic and change a drive letter.
Features of Diskpart:
- Create partition: Create a partition on MBR (Master Boot Record) and GPT (GUID Partition Table).
- Delete partition: Delete all data on the partition using Diskpart.
- Format: A new partition can be formatted using this command. It supports NTFS, FAT32, exFAT, and ext2/3/4 file systems.
- Clean: This command is used to clear all data from the hard drives and make them unallocated space.
- Extend: To increase the size of the existing partition in Windows 11/10/8/7, you can use this command. The disk must be basic and run the NTFS file system.
- Shrink: It can decrease the size of an existing partition in order to create
- Hide or unhide the partition
Steps to make a Windows 11 bootable USB using Diskpart:
To create a bootable USB of windows 11 using Diskpart, download the ISO of windows and prepare an 8 GB of USB flash drive.
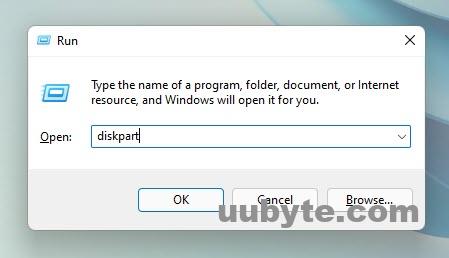
Let’s start creating a bootable USB of windows 11 using Diskpart, open the run dialog box by pressing Windows + R. Type “Diskpart” and press enter.
- We have to find out how many disks are attached to our computer, to find it, type “list disk” and press enter. It will show all the attached discs to the computer.
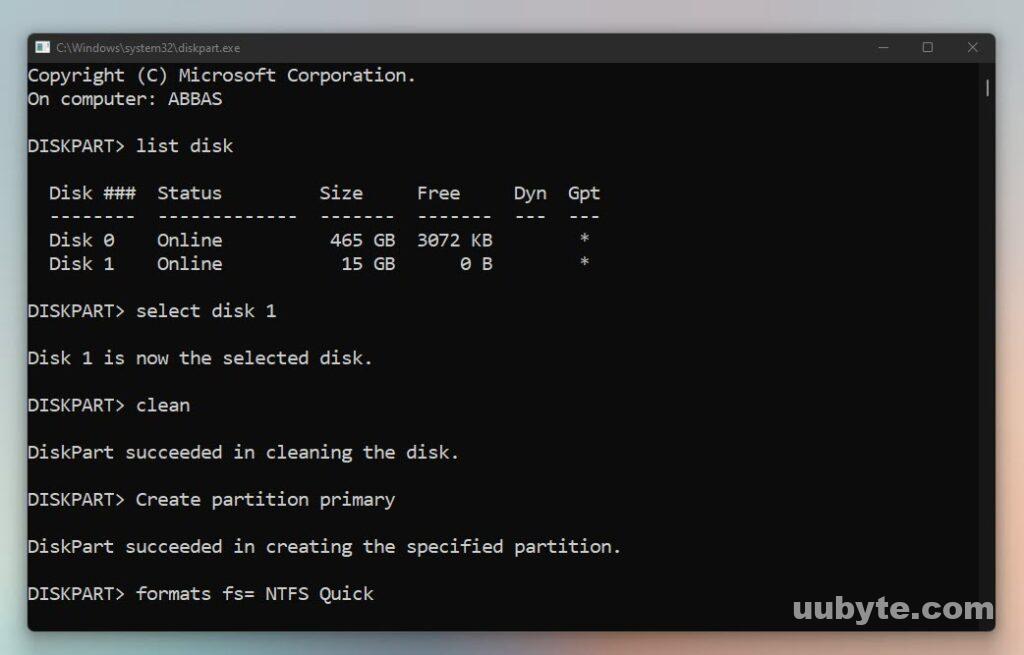
- I know the USB flash drive that I have attached is 15 GB, so it is written there. Select the USB flash drive by typing “select disk 1” and pressing enter.
- Clean the USB by typing “clean” and pressing enter.
- Create a primary partition for it, so type “Create partition primary”
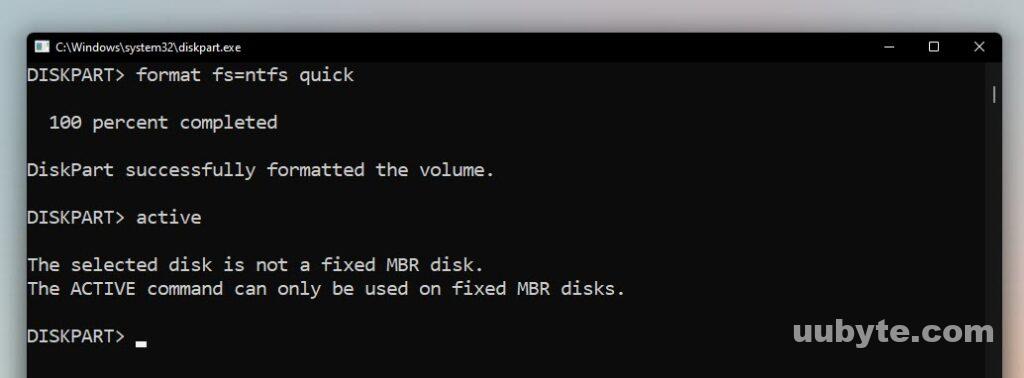
- Format the USB flash drive by typing “format fs=ntfs quick”
- And finally, type “active” to activate it.
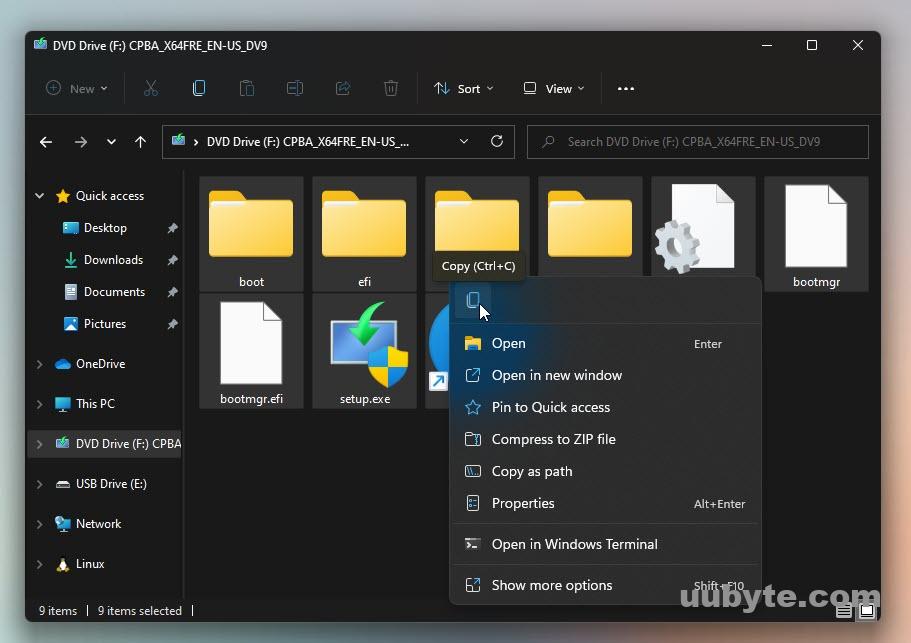
Mount the ISO of Windows 11, and copy all of the files into the USB.
3. Create Windows 11 Bootable USB from Media Creation Tool
Media Creation Tool is an official tool released by Microsoft to create bootable USB of Windows sticks from ISO images. This is one of the best bootable USB software to create both the DVD and ISO images of all the latest versions of Windows including Windows 11. You can use this tool for creating installation media for Windows 11, 10, 8.1, or 7.
Features of Media Creation Tool:
- You can download and install the latest version of Windows 11 from Microsoft’s server.
- Media Creation Tool supports both 32-bit (X86) and 64-bit (x64) architectures.
- You can create both ISO images and bootable USB drives using the Media Creation tool.
Requirements:
Before you proceed to create a bootable USB drive using this tool, make sure that you have the following requirements:
- 8GB USB Drive, the drive will be formatted during the process so make sure that you don’t have important data on it.
- Internet connection to download the ISO image file from Microsoft’s Server.
Steps to create bootable Windows 11 USB from Media Creation Tool:
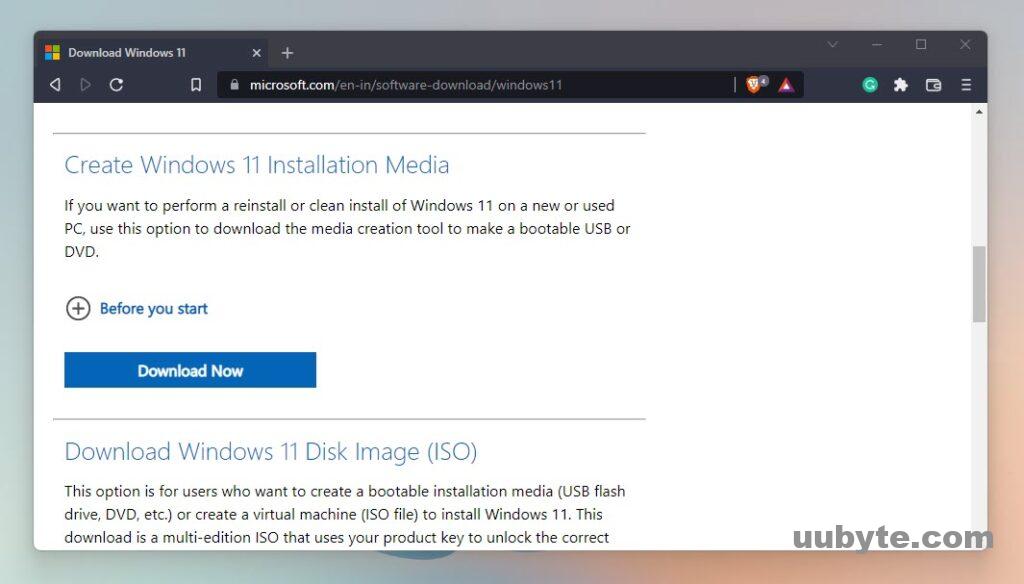
First, you have to get the media creation tool from Microsoft’s official website. After getting it, you have to run the downloaded app.
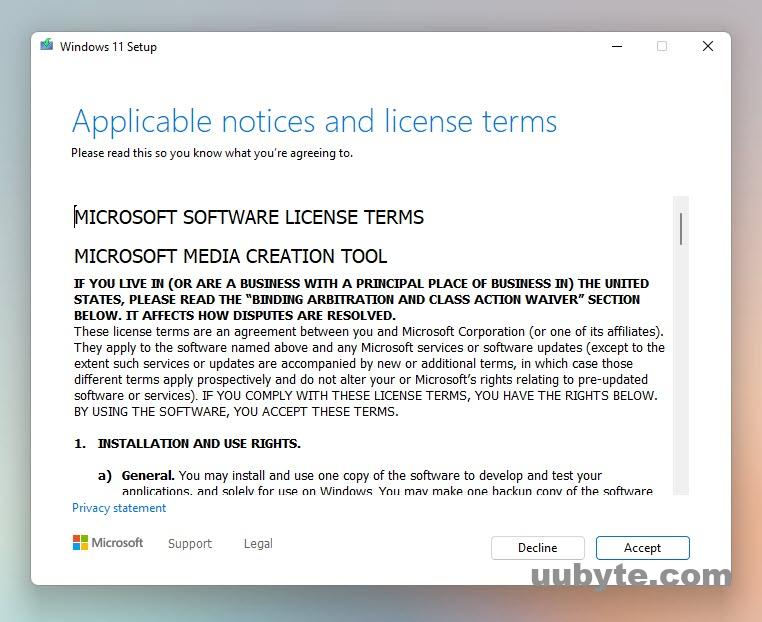
Accept the terms of Microsoft about using the Media Creation Tool.
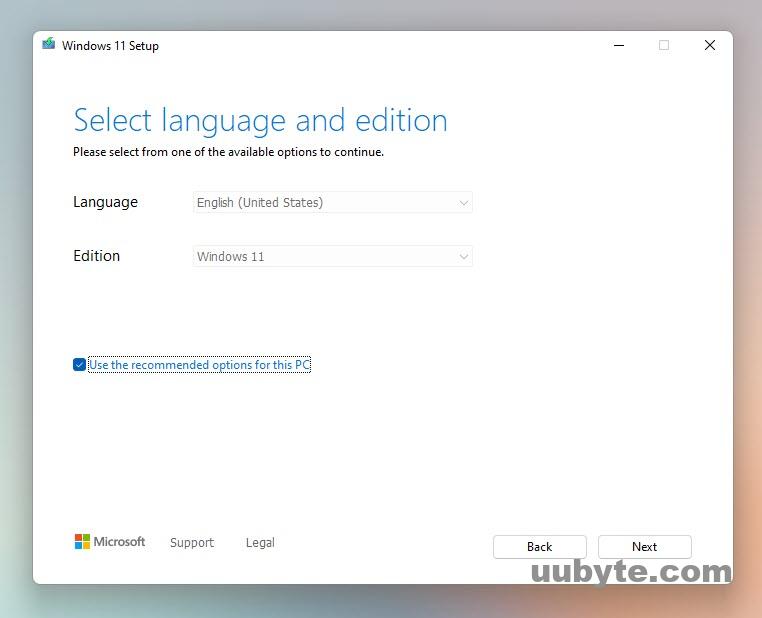
Configure windows settings like the language and edition and click Next.
Select USB flash drive and click Next.
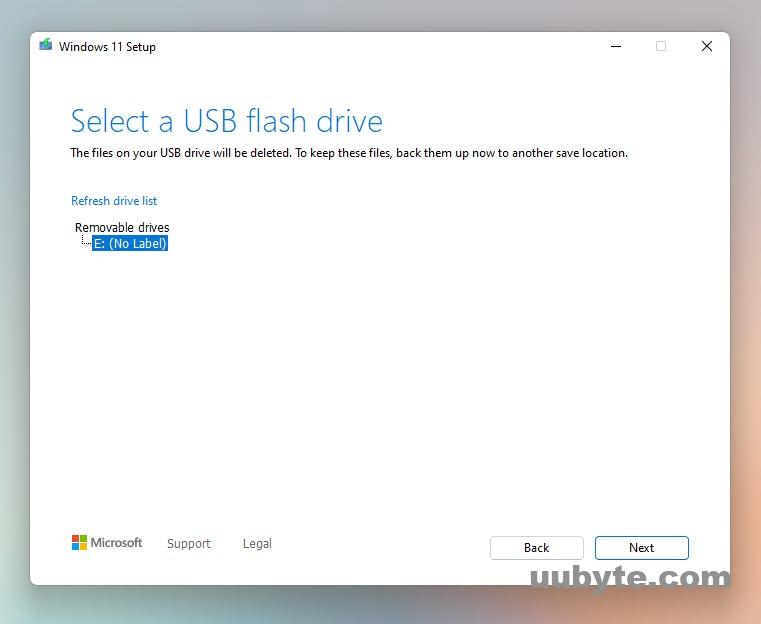
Under their removable drives select the USB and click Next.
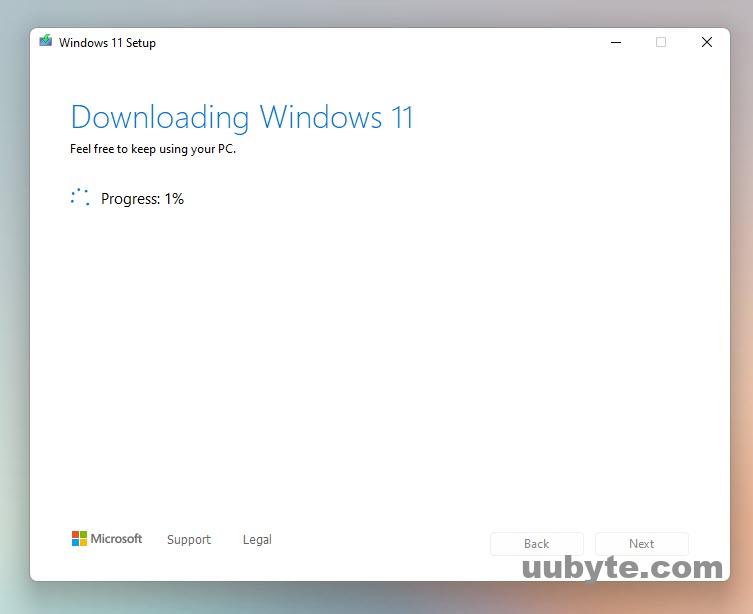
Now you have to wait until windows 11 is downloaded to your system. Once it is downloaded, the media creation tool is going to create a USB flash drive and then copy all the files from the iso inside it.
4. Create a Windows 11 Bootable USB via ISO Editor
ISO Editor is a powerful cross-platform application developed byUUByte team that can help users build bootable USB drives, download recovery/installation discs, and create bootable ISO images. It supports all versions of Windows including Windows 11 and Windows server.
Requirements of UUByte ISO Editor:
- A copy of UUByte ISO Editor software. You can download it here for free.
- A blank USB drive with at least 8 GB capacity.
- A Windows installation DVD or ISO image file
Steps to make bootable bootable Windows 11 USB via ISO Editor:
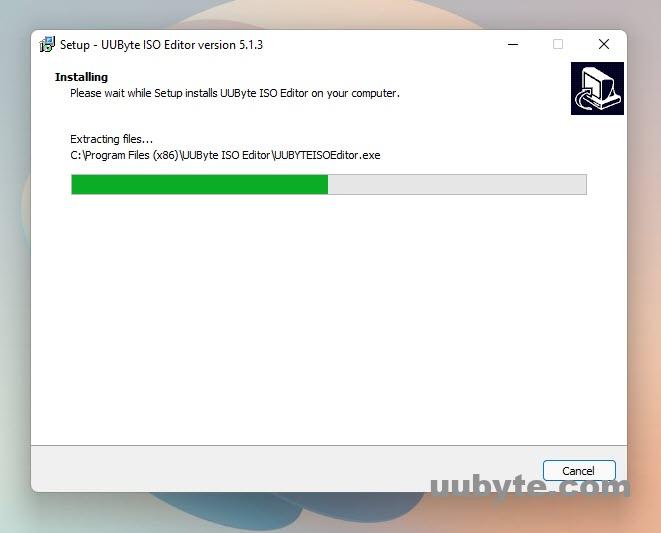
Upon downloading the software, install it on your computer.
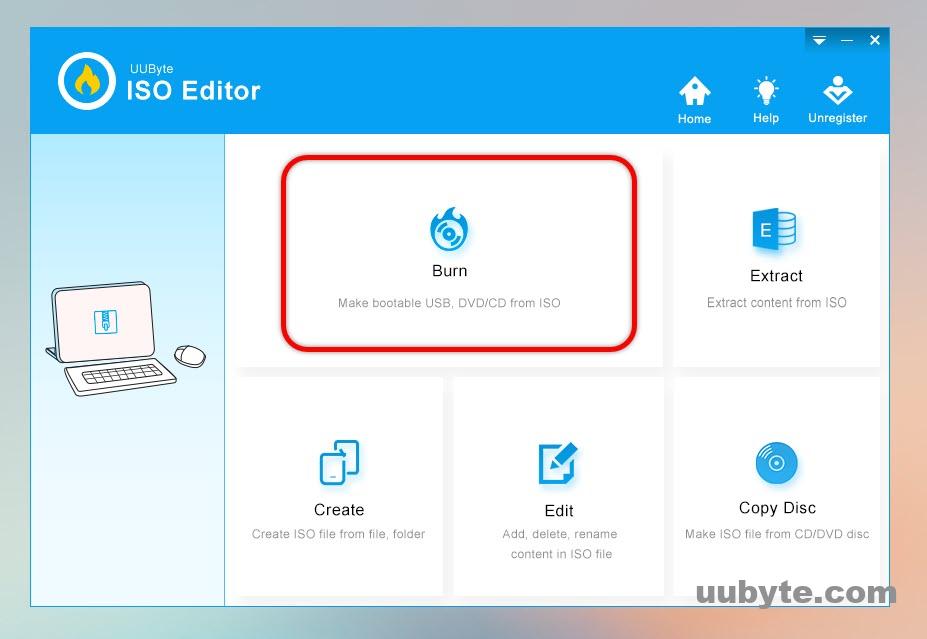
Attach the USB, and launch the application. On the main page click on the Burn.
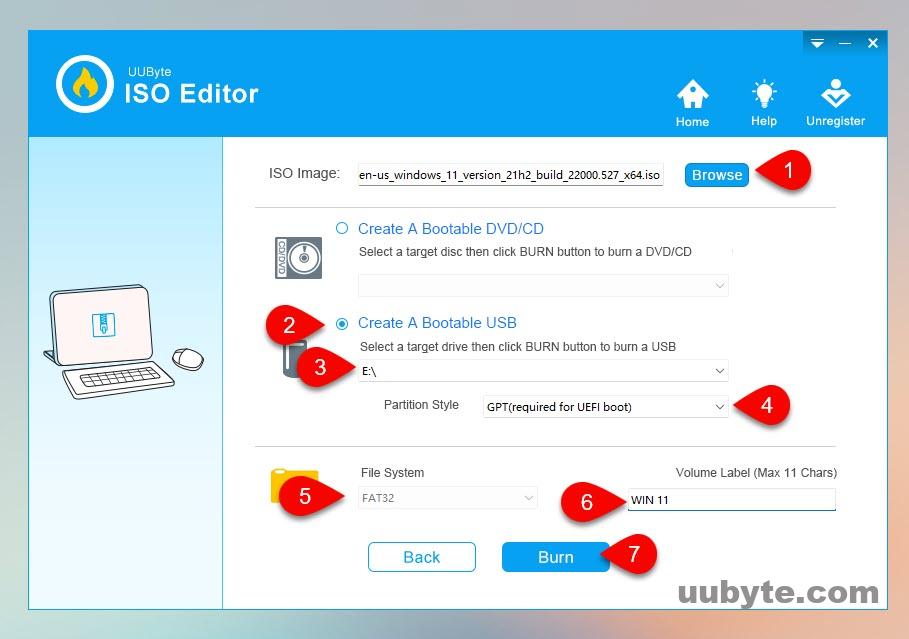
Configure the below settings:
- Click on Browse and look at the windows 11 ISO image.
- Select create a bootable USB, if you have attached the USB, it will select it. If you have attached multiple USBs select one of them by clicking on the drop-down menu.
- Configure your partition in style too.
- Set up the file system.
- Finally, you can name the USB flash drive.
Summary:
Creating a bootable USB of Windows 11 is not as hard as it seems there are several multiple methods that you can use it. It does not matter whether your computer is supporting windows 11, or it is not. In my recommendations use Rufus for the creation of the windows 11 bootable USB.