
To install macOS from a USB drive, you should make a bootable macOS USB first. After that, connect the USB to your Mac and boot from it in order to install macOS on your Mac. Please take a full read of our detailed guide.
Create a macOS Bootable USB Drive First
This step requires some care because you can't create bootable media by just copying a DMG to a USB stick. You will need a disk authoring software that can write the DMG file with all relevant boot information to make it bootable. If you cannot boot from the drive you create in this step, you can't proceed with the installation. You can use the third-party apps to burn DMG to USB and follow the steps shown below:
Step 1: Get the DMG file from our website or third-party sources.
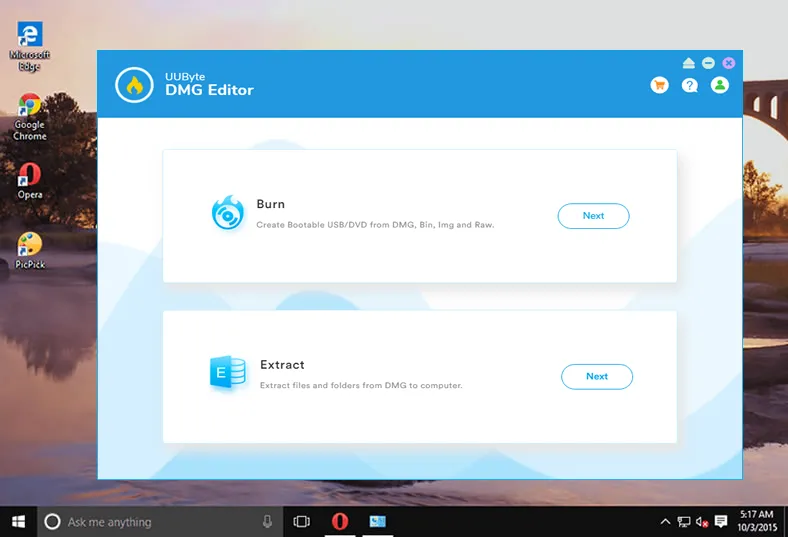
Step 2: Install and launch DMG to USB burning utility such as UUByte DMG Editor, and insert a USB drive with at least 12GB of space. Since the drive will be formatted for the macOS installation, make sure you back up any important information that's already stored there.
Note: Your USB may need to be formatted with Disk Utility before it can be used to create bootable media. To do this, go to your USB drive within Disk Utility and click on the button or tab that says Erase. Now fill out Name, Format and Scheme fields, click Erase and Done. The format should be set to Mac OS Extended (journaled) and the scheme, if required, should be GUID Partition Map.
Step 3: Import the macOS installer and click the Burn function after selecting the appropriate USB drive.
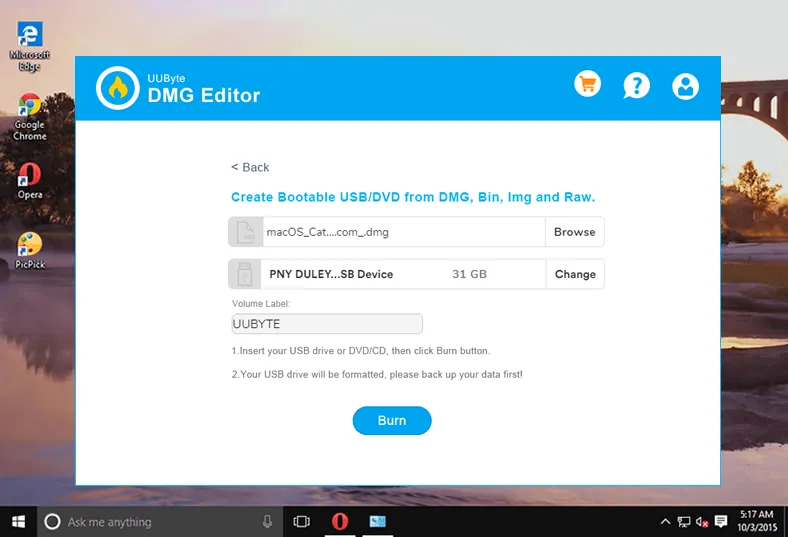
Step 4: You may need to specify certain parameters such as burn speed, but in most applications, you can leave the default values as they are.
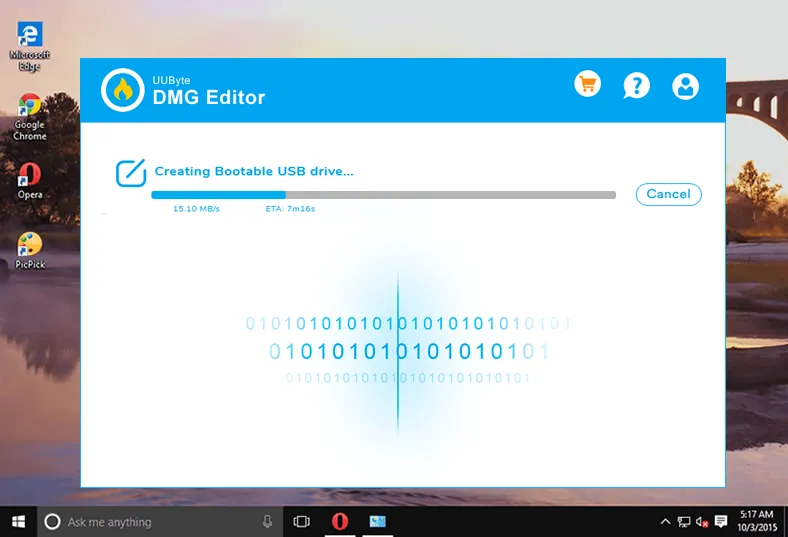
What you now have is a bootable USB drive containing the macOS installation files in the DMG format. The next step is to boot your Mac from this installer, and we will share the steps for both Intel and Apple Silicon Mac in the following parts.
How to Install macOS from USB (Intel Mac)
If the target Mac computer already had a macOS or OS X on it, then installing macOS from USB is straightforward and this is called the normal way.
Step 1: Insert the macOS bootable USB drive on a USB port of Mac computer.
Step 2: Shut down the Mac and wait for 1-2 minutes. This will make sure the Mac is powered off.
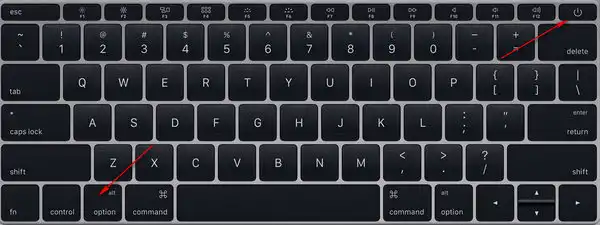
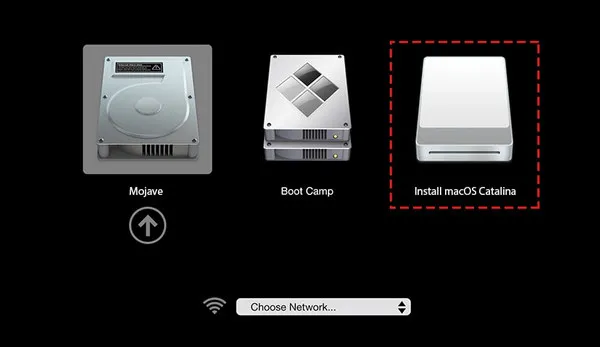
Step 3: Hold the Power and Option key simultaneously for 15 seconds. This will bring up the Startup Manager on Mac.
Step 4: You will see all bootable devices attached to this Mac, including Macintosh HD and external USB or DVD. Click the drive name of your macOS bootable USB to start the installation process.
Step 5: Agree the terms and conditions and wait for the installation process to be done.
How to Install macOS from USB (Apple Silicon Mac)
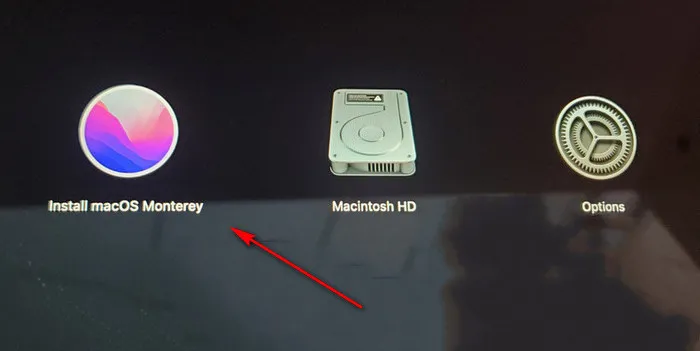
For Apple Silicon Mac, currently M1/M2/M3/M4 Mac, you have to shut down the computer first. Then keep pressing Power key to bring up Start options.
Wait about 30 seconds, and you will see the USB name on screen, usually the name begines with Install macOS. The following example is taken from a M1 MacBook Air that is booting from macOS Monterey USB installer.
Quick Troubleshooting Tips if You Got Stuck during MacOS Installation
Could not write installation information to disk
If you see the message like "Could Not Write Installation Information to Disk" when you are trying to install the OS, it means, some important files are missing from the bootable USB device. Mostly, this error happens when you download Mac OS file from an unauthorized site.
You can fix this issue just by downloading the original OS file from the Apple store and then create a fresh bootable USB using the same.
Compatibility error
If you are upgrading the OS X after having an older version, you can get the compatibility error message. In such case, just cross-check the system requirement for the OS you want to install on your Mac system.
You can fix this issue just by downloading the original OS file from the Apple store and then create a fresh bootable USB using the same.
macOS could not be installed on your Computer
If you see the error message similar to "macOS Could Not Be Installed on Your Computer" that means, either your system is not compatible or the Date and Time settings in your system is not up to date..
To resolve the problem, first, check the system combability for the OS X. If it's fine and still you are facing the error, then just update the system Time & Date with the option of "Local Apple time server".
Application is damaged, can't be used to install macOS
You the message "application is damaged, can't be used to install macOS" appear on your screen, it means the OS certificated has been expired. And so, you won't be able to proceed further for installation.
The simple solution is; you need to create a fresh bootable USB by downloading the MacOS file from its official website.
MacOS couldn't install on this computer
Sometimes, the thirty-party tool which you use to create a bootable USB is the culprit. If the OS files will not be copied successfully using the bootable tool, then you may see the message like "MacOS couldn't install on this computer".
In this case, you should avoid using a third party bootable tool despite you should create a bootable USB with the help of command.
Conclusion
The above tutorial covers most of the issues you could come across during the installation process. If you had other issues not mentioned in this article, please contact us and our technical team will help you fix it.

Petty is editor in chief at UUByte and writes various topics about Windows and Mac to help people make the most of current technology.