Tamper Protection is a security feature in Microsoft Defender that blocks unauthorized changes to important security settings, such as real-time protection, cloud-delivered protection, and other antivirus options. While this feature is useful for keeping a PC protected, there are times when users may want to turn it off temporarily, especially when troubleshooting Defender-related issues, installing certain system tools, or making advanced security changes that would otherwise be blocked.
Turning off Tamper Protection in Windows 11 is simple and only takes a few clicks.
How to Disable Tamper Protection in Windows 11/10
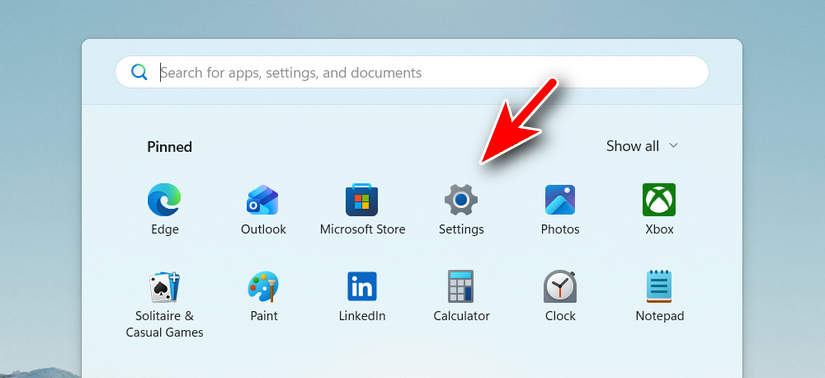
Step 1: Open the Settings app from the Start menu from the taskbar.
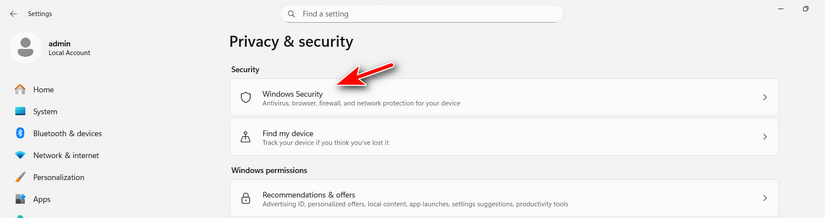
Step 2: Choose the Windows Security option at the top.
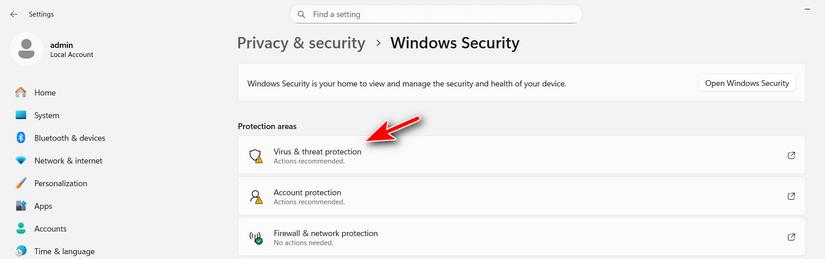
Step 3: In the Windows Security window, click Virus & threat protection from the main dashboard.
Step 4: Scroll down to the Virus & threat protection settings section, then click Manage settings.
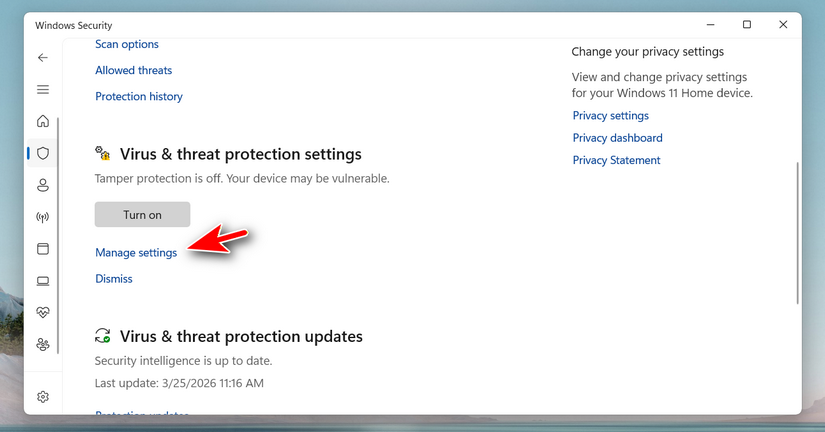
Step 5: Scroll down until you see Tamper Protection. Click the toggle switch to turn Tamper Protection off. If prompted by User Account Control, confirm the action.
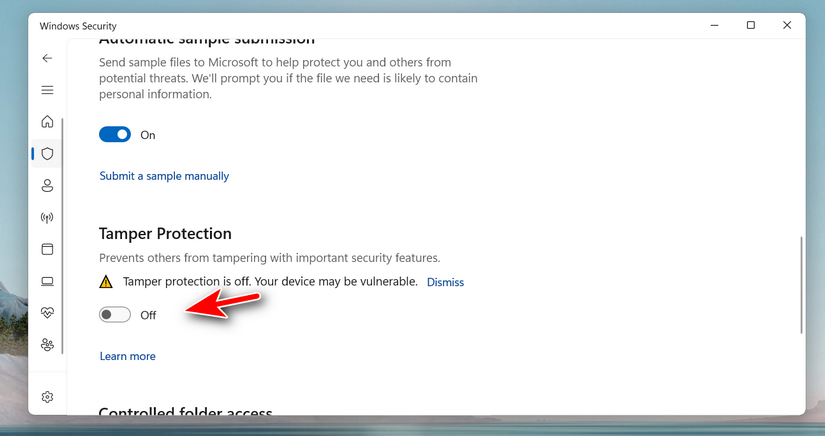
Step 6: After this, Windows Defender settings can be changed more freely until Tamper Protection is turned back on.
Summary:
Disabling Tamper Protection in Windows 11 or Windows 10 is a straightforward process through the Windows Security app. It can be helpful when troubleshooting, testing, or making advanced Defender-related changes that are otherwise restricted. Still, because this feature helps protect important security settings from unwanted changes, it is best to keep it turned on unless there is a clear reason to disable it. After completing the task, turning Tamper Protection back on is strongly recommended to keep the system safer.