UUByte ISOKit (Formerly ISO Editor) is an easy to use and powerful bootable USB creation app. It lets you create Windows 11/10/7 bootable USB drive on Mac in a simple, fast, and reliable way. ISOKit also allows you to download Windows ISO images from Microsoft and build multi-boot USB drive so you can boot multiple operating system on one USB flash drive.
This user guide shows you how to create a Windows bootable USB on Mac. The test machine is an Apple M5 MacBook Pro running the latest macOS Tahoe. The steps are the same if you are on a Windows PC.
Table of Content:
Step 1: Download and Install ISO Editor
Click the Download button in above to get a copy of UUByte ISO Editor app on your Mac. Double click the dmg file and drag the app icon to Application folder. By doing this, you can now open ISO Editor app from Launchpad.


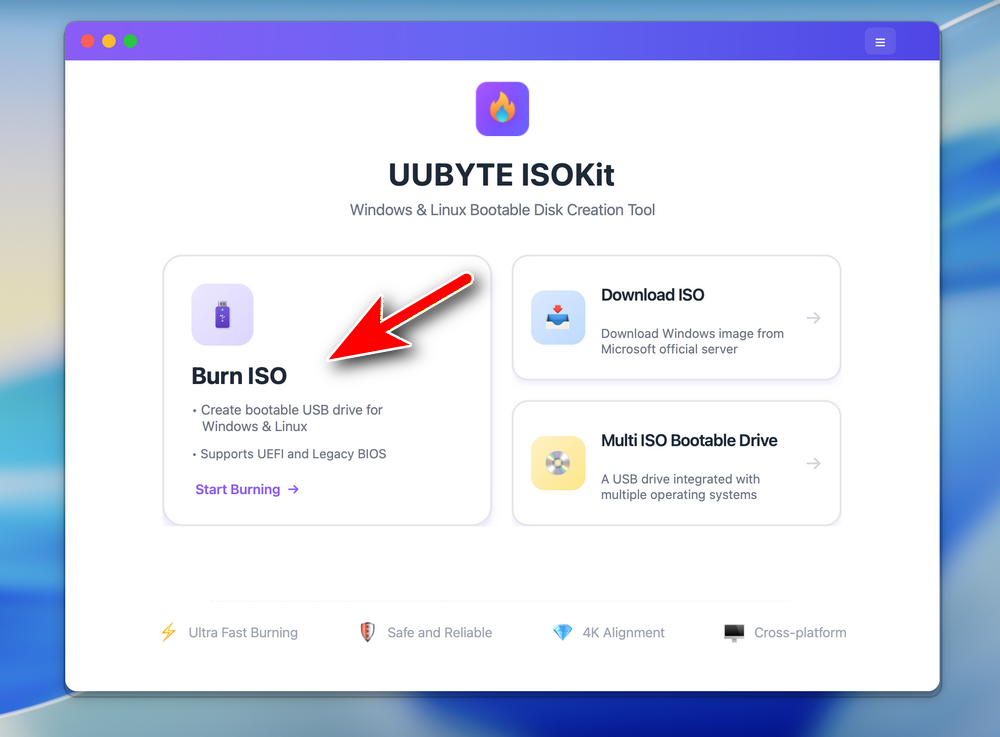
To create a bootable USB, please click the Burn ISO button at the left side to proceed.
Step 2: Plug in a USB Drive on Mac
Now, connect a USB drive to Mac and make sure you can see the drive name in Finder app. This means the drive is recognized by your Mac.
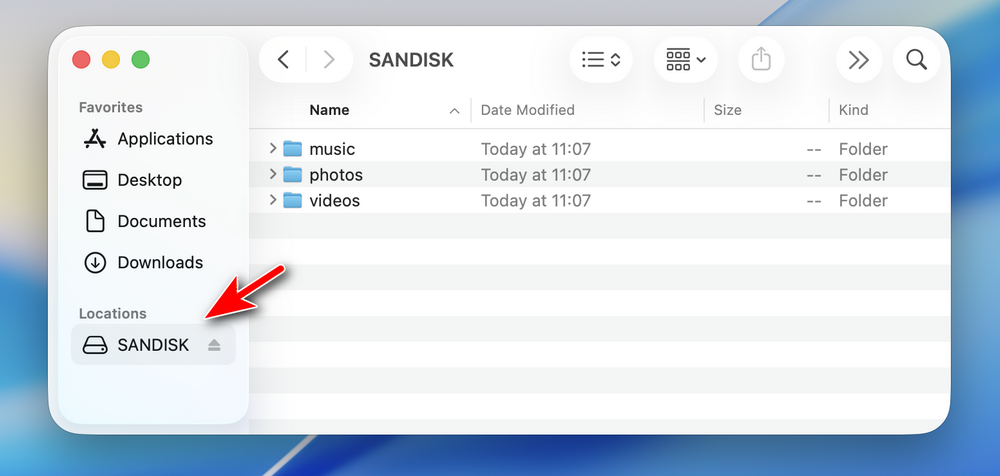
Notice: Please disconnect other USB storage devices on your Mac so you won't choose the wrong USB for burning!
Step 3: Import Windows ISO and Choose USB Drive
On the inside page, add the ISO file to the app by clicking the Browse button. Next, pick up the correct USB drive from the drop-down list.You can see the USB drive brand and volume name at this time. After that, you need also choose a partition scheme. For modern computers, please choose GPT. For old computers, select MBR instead.
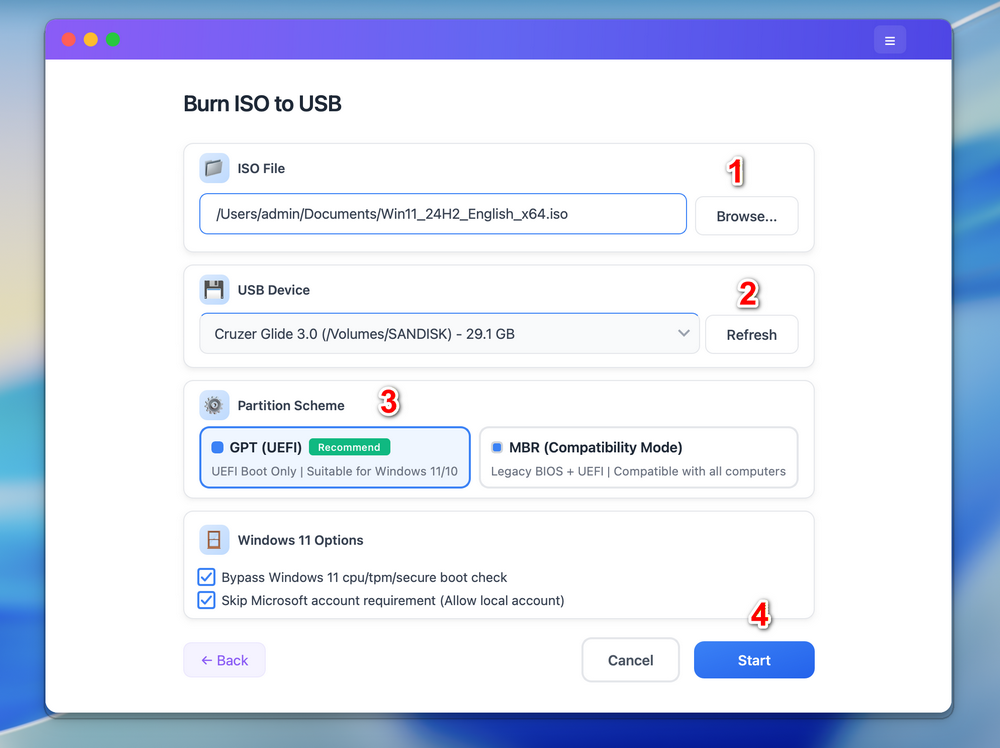
Note: For Windows 11 ISO, the app will automatically patch the ISO so it allows you install Windows 11 on unsupported hardware.
Step 4: Start Burning Windows ISO to USB
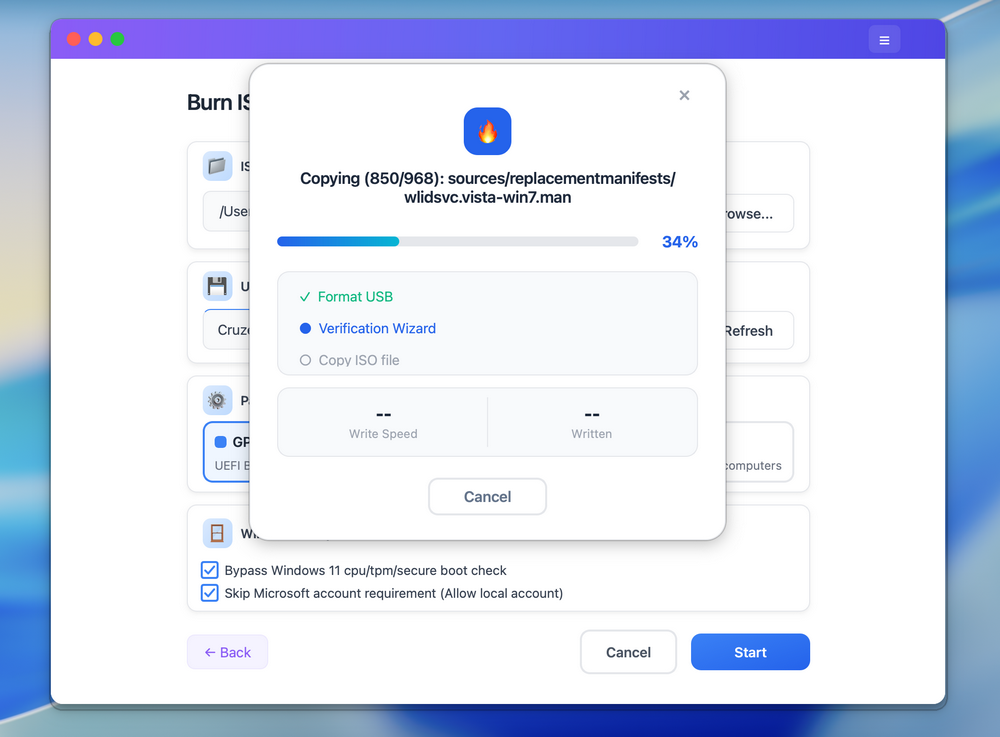
Click the Start button located at the bottom to start burning Windows ISO to target USB drive. This will format the USB drive so you should backup the drive first. In addition, please enter the login password to grant the permission to ISO Editor so it can access external drive on your Mac. After that, ISO Editor app will start coping files contained in ISO image to USB Drive. This will be done in 10-20 minutes for a fast drive.
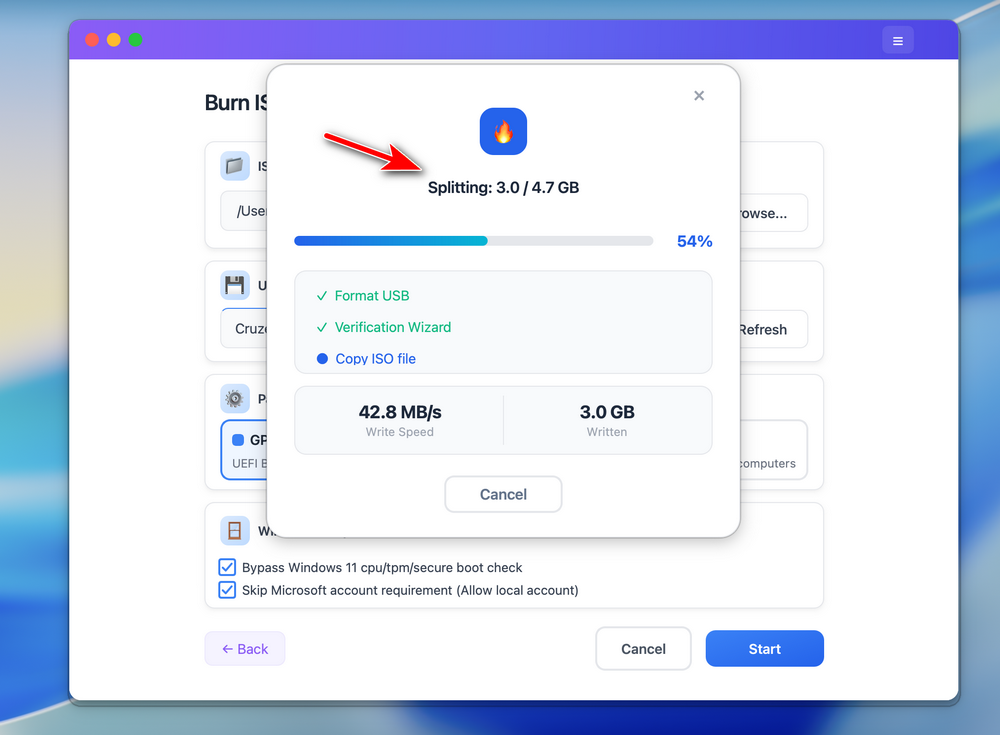
Step 5: Split Install.wim and Make USB Bootable
For latest Windows 10 or Windows 11 ISO, which contains a large install.wim file (> 4GB), UUByte ISO Editor will split it automatically at the end of burning process. This make sure the install.wim file sits well on a FAT32 partition after shrinking. This extremely important on Mac as it can not read NTFS partition by deafult. Only FAT32 is available for creating Windows bootable USB.
When this task is completed successfully, you will see a notification on the screen something like this:
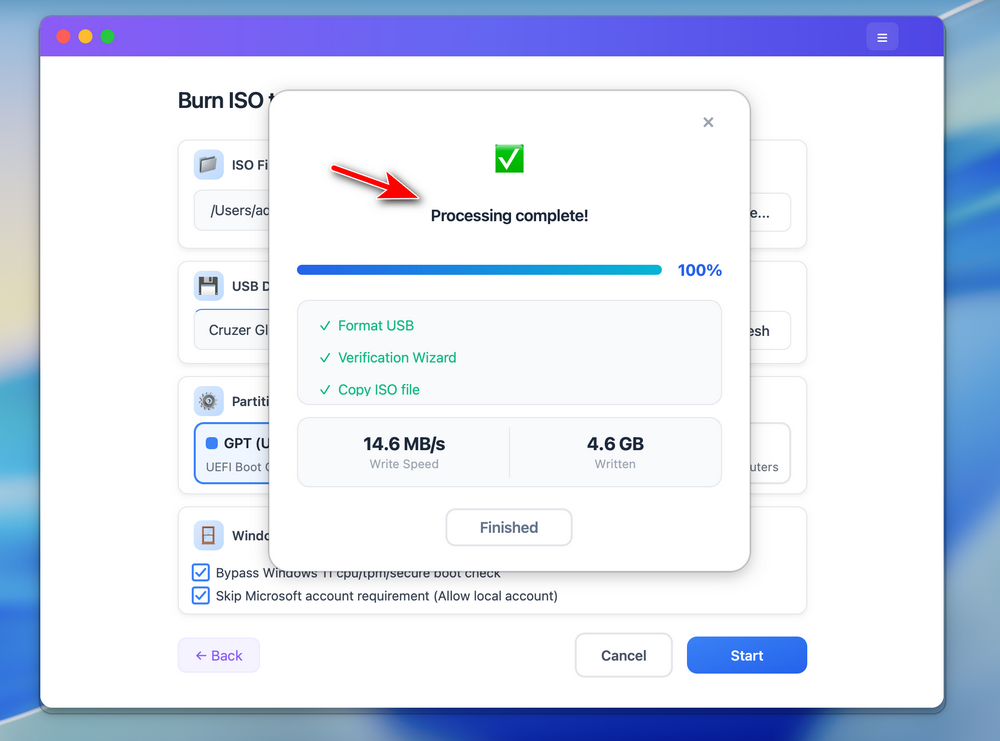
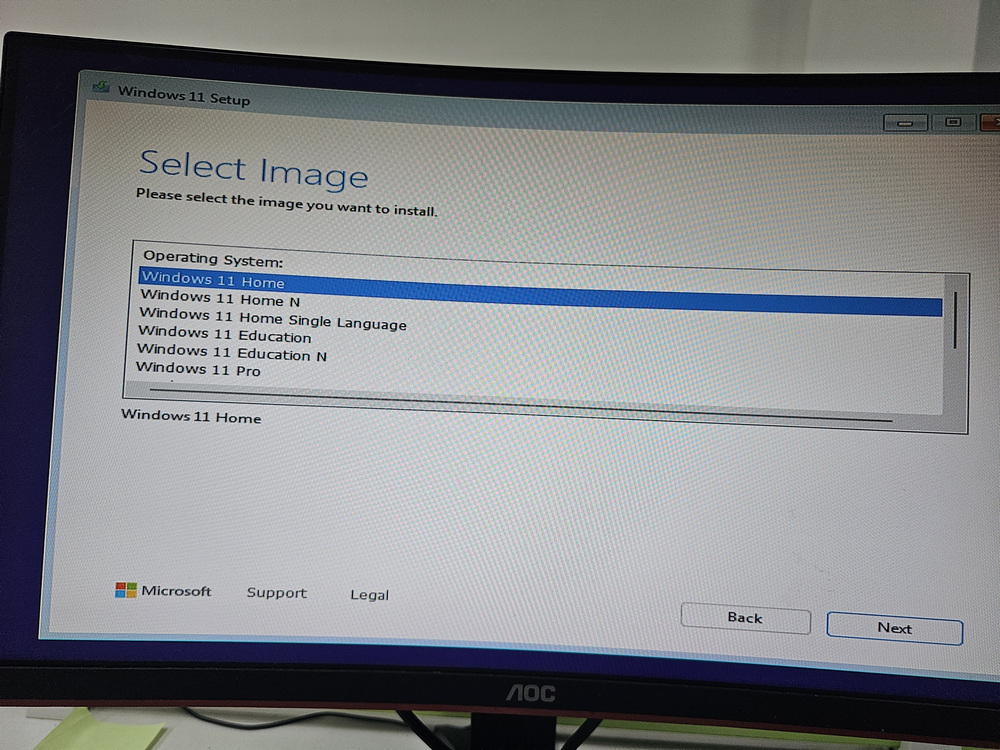
You can now eject the USB from Mac and reinstall OS on a target computer from this bootable drive.
Summary:
We already tried our best to make this program intuitive and powerful. However, no one could gurantee it will work on all computers. If you read the guide carefully and still have question? Please contact our support team and submit details. We will try to help you fix the issue as soon as possible!
💬 Reviews