Not all devices or software programs can read or display PDF files, so converting them to JPG format makes them more universally compatible. In addition, If you want to upload an attachment to a website, JPG is more preferred file type than PDF.
Fortunately, there are tons of PDF conversion tools you can use to convert PDF to JPG on Mac. Each has its own pros and cons. Please choose the best one based on your needs.
Method 1: Bulk Convert PDF to JPG on Mac using PDFGeeker
PDFGeeker is a comprehensive PDF conversion tool designed for macOS users. It offers a robust set of features to convert PDF files into various other formats. With its intuitive interface, users can easily transform PDFs into editable documents like Microsoft Word, Excel, Text, EPUB, HTML, and several image formats including JPEG, PNG, GIF, BMP, TGA, PPM, and more.
Step 1: To convert a PDF to a JPG on Mac using PDFGeeker, please download the app first, then install it on your Mac.

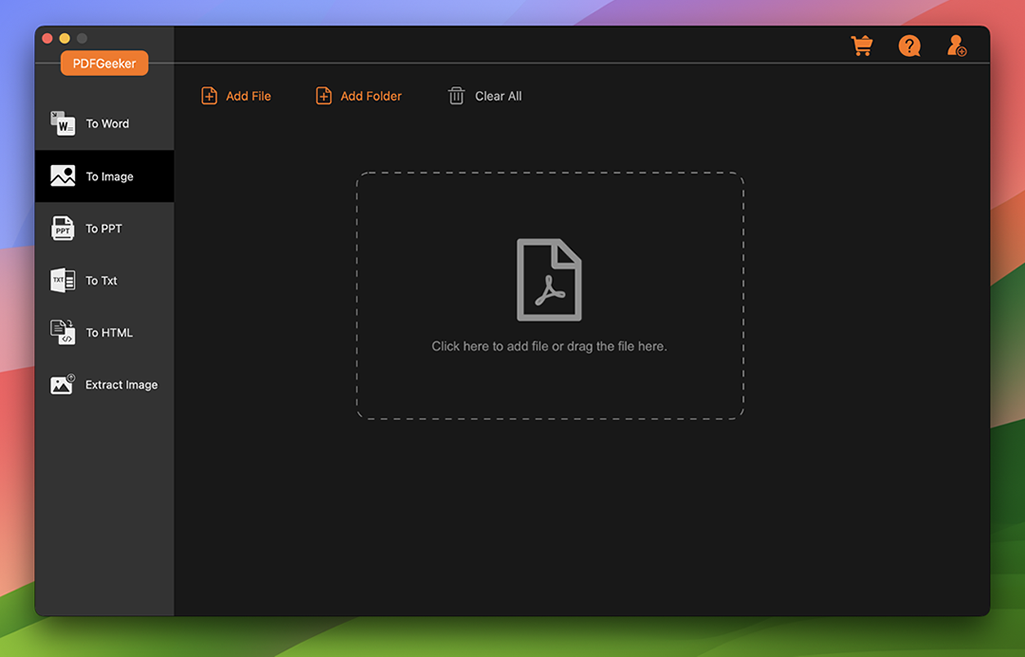
Step 2: Open the installation package and drag the app icon to the Applications folder. You will see the following screen when it is completed. Now, click the "Add File" at the top left corner and add PDF files into the app.
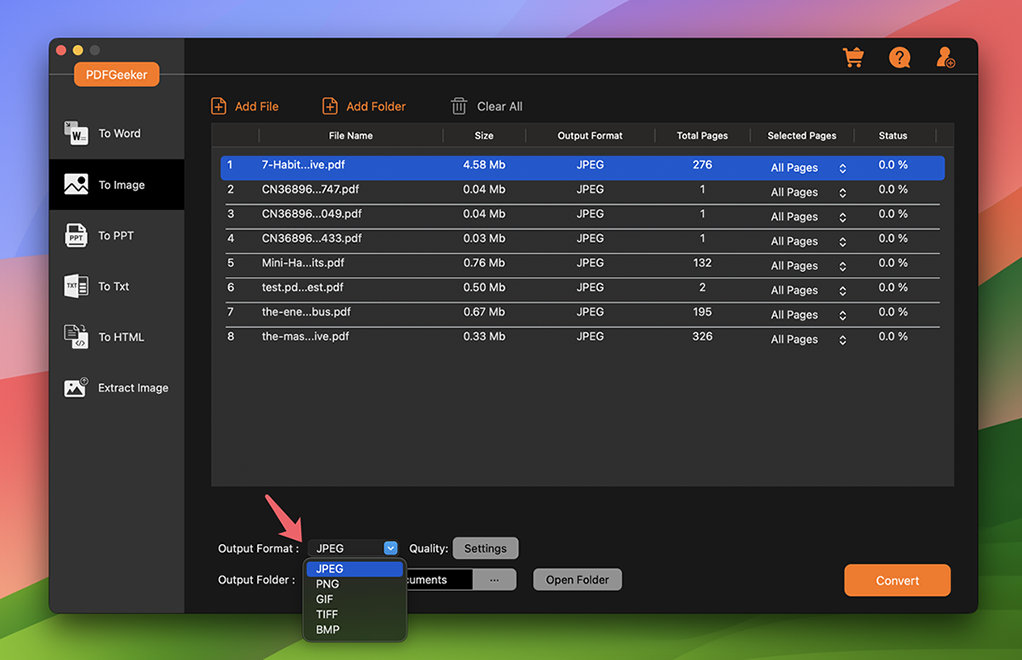
Step 3: You can see the default output format is ‘docx’. To convert PDF to JPG, please click the arrow icon at the right side of All Pages and select the ‘Output Format’.
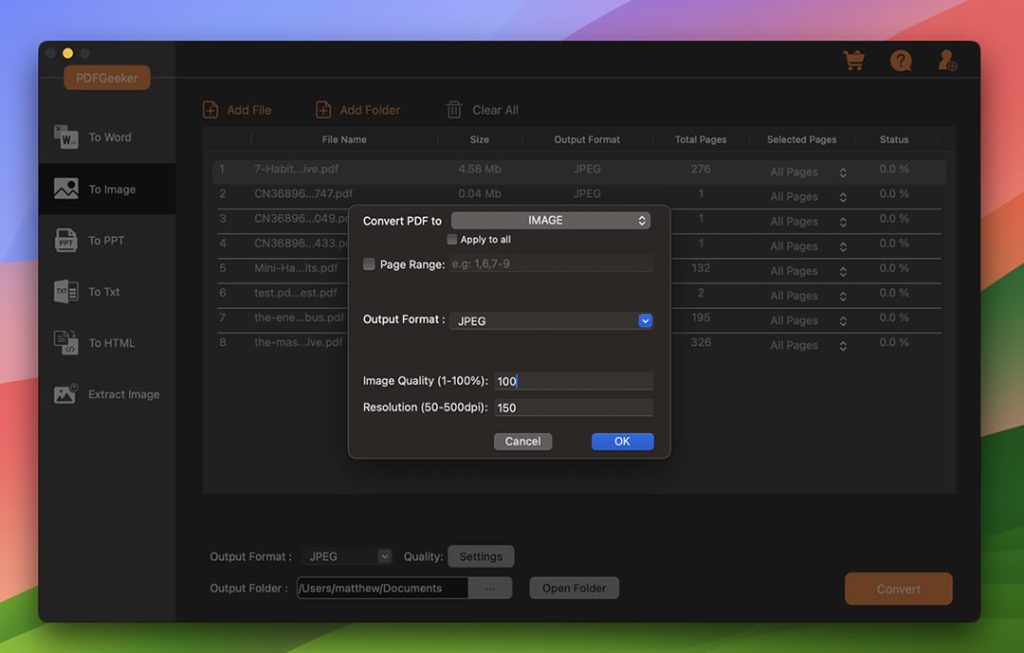
Step 4: Choose ‘Image’ from the drop-down menu besides to ‘Convert PDF to’ field and set ‘JPEG’ as the output format. You can also set the page range from the imported PDF so only the selected pages will be converted to JPG. And you can set the image quality.
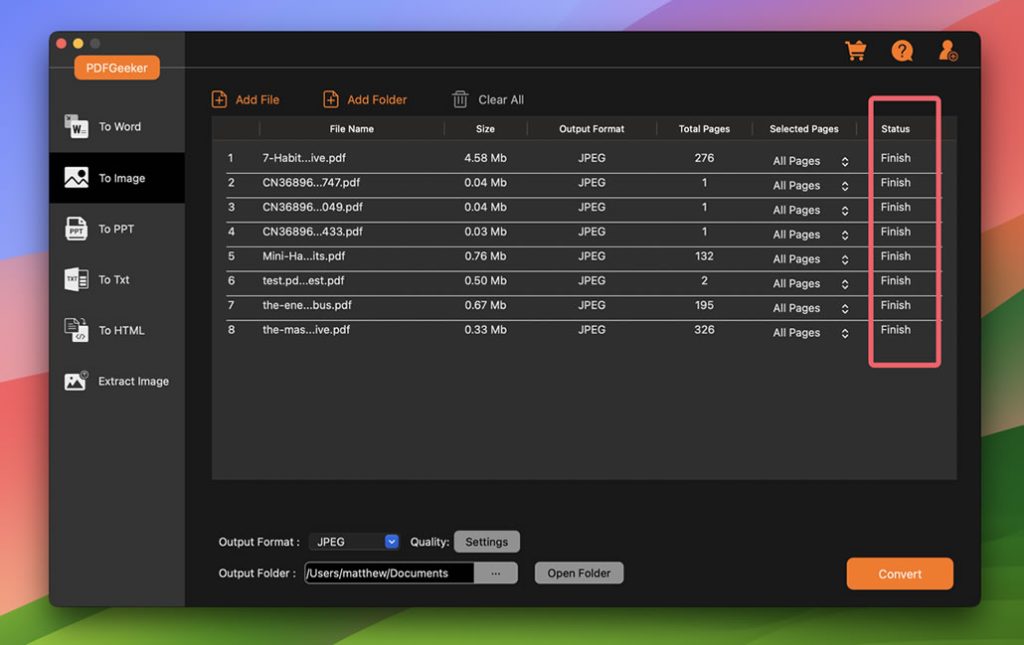
Step 5: Now, click the arrow icon at the top right corner to start the conversion. Once it is completed, you can see the ‘Finish’ prompt under the ‘Status’ column.
In short, PDFGeeker is an efficient tool for anyone looking to convert PDF files into different formats for editing, sharing, or other purposes on a Mac computer.
Method 2. Adobe Acrobat – Easily Convert Entire PDF to JPG on Mac
Adobe Acrobat is a software application developed by Adobe Systems that allows users to convert, edit, and manage PDF files. The software is available on both Windows and Mac platforms and is widely used in both personal and business settings.
One of the key features of Adobe Acrobat is its ability to convert PDF files to other formats, such as JPEG, Microsoft Word or Excel, and vice versa. This is particularly useful when working with clients or colleagues who may not have access to Adobe Acrobat, or when the original document was created in a different format.
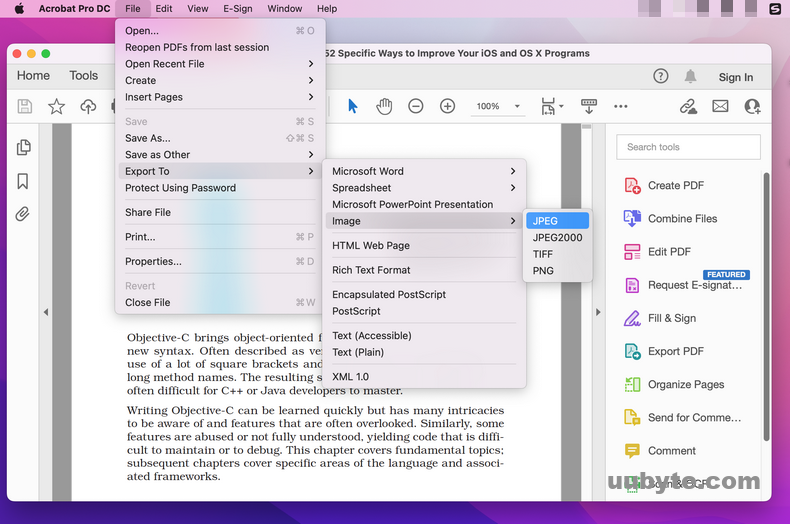
To convert a PDF file to JPG format on a Mac using Adobe Acrobat, you can follow these steps:
First, open the PDF file you want to convert in Adobe Acrobat. Then, click on the "File" menu in the top left corner of the screen, and then select "Export To" followed by "Image" and then "JPEG".
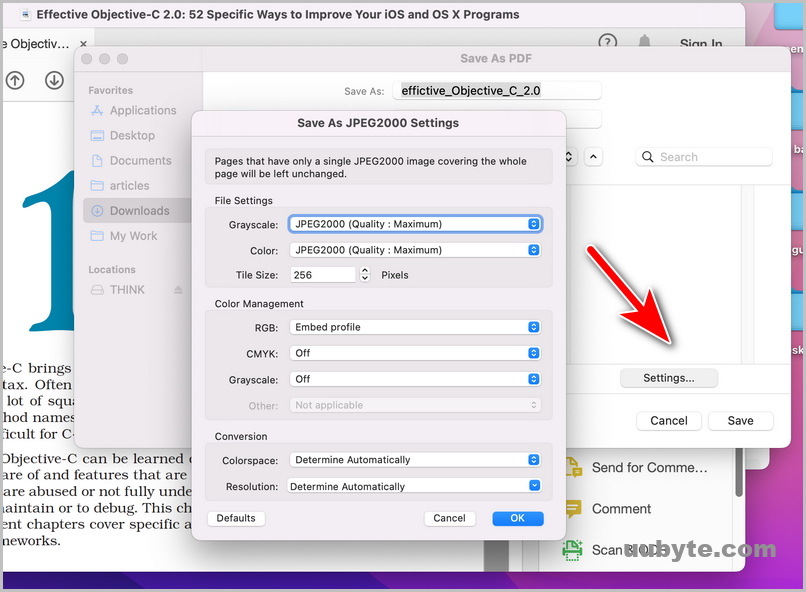
In the "Save As" window that appears, choose a name for the JPG file and select the destination folder where you want to save it.
What’s more, you can use the "Settings" option to adjust the quality of the output file. The higher the quality, the larger the file size will be.
Finally, click the "Export" button to start the conversion process. Depending on the size of the PDF file, it may take a few seconds to a few minutes to complete.
Once the conversion is finished, navigate to the destination folder you chose and verify that the JPG file has been created.
That’s it! You’ve successfully converted a PDF file to JPG format on a Mac using Adobe Acrobat.
The Final Comparison Chart (Single Page)
The output quality and file size are quite different for each of the tools introduced above. So we made a comparison chart so you can easily go through the pros and cons.
|
Preview |
Take Screenshot |
Acrobat |
PDFGeeker |
PDFtoImage |
|
|---|---|---|---|---|---|
| Output Size | 84 KB | 945 KB | 452 KB | 348 KB | 510 KB |
| Output Quality | Low | High | Medium | High | High |
| Processing Time | 10s | 4s | 1 Min | 10s | 2 Min |
| Pricing | Free | Free | Free Trial | Free Trial | Free |
| Operation | Easy | Medium | Difficult | Easy | Easy |
| Ads | No | No | No | Yes | Yes |
Frequently Asked Questions
Can I save a PDF as a JPG on Mac?
Yes, you can save a PDF file as a JPG image. There are several methods to do so, including using online conversion tools, PDF editing software, and built-in software on your computer.
How do I convert PDF to JPG on Mac for free?
You can use the Preview app on your Mac to convert PDF to JPG for free. To do this, open the PDF file in Preview, then go to File > Export. Select the format as JPEG and click Save. You can also use a free online converter such as PDFtoImage.com.
How do I convert a PDF to JPG without Acrobat?
There are a variety of online tools and software programs available to convert PDFs to JPGs without Acrobat. Some of the most popular options include PDF2JPG, Smallpdf, and Zamzar.
What is the easiest way to convert PDF to JPG?
The easiest way to convert PDF to JPG is to use an online converter. There are many free online converters available that can quickly and easily convert PDF files to JPG format. All you need to do is upload the PDF file and the converter will do the rest.
How do I convert a PDF to JPG in Chrome?
Unfortunately, you cannot convert a PDF to a JPG directly in Chrome. However, you can use an online converter to do the job. Simply go to a website such as pdf2jpg.net, upload the PDF file, and then download the converted JPG file.
Summary
Overall, converting a PDF file to JPG format provides greater compatibility and flexibility, allowing you to work with the file in a variety of ways that might not be possible with a PDF document. You can use the about tools to easily convert PDF to JPEG on Mac for free.