Table of Contents
It is important to know that protecting your files from unauthorized access becomes a necessity, not just a choice. For Mac users, one of the simplest yet most effective methods to secure sensitive data is through encrypting zip files. This not only keeps your information safe but also ensures privacy and data integrity.
In this guide, we will explore the steps to encrypt zip files on a Mac, providing a straightforward and reliable method to safeguard your important documents and files. Our test machine is a MacBook Pro M2 with the latest macOS Sonoma 14.1.
Why You Need to Encrypt a Zip File on Mac?
Encrypting a zip file on a Mac is essential for several compelling reasons. Firstly, it adds an extra layer of security to your sensitive data, protecting it from unauthorized access, be it from cybercriminals, accidental sharing, or potential breaches. In the context of increasing cyber threats and stringent data privacy regulations, securing your files is not just a matter of personal privacy but also of legal compliance.
Additionally, encryption is crucial when transferring files over the internet, ensuring that even if intercepted, the contents remain inaccessible to unauthorized parties.
Can You Encrypt Zip File with the Default Compress Tool on Mac?
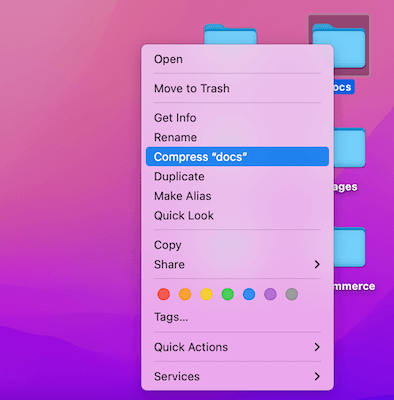
No, you cannot encrypt a zip file using the default compression tool on a Mac. The built-in compression feature in macOS (accessed by right clicking a file and selecting "Compress") does not offer encryption as part of its functionality. It simply compresses files into a zip format without any added security features like password protection or encryption.
To encrypt zip files on a Mac, you would need to use third-party software or utilities like Terminal commands. These tools allow you to create password-protected and encrypted zip files, ensuring that your data is secure and accessible only to those with the correct password.
Part 1: Encrypt Zip File on Mac Free Using Terminal
Terminal is a text-based free tool for completing complex tasks on Mac. Among its myriad of functionalities is the ability to password protect zip files, a feature that is both highly effective and surprisingly straightforward. This command-line utility allows users to not only compress files into a zip format but also secure them with robust encryption and password protection.
This guide aims to demystify the process, showcasing how to harness the power of the Terminal to encrypt your zip files, providing an added layer of security for your sensitive data. Whether you’re a tech enthusiast or a user seeking enhanced data protection, understanding and utilizing the zip encryption feature of Terminal on Mac can be a game-changer in your digital security strategy.
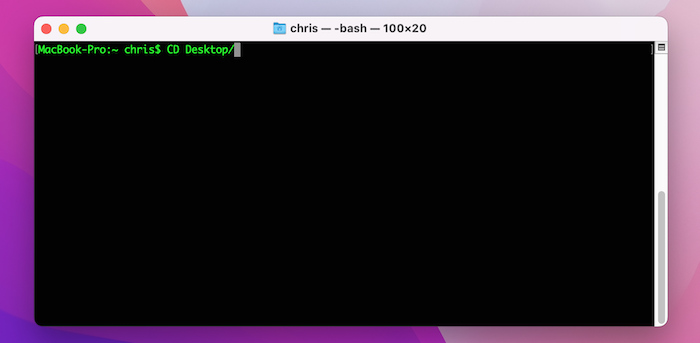
Step 1: Open the Terminal application on your Mac. You can find it in the Utilities folder within your Applications folder, or you can use Spotlight (Command + Space) to search for "Terminal."
Step 2: Navigate to the directory containing the files you want to zip and encrypt. Use the cd command followed by the directory path. For example, cd ~/Desktop/ to navigate to your Desktop folder.
Step 3: Use the zip command with the -e flag to create an encrypted zip file. Follow this syntax: zip -e [input.zip] [output.zip]. Replace [input.zip] with the desired name for your zip file and [output.zip] with the name of the file you wish to compress and encrypt.

Step 4: After executing the command, you will be prompted to enter a password. Type in your desired password. Remember, this password will not be shown on the screen for security reasons.
Step 5: Re-enter the password when prompted for verification to confirm it.
Step 6: The Terminal will now create an encrypted zip file in the directory you specified. The original file will remain intact unless you delete it manually.
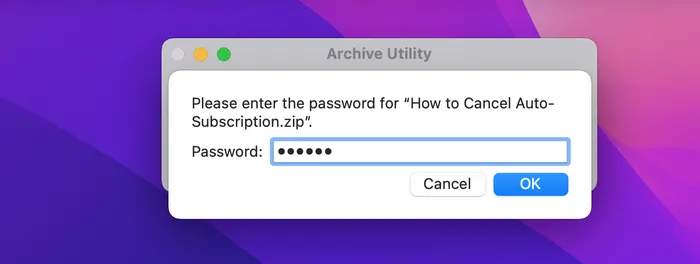
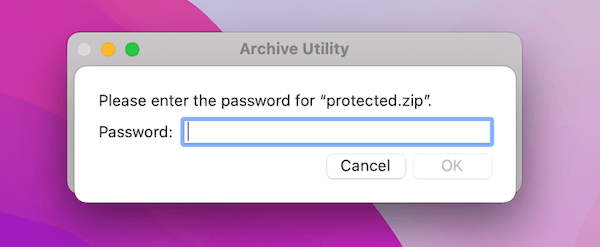
Step 7: To access the contents of the encrypted zip file in the future, you will need to provide the password you set. This can be done through a double-click on the zip file in Finder, where you will be prompted to enter the password.
Part 2: Encrypt Zip File on Mac Online for Free
Another possible way to encrypt a zip file on Mac is using online password protecting service. Protectedzip.com emerges as a dedicated solution for individuals and businesses seeking a reliable and efficient way to secure their digital files. This platform specializes in providing advanced zip encryption services, offering a user-friendly interface that simplifies the process of protecting sensitive data with strong password encryption. In short, it caters to a wide array of needs, from basic file encryption to more complex security requirements.
Step 1: Open your web browser and navigate to protectedzip.com.
Step 2: On the homepage, look for the option to upload or drag and drop the file you wish to encrypt into a zip format.
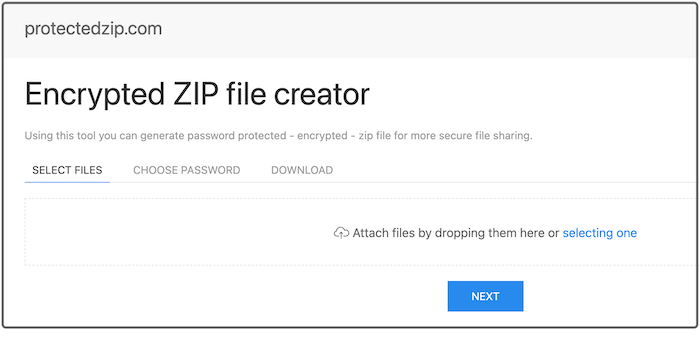
Step 3: Select the file from your Mac that you want to encrypt. You can choose a file or a folder depending on your needs.
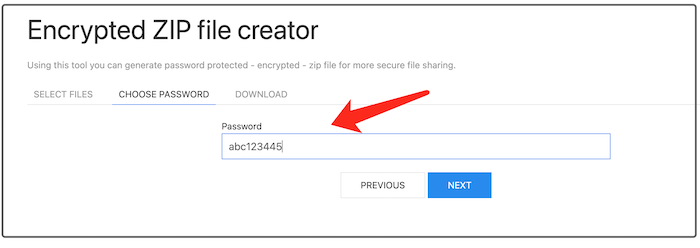
Step 4: Once the file is uploaded, choose your encryption settings. This typically includes setting a strong password that will be used to encrypt the zip file.
Step 5: After setting your password, select the option to create or encrypt the zip file. The website will then process your file and apply the encryption.
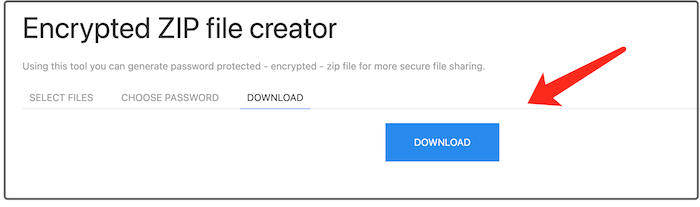
Step 6: Once the encryption process is complete, the website will provide you with a link to download the encrypted zip file.
Step 7: Click on the download link to save the encrypted zip file to your Mac.
Step 8: Remember to keep the password safe and secure, as you will need it to access the contents of the encrypted zip file in the future.
Part 3: Encrypt Zip File on Mac Online with FossZip
FossZip presents itself as a robust and versatile tool, extending beyond basic file compression to offer advanced zip encryption features. Recognized for its user-friendly interface and powerful functionality, FossZip allows Mac users to effortlessly encrypt their zip files, ensuring a high level of security and data protection. This feature is particularly valuable for those handling sensitive information, as it provides strong password protection and encryption standards, such as AES, to safeguard data against unauthorized access.
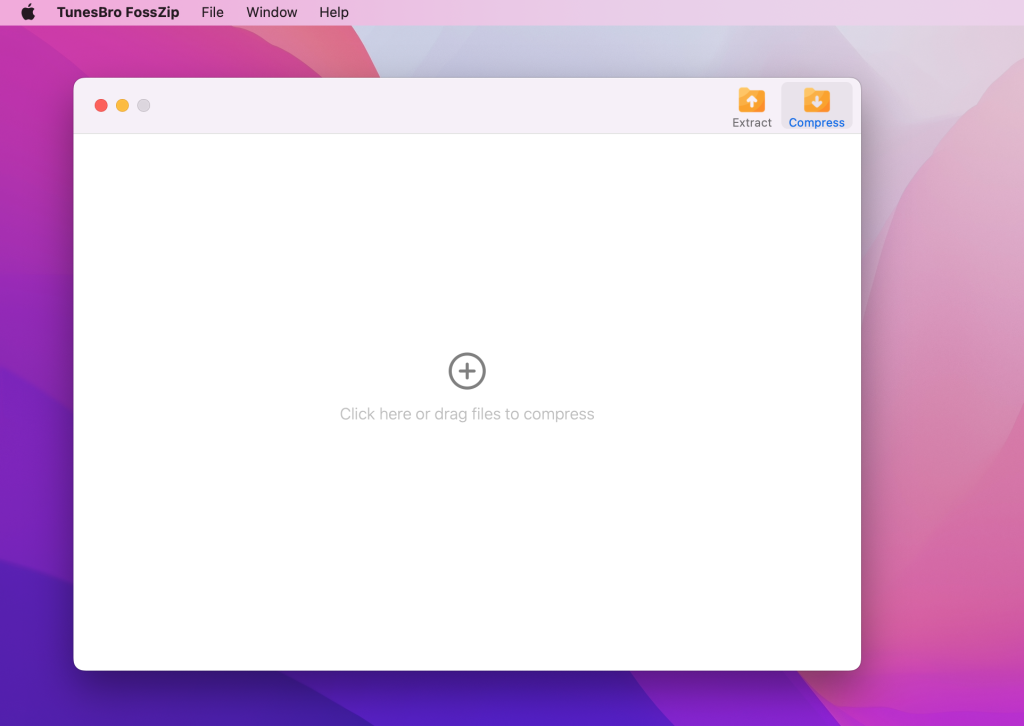
Step 1: Open the FossZip application on your Mac. If you don’t have it installed, download and install it from the official FossZip website.

Step 2: In the WinZip window, click on the ‘Create New Zip’ button to start a new zip file.
Step 3: Navigate to the Compress button at the home page and add your files you want to encrypt. You can also do this by dragging files into the FossZip window.
Step 4: Once you have added all the files you wish to zip, move to password field at the top of the FossZip window. Now, enter a strong and unique password for encrypting the zip file.
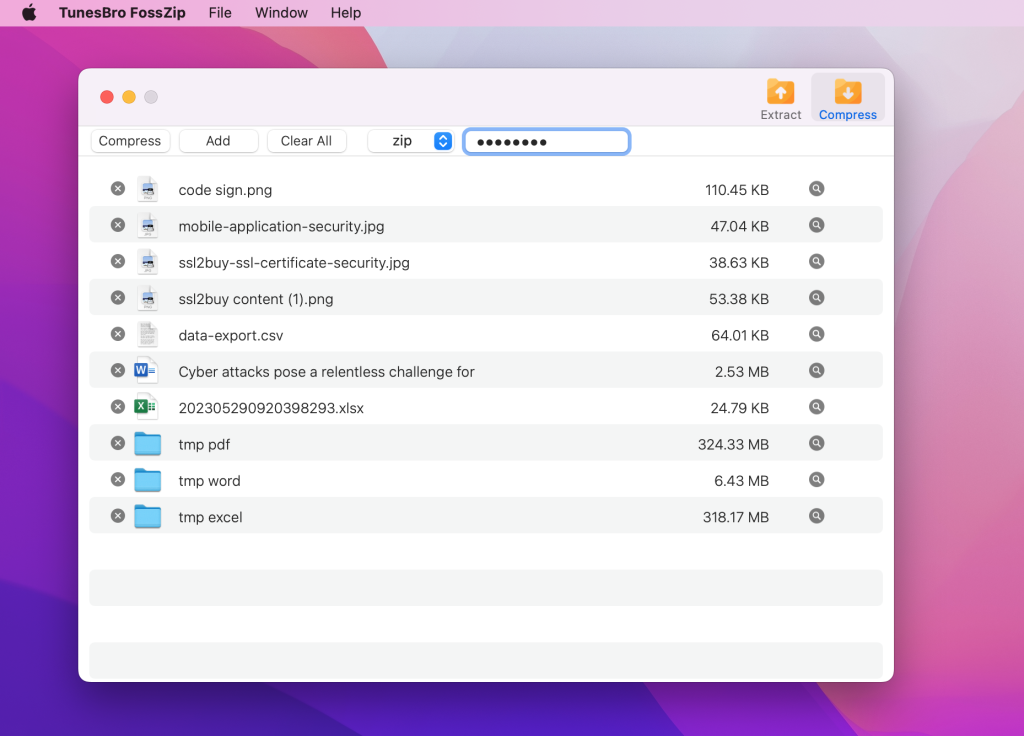
Step 5: After setting the password, click on the ‘Compress’ button to create the encrypted zip file.
Step 9: Once the process is complete, your encrypted zip file will be saved in the location you selected. You can now share or store this file securely, as it will require the password to be opened.
This is by far the most secure approach to encrypt a zip file on Mac. Besides the password protecting feature, it is also capable of opening RAR archive on Mac, which is not a default option available in macOS.
Video: Password Protect Zip Files In Mac Using Terminal
How to Fix Zip Error: Nothing to Do Mac Password
The "Zip Error: Nothing to do" message on a Mac, especially when dealing with password-protected zip files, typically indicates that the zip command was not executed correctly, often due to a syntax error or incorrect file paths. To fix this issue, follow these steps:
- Check File Path and Name: Ensure that the file or folder you are trying to zip actually exists in the location you are specifying. Use the
lscommand in Terminal to list the files in the current directory and verify the file name and its extension. - Correct Command Syntax: Make sure you are using the correct syntax for the zip command. The basic syntax for creating a password-protected zip file is zip -er [archive_name.zip] [file_or_folder_to_zip]. Replace [archive_name.zip] with your desired zip file name and [file_or_folder_to_zip] with the actual file or folder name.
- Use Absolute Path: If you’re unsure about the relative path, use the absolute path of the file or folder. You can get this by dragging the file or folder into the Terminal window.
- Avoid Spaces in File Names: If your file name or folder name contains spaces, make sure to enclose it in quotes. For example,
zip -er Archive.zip "Folder Name". - Check Permissions: Ensure you have the necessary permissions to read the files you are trying to zip and write in the directory where you are creating the zip file.
- Use Third-party Tools: If the problem persists, consider using a third-party archiving tool like The Unarchiver or Keka, which can offer a more user-friendly interface for compressing and encrypting files.
Final Words
Encrypting zip files on a Mac is a vital skill in an age where data breaches and unauthorized access are increasingly common. By following the steps outlined in this guide, you can easily secure your important files, ensuring they remain accessible only to you and those you trust. This process not only reinforces your data’s security but also gives you peace of mind knowing that your sensitive information is well-protected. Remember, in the realm of digital security, taking proactive steps like encrypting your files is not just a precaution, but a necessary measure in safeguarding your digital life.