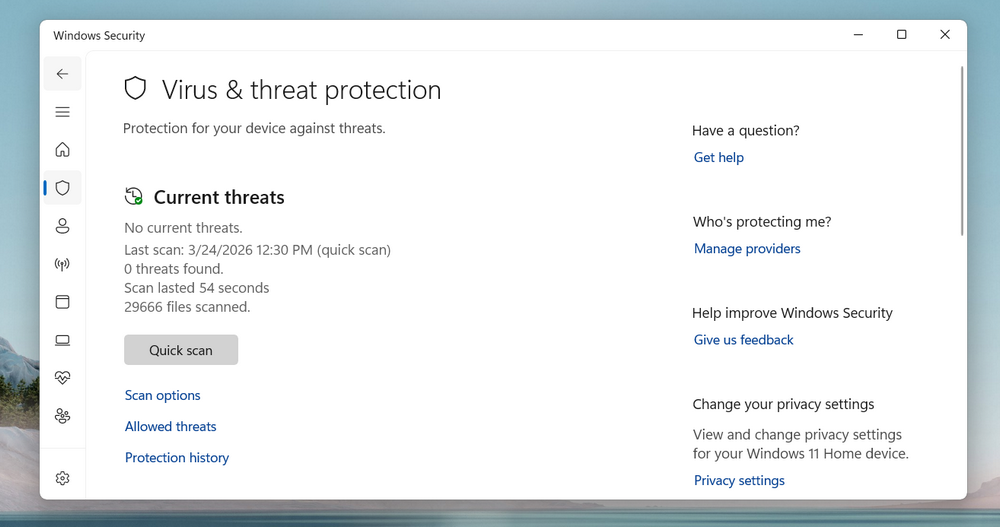
Windows Defender is built into Windows 11 and Windows 10 to help protect your computer from viruses, malware, and other threats. For many users, it works well as the default security tool. However, there are times when users may want to turn it off for a while, especially when it interferes with trusted apps, blocks certain operations, or causes conflicts with another antivirus program. You will see Windows Defender is enabled on Windows 11/10 by default.
UUByte CleanMate now adds a useful feature for disabling Windows Defender more easily on Windows 11 and Windows 10. Instead of going through multiple Windows settings and policy options, users can handle the task in a simpler way. In this tutorial, you will learn why some people disable Windows Defender, how to do it with UUByte CleanMate, and what to keep in mind before making the change.
Why Disable Windows Defender
Although Windows Defender is an important protection feature, it is not always convenient in every situation. You should turn off Windows Defender based on the following reasons:
- Lock trusted apps from installing or running.
- Pop up false positive warning from time to time.
- Slow down the boot time.
- Conflict with a third-party antivirus program.
- Cause duplicate scanning when another security app is already installed.
- Use system resources in the background during real-time protection or scans.
- Break large file transfers, software installs, or certain tasks on low-end PCs.
- Repeatedly restore security settings that the user wants to change for testing or troubleshooting.
How to Permanently Disable Windows Defender on Windows 11/10
UUByte CleanMate now includes a handy new feature for disabling Windows Defender on Windows 11 and Windows 10 with much less effort. Instead of spending time digging through Windows settings, users can turn Defender off more quickly when it blocks trusted apps, causes software conflicts, or gets in the way during troubleshooting. This new feature makes the process simpler and more convenient for users who need better control over their system security settings.
Step 1: Download and Install UUByte CleanMate
First, download and install the latest version of UUByte CleanMate on your Windows 11 or Windows 10 PC. After installation, launch the program from your desktop or Start menu.

Step 2: Run CleanMate App
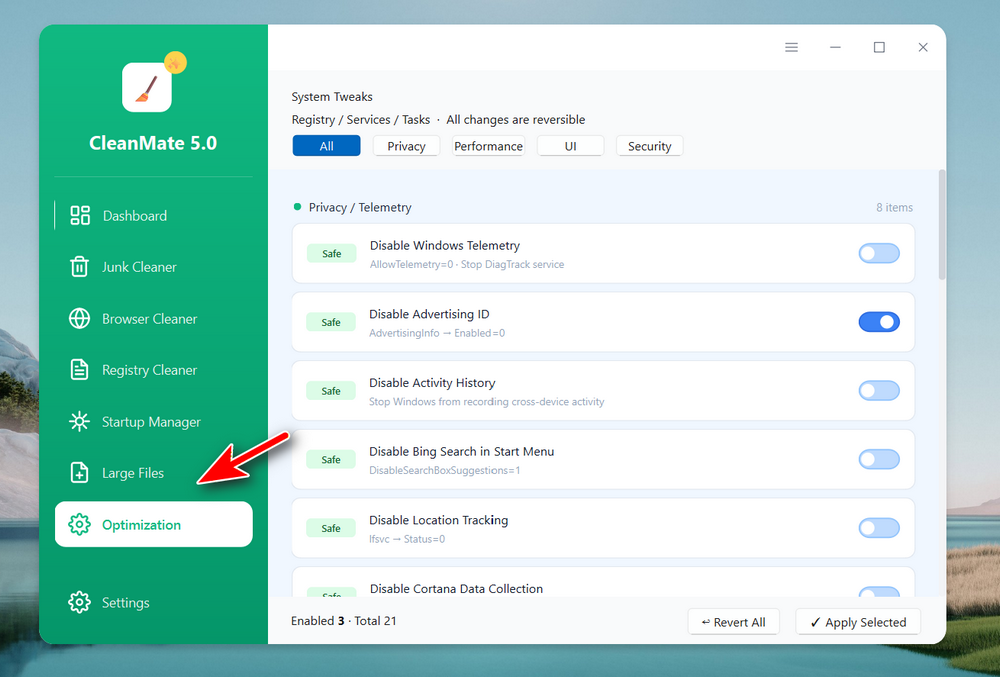
In the main interface of UUByte CleanMate, click the Optimization option from the left sidebar.
Step 3: Go to Windows Defender Feature
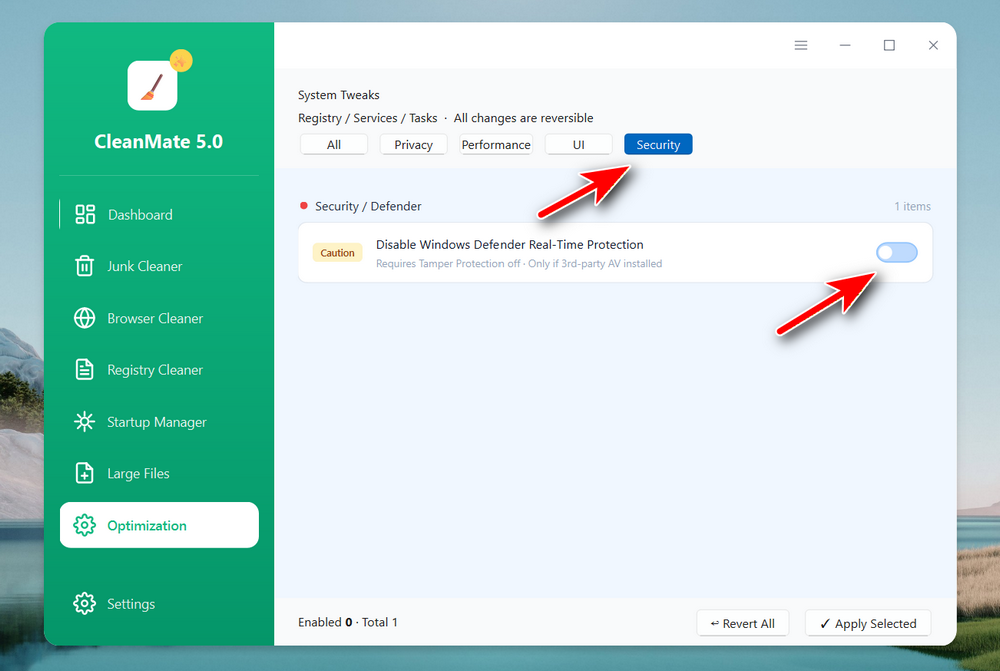
You will see a few options at the top. Please click the Security tab and turn on "Disable Windows Defender Real-Time Protection."
Step 4: Open Windows Security
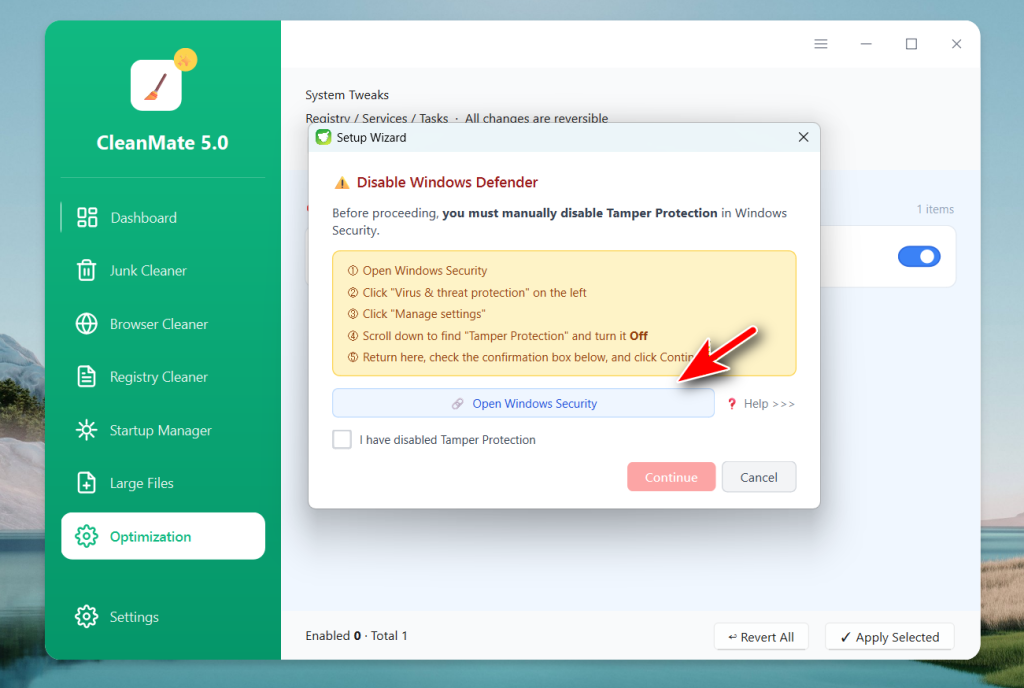
Before disabling Windows Defender, you have to turn off tamper protection on your computer. Please click the Open Windows Security button to do that.
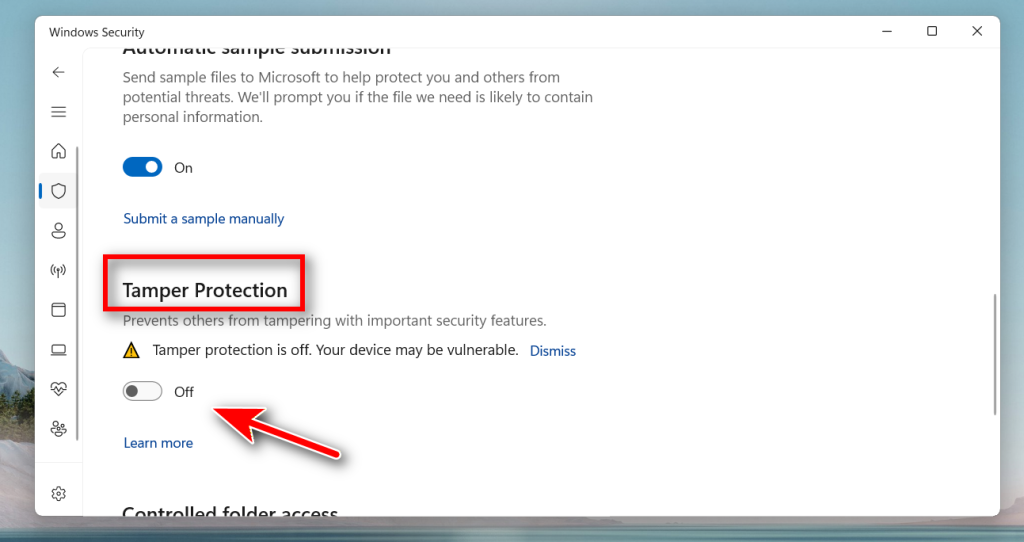
Step 5: Turn off Tamp Protection in Windows Security
From the pop-up window, please follow the steps to disable Tamper Protection first. You can also refer to this guide if you have trouble in doing this:
https://www.uubyte.com/online-help/disable-tamper-protection.html
Step 6: Start to Disable Windows Defender Protection
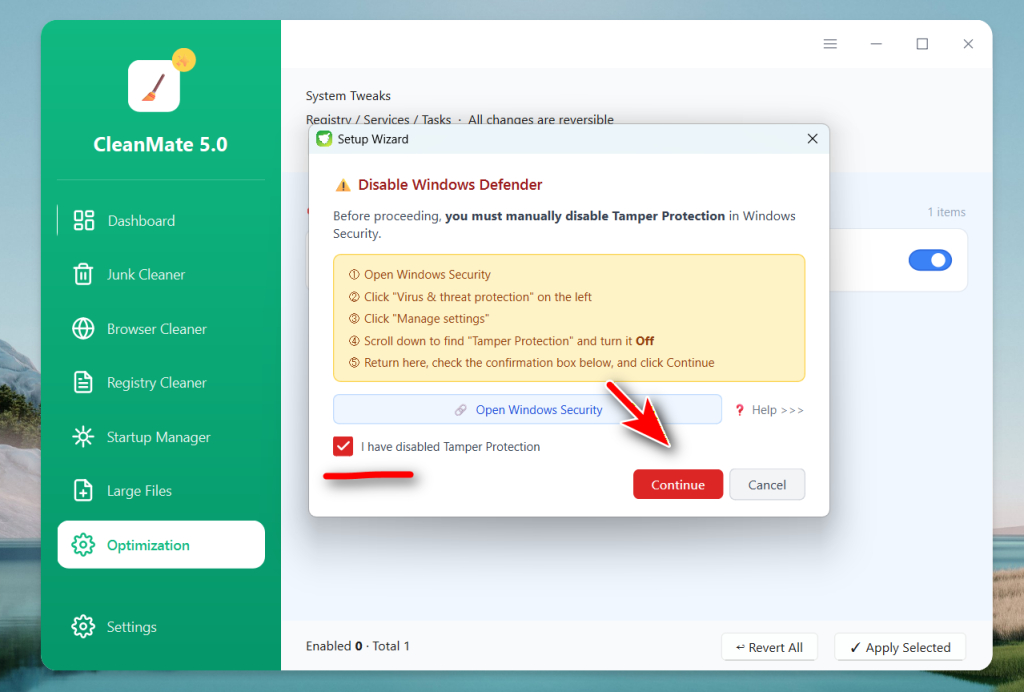
Make the option that says "I have disabled Tamper Protection" and click the Continue button to apply the action.
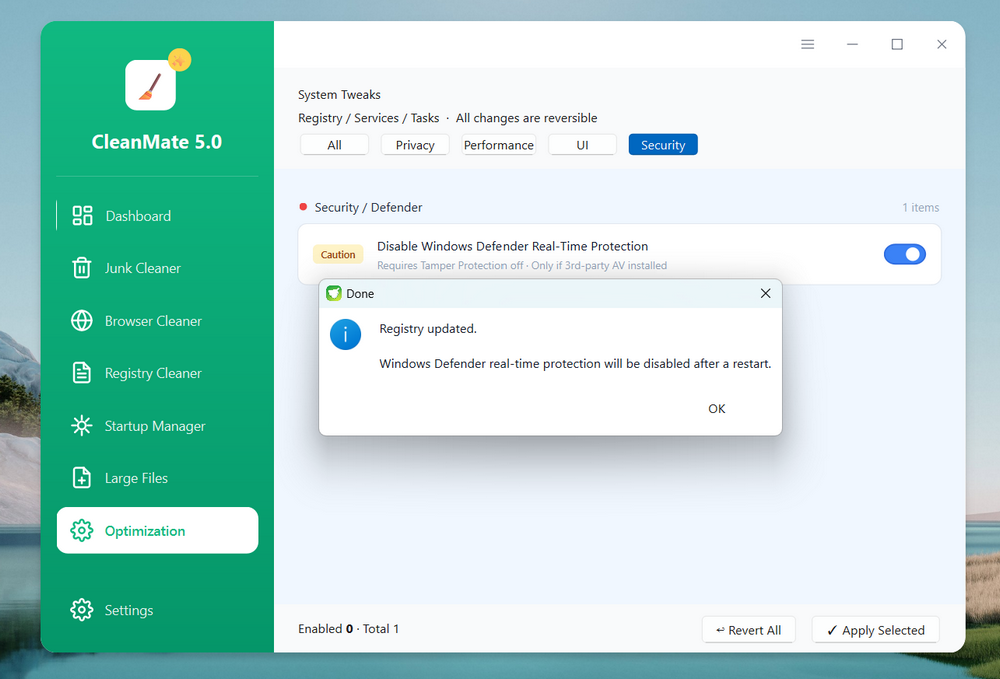
After the command is applied, UUByte CleanMate will disable Windows Defender on your PC. In some cases, you may need to wait a few seconds for the change to take effect. The program may also show a status message so you can confirm that Defender has been turned off successfully.
Step 7: Restart the Computer
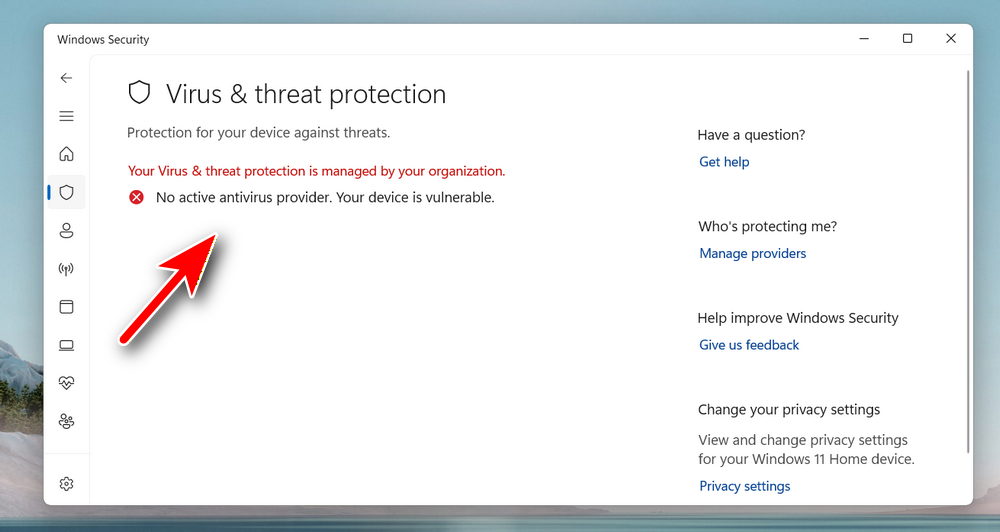
To apply the change, a restart is required for all related Defender protections to fully stop. You will see Windows Defender is disabled after reboot and no scan option is available after turning it off.
Step 8: Turn on Windows Defender Later
When you no longer need Defender disabled, open UUByte CleanMate again and go back to the same feature. Use the enable option to restore Windows Defender protection. This is strongly recommended if you do not have another security program protecting your PC.
Conclusion
Disabling Windows Defender on Windows 11 and Windows 10 can be useful in certain situations, such as software conflicts, performance concerns, or when another antivirus solution is already installed. Still, because Defender is an important part of Windows security, it should only be turned off when there is a clear reason to do so.
UUByte CleanMate makes this process much easier by adding a dedicated feature for managing Windows Defender without digging through complicated system settings. With just a few steps, users can disable or re-enable Defender when needed. For anyone looking for a simpler way to manage this feature on Windows, UUByte CleanMate offers a more convenient solution.