I’ve had to make an Ubuntu bootable USB more times than I can count—sometimes to revive an old laptop, sometimes just to test Ubuntu on a spare machine without installing it right away. After trying the usual mix of built-in tools, command lines, and random USB creators, I’ve found that the easiest way is just to use UUByte ISOKit.
What I like about it is simple: it works on both Windows and Mac, the steps are straightforward, and I don’t have to fight with Terminal or weird formatting issues.
Why not just copy the ISO to USB?
I made this mistake the first time. I thought dragging the Ubuntu ISO onto a USB drive would be enough. It wasn’t. The PC wouldn’t boot from it at all.
A bootable USB needs the ISO to be written in a special way, not just copied like a normal file. That’s why you need a proper tool.
What you need
Before starting, I usually prepare these first:
- A USB drive with at least 8GB
- The Ubuntu ISO file
- A Windows PC or Mac
- UUByte ISOKit
How to Create an Ubuntu Bootable USB Using UUByte DMG Editor
Follow these step-by-step instructions to create your Ubuntu bootable USB drive using UUByte DMG Editor on either Windows or Mac.
Step 1: Click the below link to download the Windows version of UUByte ISOKit. Run the installer and follow the on-screen instructions to complete the installation.


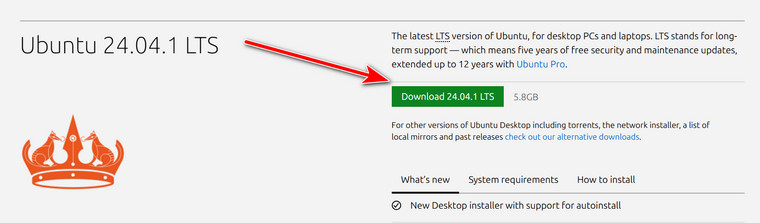
Step 2: Go to the Ubuntu official website and download the latest Ubuntu ISO file from the following link:
https://ubuntu.com/download/desktop
Step 3: Install UUByte ISOKit on your Windows PC or Mac, then launch it.
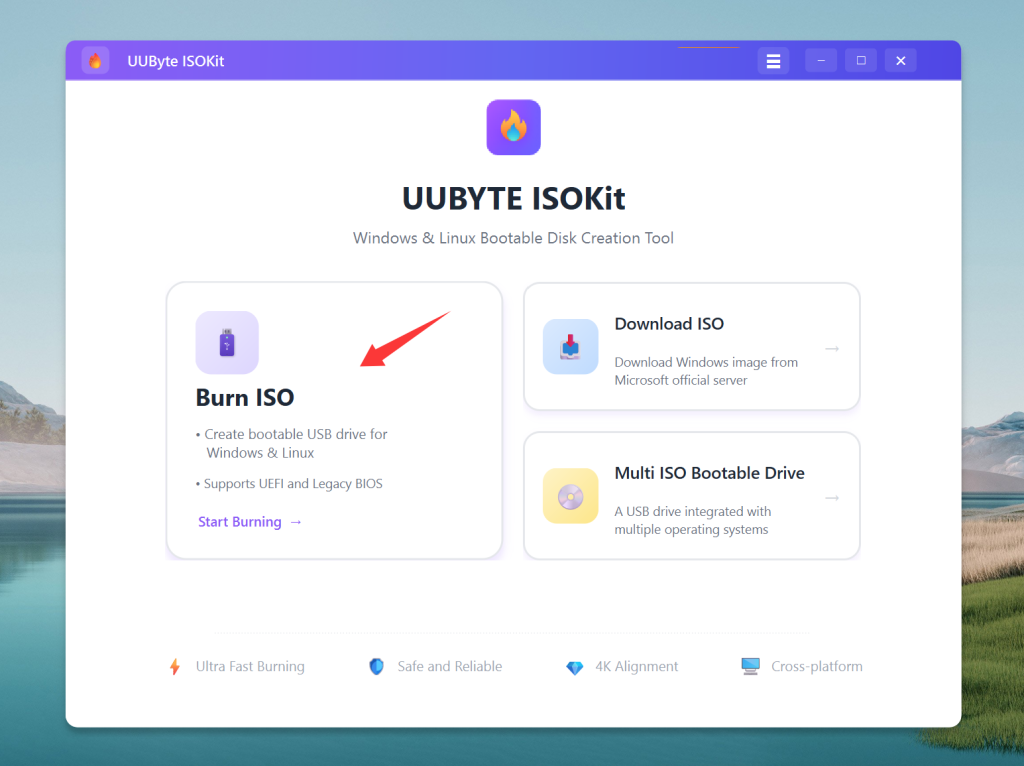
Step 4: Plug in your USB stick. Make sure there’s nothing important on it, because the drive will be erased during the process. In UUByte ISOKit, select the Burn option, then import the Ubuntu ISO file you downloaded.
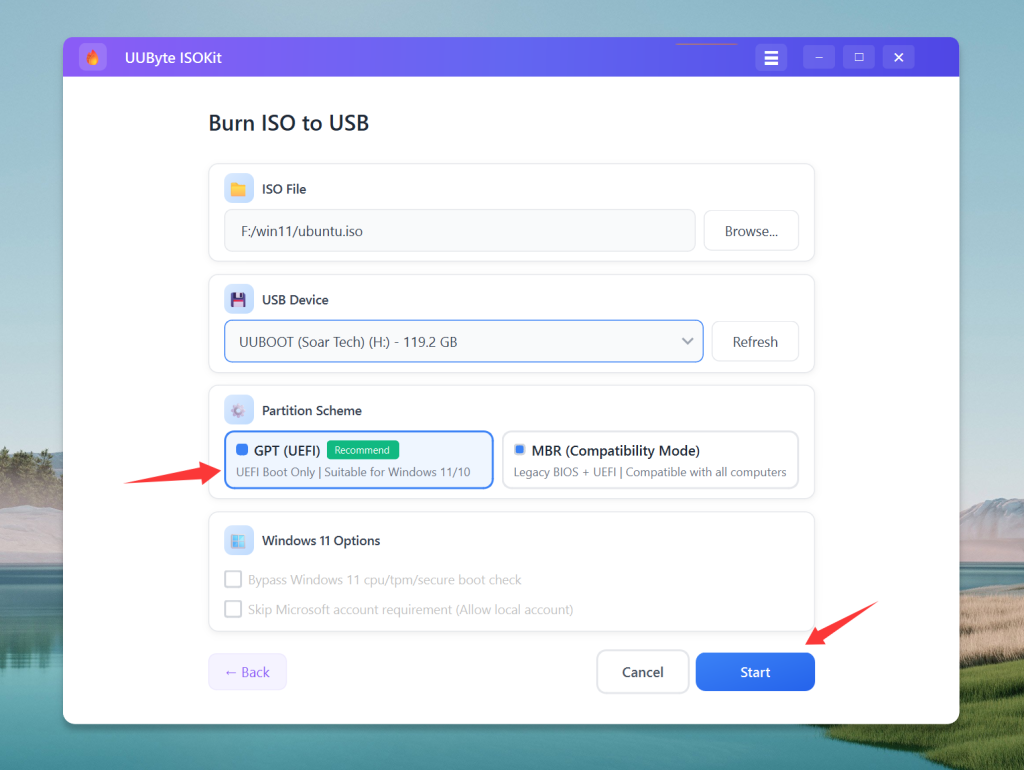
Step 5: Click the "Burn" button to begin the process. Wait for the software to complete writing the ISO to the USB drive. This may take several minutes.
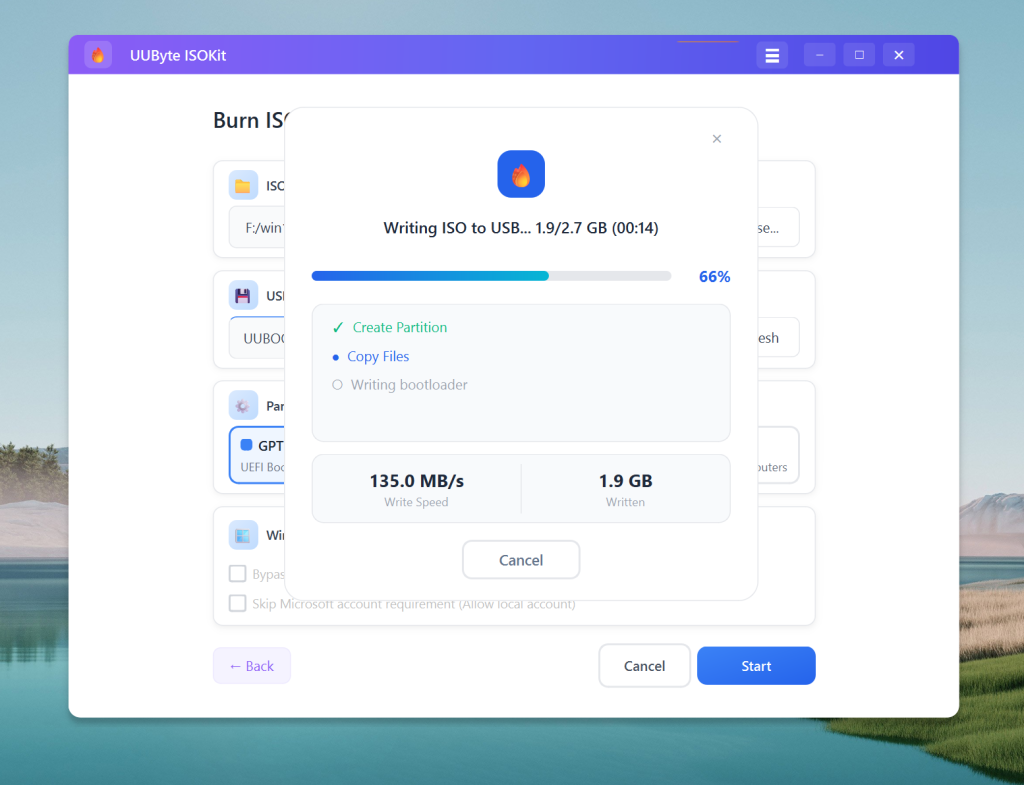
Step 6: Once the process is finished, safely eject the USB drive from your computer. Your Ubuntu bootable USB is now ready to use.
Booting the Computer from the USB and Installing Ubuntu
With your bootable USB ready, the next step is to boot your computer from the USB drive and install Ubuntu. Plug the Ubuntu bootable USB drive into the computer where you want to install Ubuntu.
Restart the computer. As it starts up, you’ll need to access the boot menu. This usually involves pressing a specific key (such as F12, F10, Esc, or Del) immediately after powering on. Refer to your computer’s manual for the exact key.
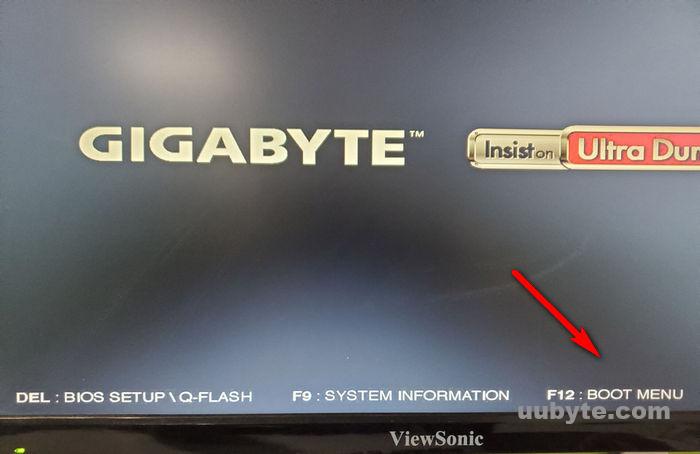
In the boot menu, select the USB drive as the primary boot device. This will allow your computer to boot from the USB instead of the internal hard drive.
Once booted from the USB, you’ll see the Ubuntu welcome screen. You can choose to "Try Ubuntu" to test it without making changes to your system or proceed directly to "Install Ubuntu."
Select your language and follow the on-screen instructions. Choose your installation preferences, such as keyboard layout, installation type (e.g., alongside existing OS, erase disk and install Ubuntu), and other settings.

My thoughts after using it
Honestly, I prefer UUByte ISOKit because it saves time and avoids the annoying parts. On Mac especially, creating a Linux or Windows bootable USB can get messy if you rely on manual commands. I’ve used Terminal methods before, and while they can work, they’re easy to mess up.
With ISOKit, it feels much more beginner-friendly. I just load the ISO, choose the USB, and burn it. That’s it.
Final thoughts
If you want a quick way to create an Ubuntu bootable USB on any Windows PC or Mac, this is one of the easiest methods I’ve used. UUByte ISOKit keeps the process simple and works well when you just want the USB made without dealing with extra hassle.
If your goal is to install Ubuntu, test it in live mode, or keep a rescue USB around, this is a pretty painless way to do it.