Table of Contents
Windows 11 is now the favorite choices of many people. If you built a new PC, then Windows 11 is the best choice now. In this post, I will share a very simple way to create Windows 11 installation media.
Part 1: Download Windows 11 ISO Image
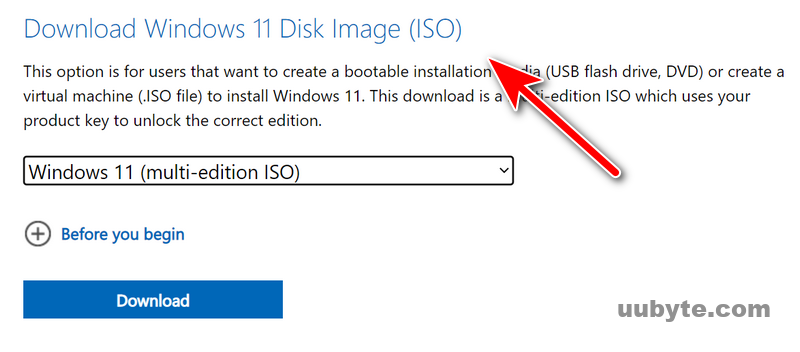
The first step you have to download the windows 11 iso and the tool for creating Windows 11 bootable USB. By visiting the download page of Windows 11 on Microsoft, you can get the Windows 11 ISO in several ways. Among all the methods, I recommend you to use the option called "Download Windows 11 Disk Image (ISO)".
https://www.microsoft.com/en-us/software-download/windows11
- Now click Download.
- Then select your language.
- Then confirm and then select 64-bit Download.
- Now ISO File is getting Download.
Part 2: Create Windows 11 Installation Media
Now, you have the Windows 11 ISO image, the next step is to make a bootable Windows 11 installation media. You can do this with the well-known UUByte ISO Editor app, which works well on Windows and macOS.
Step 1: Download and Install ISOKit
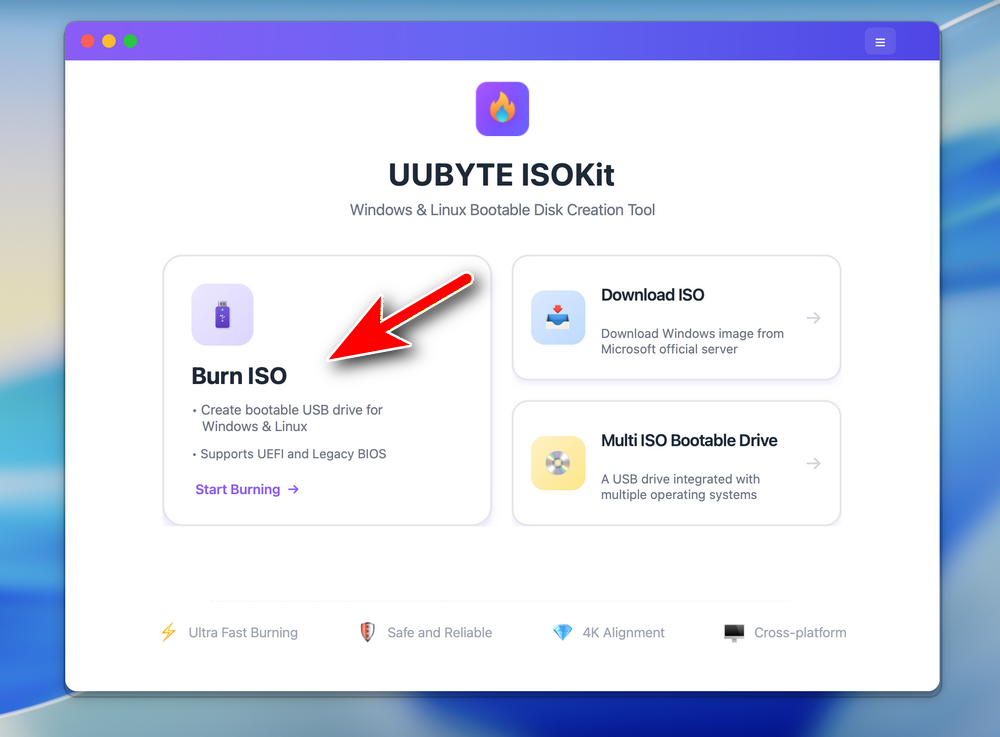
Click the Download button in above to get a copy of UUByte ISOKit app on your Mac. Double click the dmg file and drag the app icon to Application folder. By doing this, you can now open ISO Editor app from Launchpad.


To create a bootable USB, please click the Burn ISO button at the left side to proceed.
Step 2: Plug in a USB Drive on Mac
Now, connect a USB drive to Mac and make sure you can see the drive name in Finder app. This means the drive is recognized by your Mac.
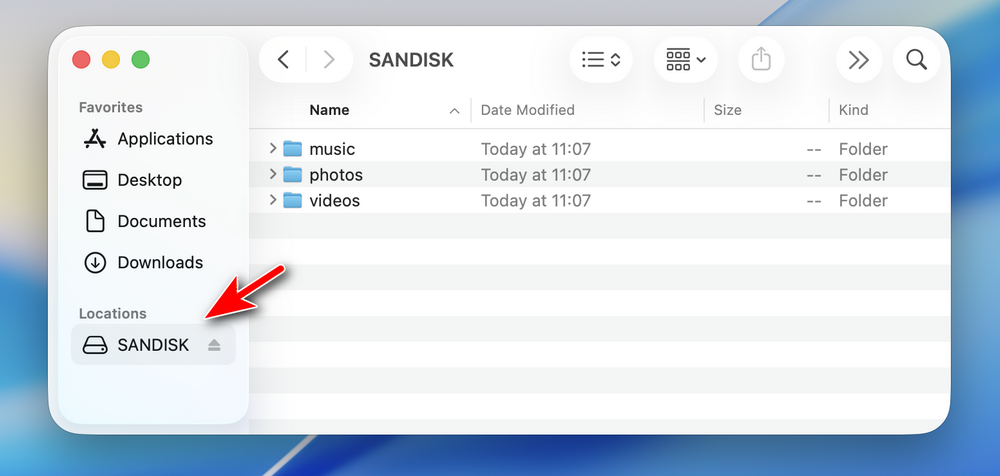
Notice: Please disconnect other USB storage devices on your Mac so you won’t choose the wrong USB for burning!
Step 3: Import Windows ISO and Choose USB Drive
On the inside page, add the ISO file to the app by clicking the Browse button. Next, pick up the correct USB drive from the drop-down list.You can see the USB drive brand and volume name at this time. After that, you need also choose a partition scheme. For modern computers, please choose GPT. For old computers, select MBR instead.
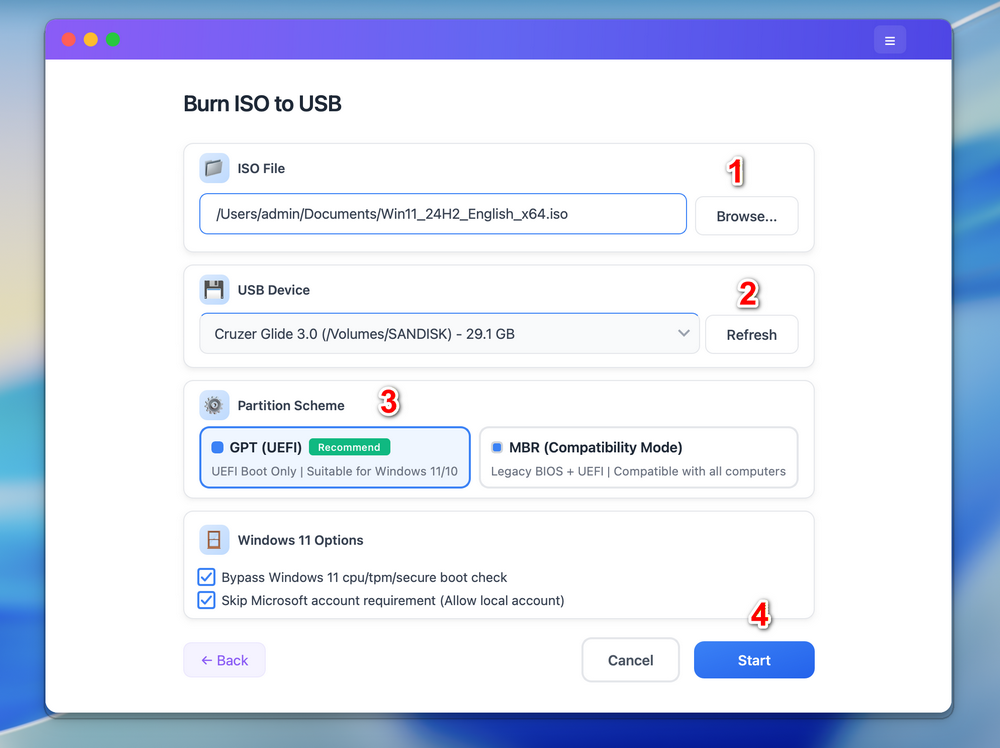
Note: For Windows 11 ISO, the app will automatically patch the ISO so it allows you install Windows 11 on unsupported hardware.
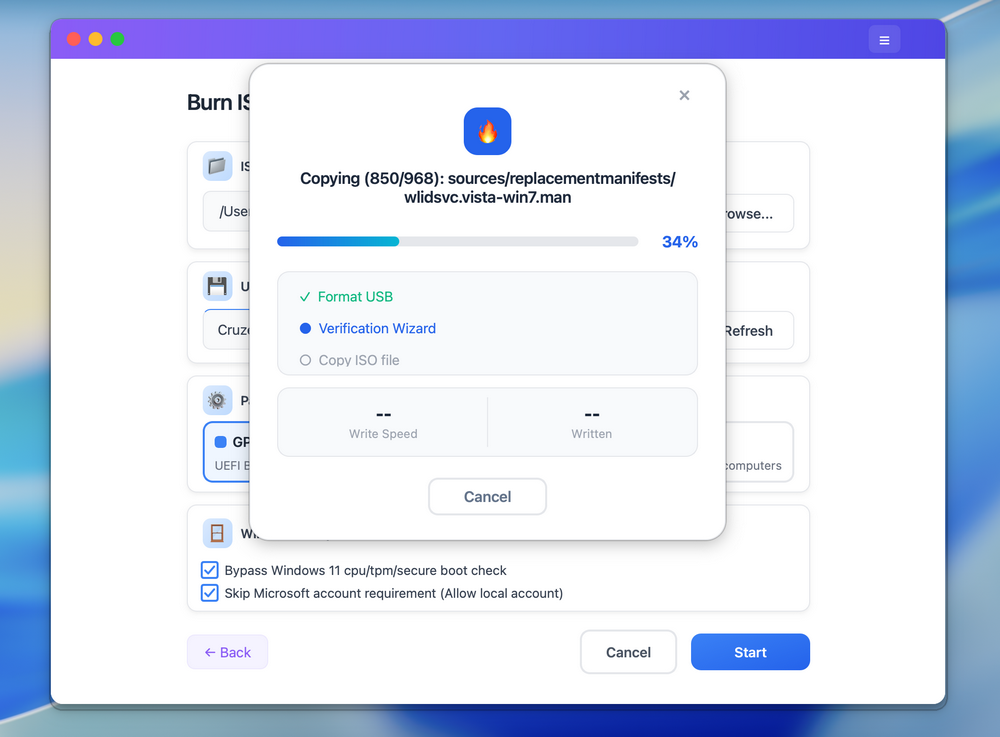
Step 4: Start Burning Windows ISO to USB
Click the Start button located at the bottom to start burning Windows ISO to target USB drive. This will format the USB drive so you should backup the drive first. In addition, please enter the login password to grant the permission to ISO Editor so it can access external drive on your Mac. After that, ISO Editor app will start coping files contained in ISO image to USB Drive. This will be done in 10-20 minutes for a fast drive.
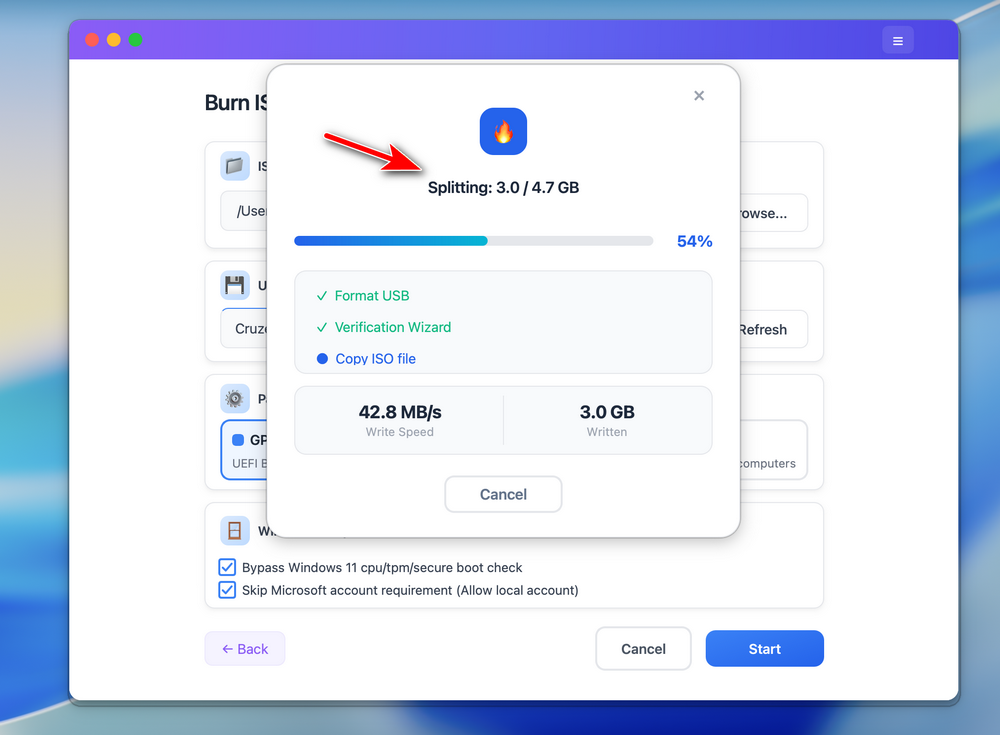
Step 5: Split Install.wim and Make USB Bootable
For latest Windows 10 or Windows 11 ISO, which contains a large install.wim file (> 4GB), UUByte ISOKit will split it automatically at the end of burning process. This make sure the install.wim file sits well on a FAT32 partition after shrinking. This extremely important on Mac as it can not read NTFS partition by deafult. Only FAT32 is available for creating Windows bootable USB.
When this task is completed successfully, you will see a notification on the screen something like this:
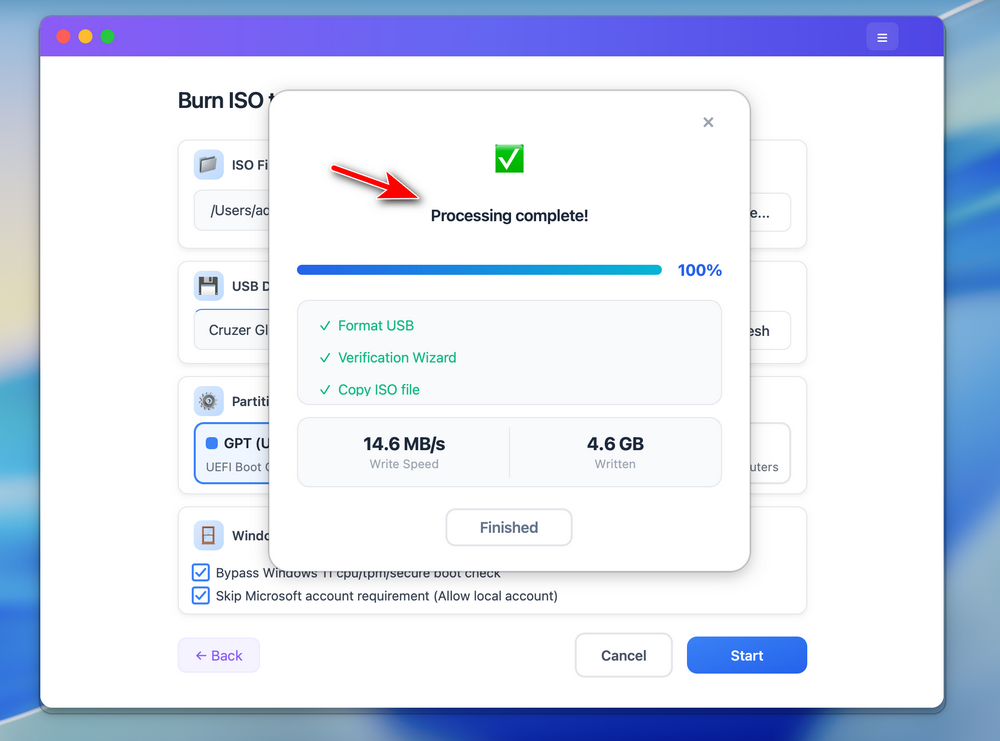
You can now eject the USB from Mac and reinstall OS on a target computer from this bootable drive.
Part 3: Install Windows 11 from USB
To boot from USB and install Windows 11, follow the steps below. This works for most PCs, including modern hardware (with a few tweaks).
1. Plug the bootable USB into the computer where you want to install Windows 11.
2. Turn on or restart the computer.
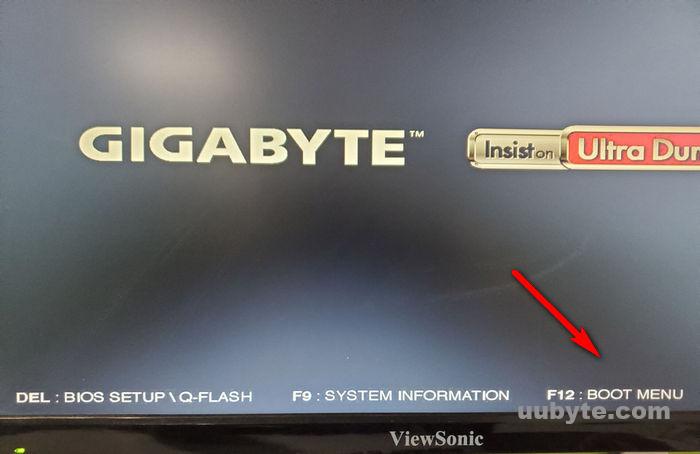
3. As soon as the PC starts, press the key to open Boot Menu. Usually, the key is F10, F12, Del or ESC. It depends on the motherboard brand.
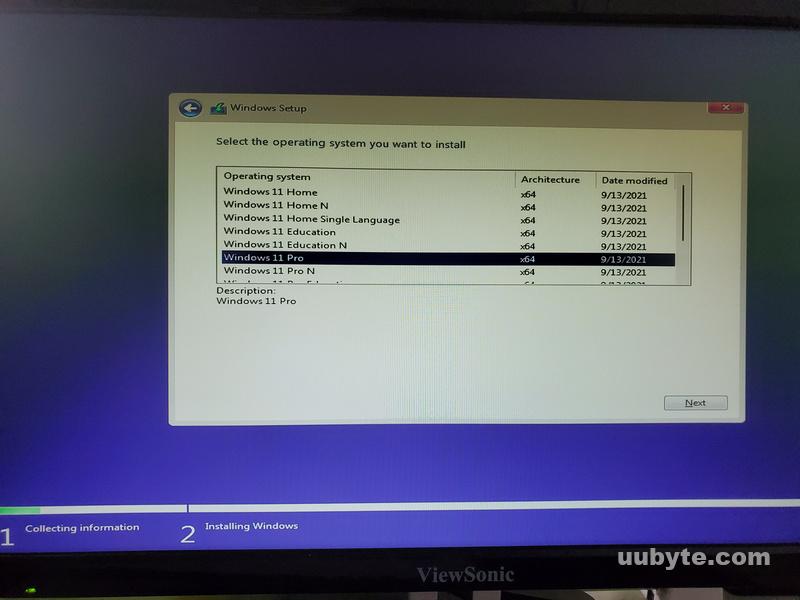
4. Use arrow keys to select your USB drive and hit Enter. Your PC will boot from the USB and load the Windows 11 setup screen. Follow the on-screen instructions to start the installation.
Conclusion
By leveraging UUByte ISO Editor, you can streamline your Windows 11 installation experience, minimize potential errors, and take full advantage of the new enhancements that the 24H2 update has to offer. Embracing this tool will undoubtedly lead to a more seamless and effective approach to managing your Windows 11 environments.